Key takeaways:
- Customize your ButterflyMX intercom screensaver to showcase your property’s identity and create a welcoming impression.
- Use screensavers to share announcements, promote events, or highlight amenities effortlessly.
- Upload and customize screensavers quickly through the intuitive management dashboard.
- Promote vacant units, seasonal offers, or community spaces to enhance resident interaction.
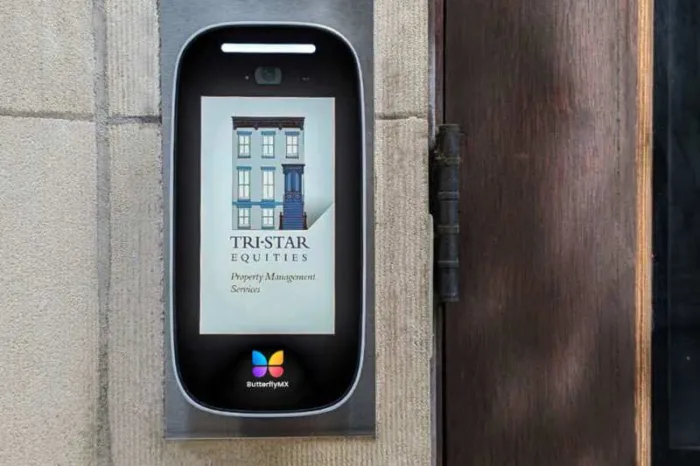
Your ButterflyMX video intercom is often the first thing a resident, visitor, or delivery person sees when they arrive at your property. This provides a unique opportunity to create a strong first impression of your property. ButterflyMX allows you to add a custom screen saver to your video intercom – so you can add an image of your logo and contact information, images of your vacant units, or maybe even a photo of your rooftop pool to entice prospective residents. Your custom screensaver can be added or changed anytime in the ButterflyMX OS. Read this post to learn how.
Features
- Add a custom screensaver to your ButterflyMX video intercom to align with your property’s brand.
- Change your custom screensaver at any time.
Prerequisites
- You must have a ButterflyMX video intercom.
- You must be an admin in the ButterflyMX OS.
Disclaimer: Your custom screensaver must match the following parameters:
Format:
- The file must be in .jpg, .png, jpeg, or .jfif
Next-gen intercom file dimensions:
- 8” Intercoms: 720×1280
- 12” Intercoms: 1280×800
Legacy intercom file dimensions:
- 7” Intercoms: 600×1024
- 11.6” Intercoms: 1920×1080
How to add a custom screensaver:
- Log into the ButterflyMX OS and navigate to the proper building
- Click ‘Inactivity Messages’
- Click ‘Add new’ and select ‘Custom screensaver’ from the dropdown
- Upload the screensaver you would like to use
- Choose the parameters for your screensaver
- Hit ‘Save’
Step 1: Log into the ButterflyMX OS and navigate to the proper building.
Log into the ButterflyMX OS on a computer and navigate to the proper building.
Step 2: Click ‘Inactivity Messages’
Click ‘Inactivity Messages” from the menu on the left side of the screen.
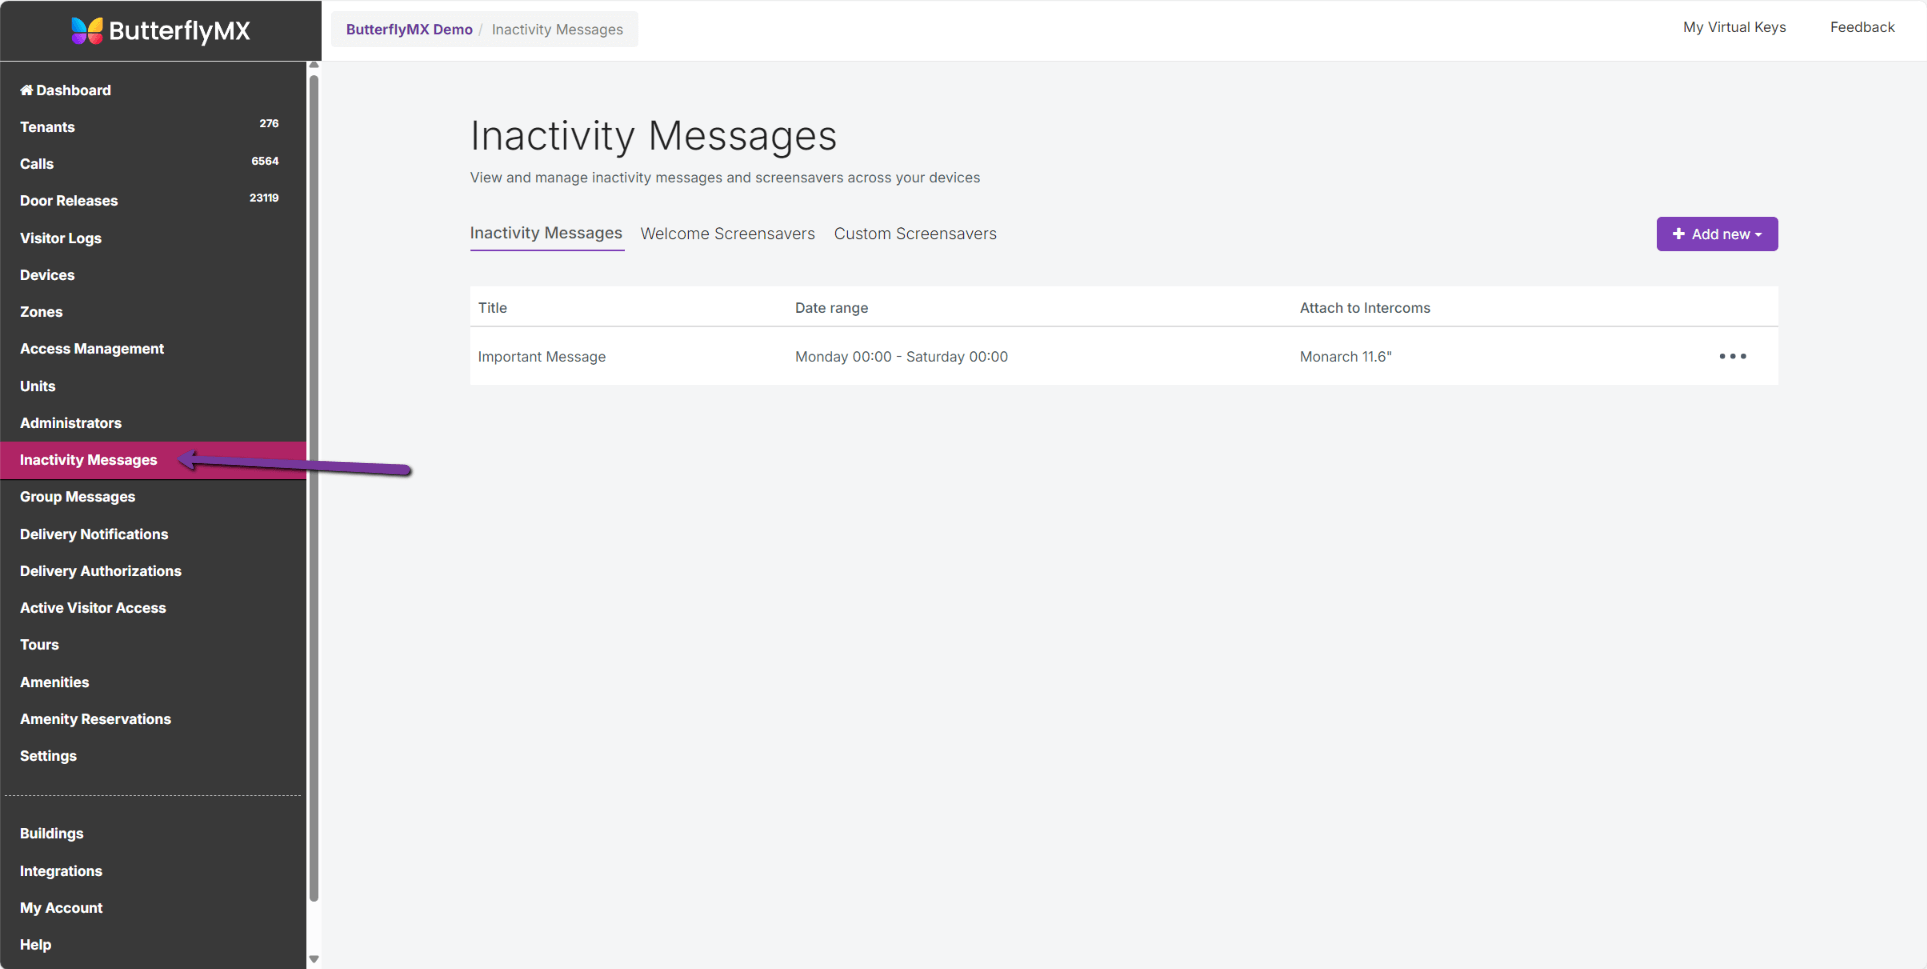
In this section, you can see any past inactivity messages or screensavers that have been used.
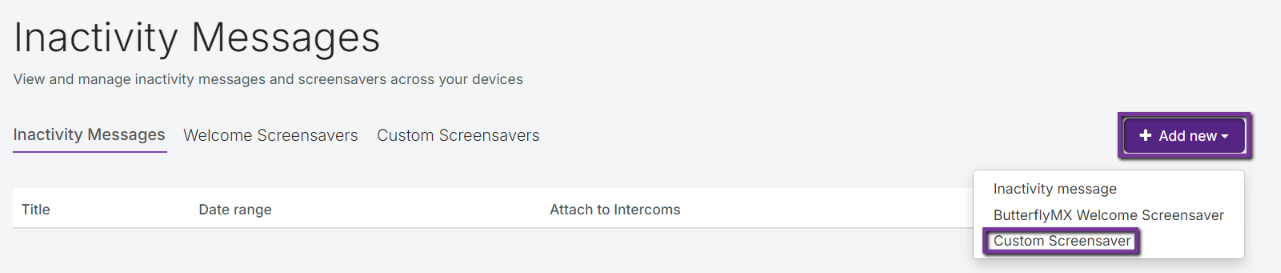
Step 3: Click ‘Add new’ and select ‘Custom Screensaver’ from the dropdown
Click the ‘Add new’ button in the top right corner and select ‘Custom Screensaver’ from the dropdown.
Step 5: Upload the screensaver you would like to use
Click ‘Choose File’ to upload the screensaver you would like to use from a file saved on your computer.
The file must match the following parameters:
Format:
- The file must be in .jpg, .png, jpeg, or .jfif
Next-gen intercom file dimensions:
- 8” Intercoms: 720×1280
- 12” Intercoms: 1280×800
Legacy intercom file dimensions:
- 7” Intercoms: 600×1024
- 11.6” Intercoms: 1920×1080
To prevent burn-in of images on your Intercom screen, please adhere to the following recommendations:
- Upload images that include a variety of colors or use a gradient
- Reduce whitespace wherever possible
- Consider alternating between multiple custom screensavers
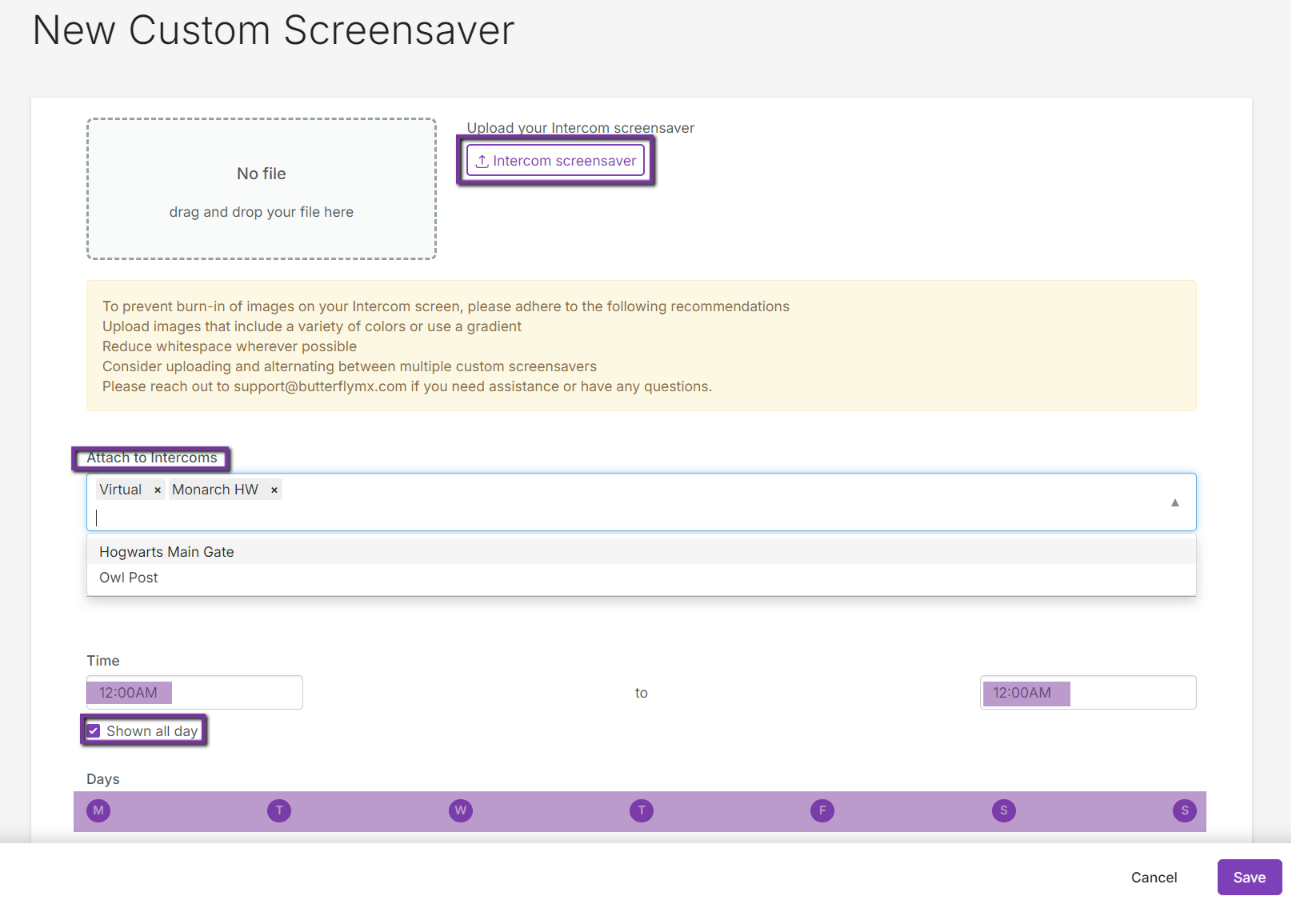
Step 6: Choose the custom parameters for your screensaver
You will need to choose:
- Which intercoms you would like to add the screensaver to (if you have multiple intercoms)
- The days of the week you would like the screensaver to display
- The times of day for the screensaver to display. You can also opt to have it displayed all day
Step 7: Hit ‘Save’
Hit ‘Save’ to publish your custom screensaver at the times of day/ days of the week you’ve selected. You can come back and change the screensaver or the settings at any time.
Please get in touch with our support team if you need assistance or have any questions.