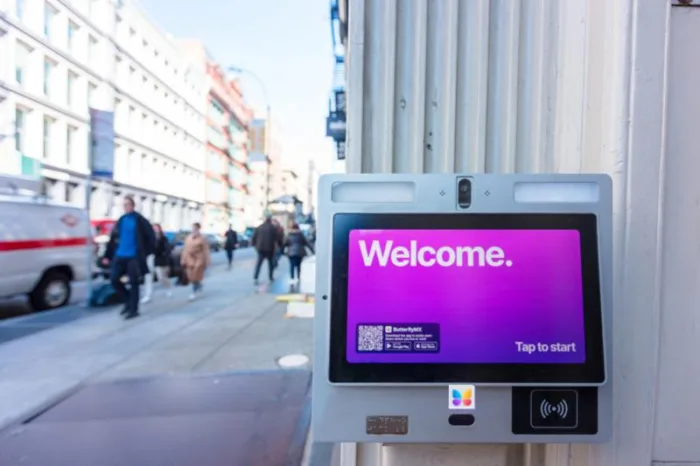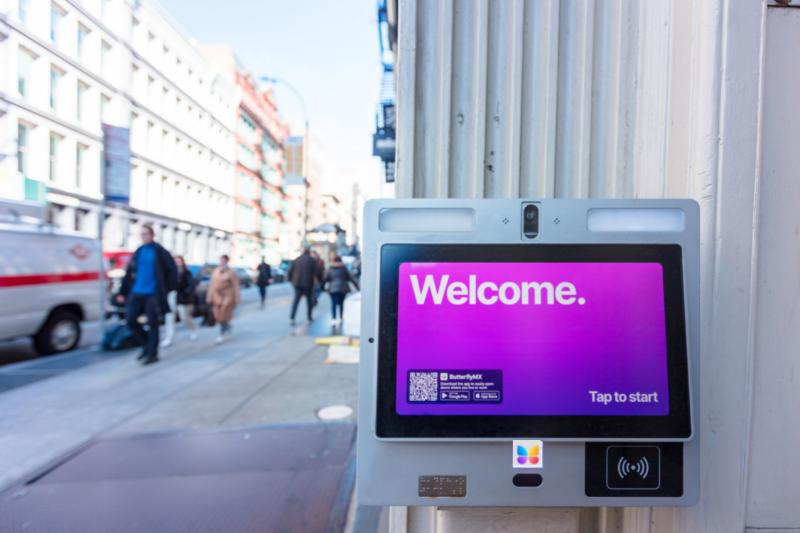
Your ButterflyMX video intercom is often the very first thing a resident, visitor, or delivery person sees when arriving at your property. This provides a unique opportunity to digitally greet guests and provide a warm welcome home to your residents after a long day.
The ButterflyMX video intercom comes with a default welcome screensaver that does just that, but you might have changed it to a custom screensaver somewhere along the way. If you want to revert your video intercom back to the original welcome screensaver, read this post to learn how.
How to add the ButterflyMX Welcome Screensaver to your video intercom:
- Log into the ButterflyMX OS
- Click ‘Inactivity Messages’
- Click ‘Add new’
- Select ‘ButterflyMX Welcome Screensaver’ from the dropdown menu
- Choose the parameters for the screensaver
- Hit ‘Save’
Step 1: Log into the ButterflyMX OS
Log into the ButterflyMX OS on a computer.
Step 2: Click ‘Inactivity Messages’
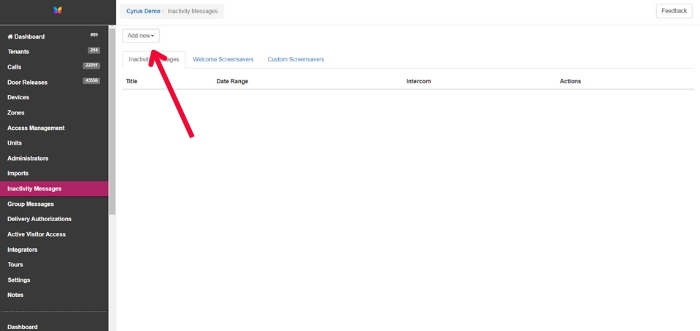
Click ‘Inactivity Messages” from the menu on the left side of the screen.
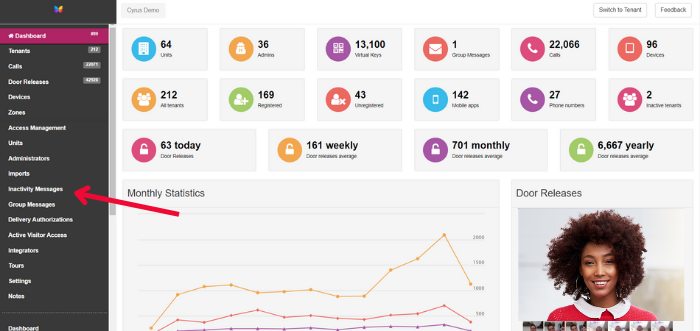
In this section, you can see any past inactivity messages or screensavers that have been used at your property by toggling through the 3 tabs at the top of the screen.
Step 3: Click ‘Add new’
Click ‘Add new’ in the top left-hand corner of your screen.
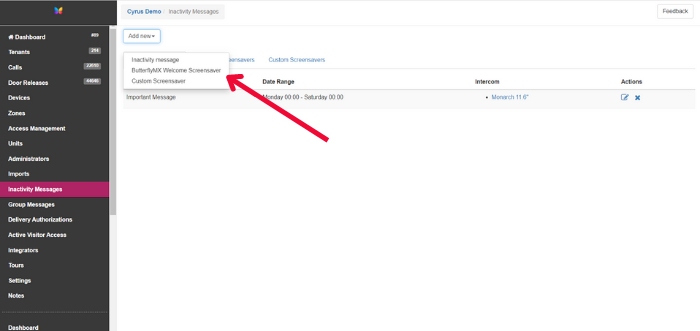
Step 4: Select ‘ButterflyMX Welcome Screensaver’ from the dropdown menu
Select ‘ButterflyMX Welcome Screensaver’ from the dropdown menu.
Step 5: Choose the parameters for the screensaver
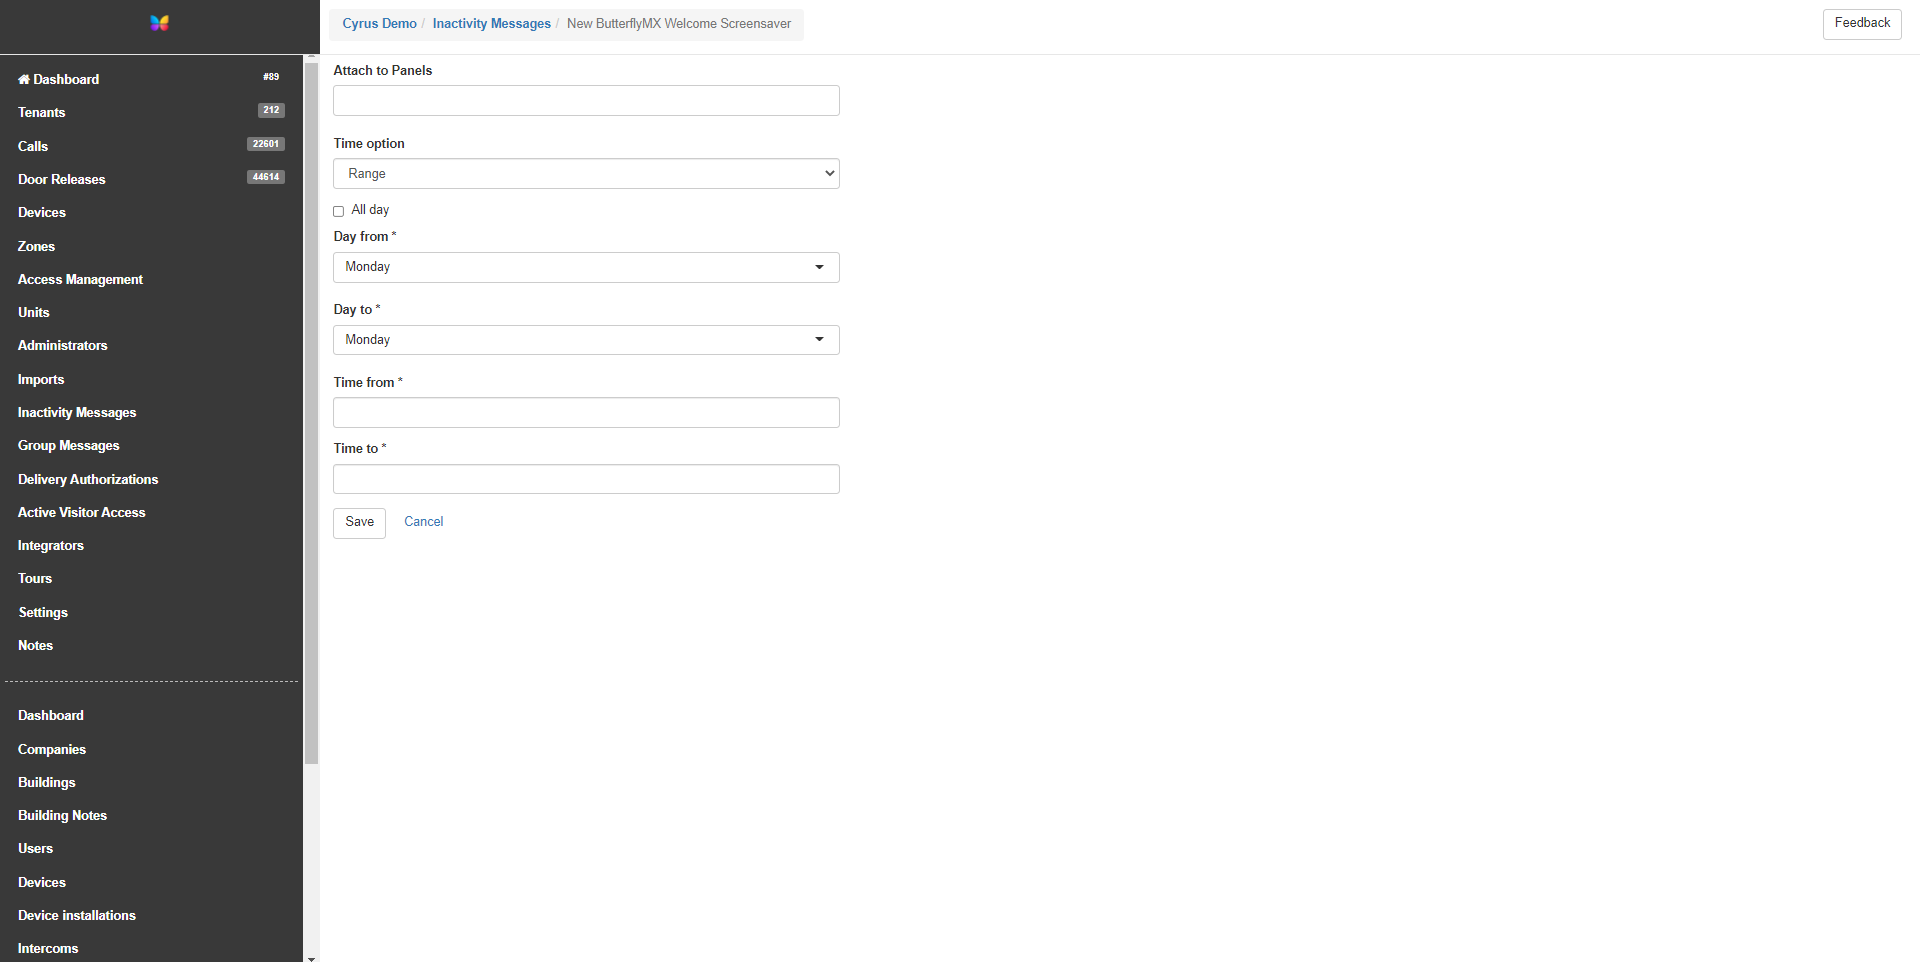
You will need to choose:
- Which intercoms you would like to add the screensaver to (if you have multiple intercoms).
- The days of the week you would like the screensaver to display.
- The times of day for the screensaver to display. You can also opt to have it displayed all day.
Step 6: Hit ‘Save’
Hit ‘Save’ to push the screensaver to your video intercom(s) at the times of day/ days of the week you’ve selected. You can come back and change the screensaver or the settings at any time.
