Installing ButterflyMX’s QR Code Intercom is quick, easy, and cost-effective. Whether you’re mounting it on glass, brick, or concrete, this guide will walk you through everything you need to get started.
Before you begin, make sure you have two things:
- The ButterflyMX QR Code Intercom
- A ButterflyMX door controller, which is required to trigger the door, gate, or garage to unlock when access is granted
This guide to installing the QR Code Intercom covers:
- What is included in the QR Code Intercom box
- Mounting on smooth surfaces (glass, metal, finished walls)
- Mounting on rough surfaces (brick, concrete)
- Before you mount: Door Controller requirements
- Activation
What is included in the QR Code Intercom box:
- QR Code Intercom plaque
- Four mounting screws
- Wall anchors
- Metal backplate
- Alignment tool
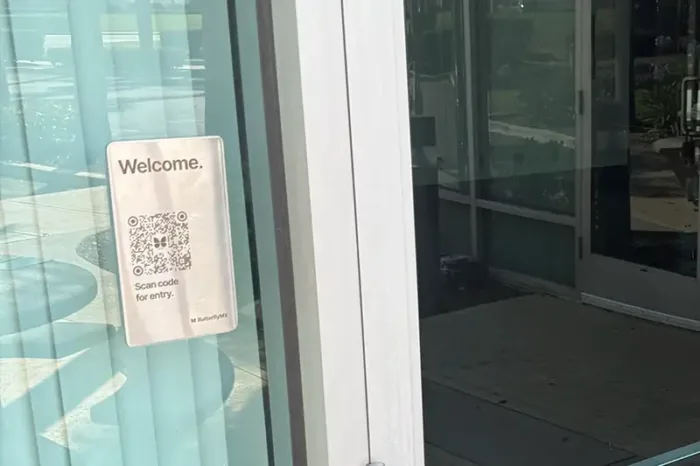
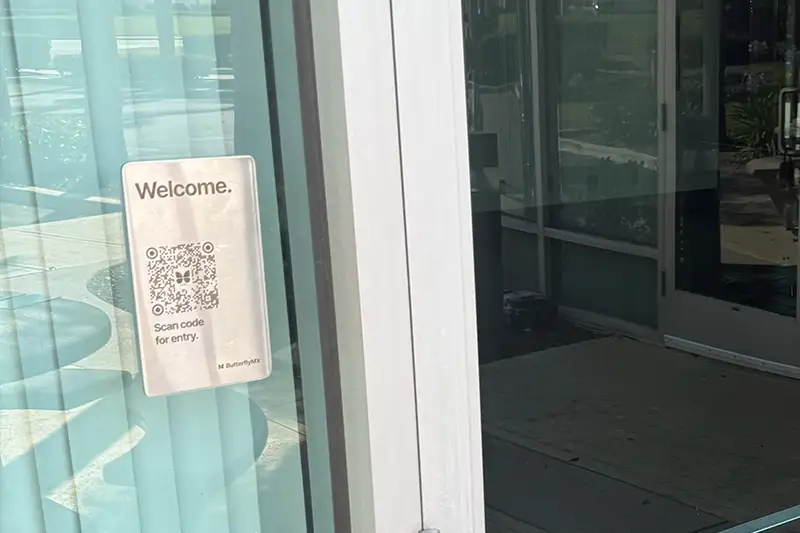
Mounting on smooth surfaces (glass, metal, finished walls)
Tools needed:
- Isopropyl alcohol
- Clean cloth
- Level
Steps:
- Clean the surface thoroughly with isopropyl alcohol. Let dry for 15 seconds.
- Peel off the foam tape backing from the plaque.
- Use a level to align the plaque between 4.5 and 5.5 feet from the ground.
- Press the plaque firmly into place for 30 seconds.
- For best results, install at temperatures above 50°F and avoid touching the plaque for 24 hours to allow full adhesive cure.
Mounting on rough surfaces (brick, concrete)
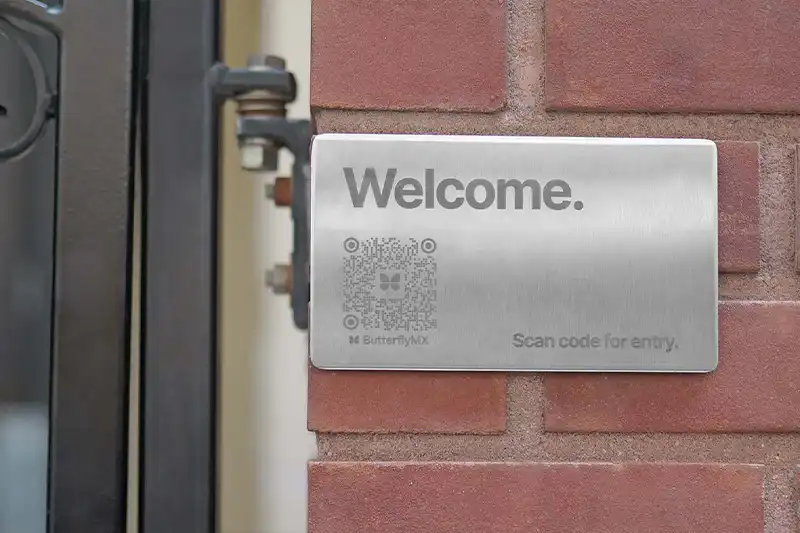
Tools needed:
- Level
- 5/16″ drill with masonry bit
- Hammer
- Screwdriver
- Alignment tool
Steps:
- Use the backplate and level to mark your mounting holes between 4.5 and 5.5 feet high.
- Drill pilot holes using a 5/16″ masonry bit.
- Tap wall anchors into the holes until flush.
- Secure the metal backplate with the provided screws.
- Remove the adhesive backing from the plaque.
- Use the alignment tool to center the plaque and press it firmly onto the backplate.
Installation tips:
- Choose a well-lit location to support easy QR scanning.
- Avoid spots with excessive water, vibration, or direct glare from sunlight.
Before you mount: Access Controller requirements
The QR Code Intercom requires a ButterflyMX Access Controller to function.
Here’s a quick overview:
Power
- Comes with a 12V, 5A power supply (must not be spliced).
- The controller must be installed within 7 feet of an outlet.
Internet
- Supports Ethernet or WiFi.
- Hardwired Ethernet (CAT5e or CAT6) is preferred.
REX Relay
- Two-door controller supports two entry points.
- Use wet relay (12V, 1A) for low-power locks.
- Use dry relay and external power for gates or maglocks.
For more details, see the Access Controller Installation Guide.
Activation
Once the plaque is mounted and the access controller is connected:
- Call ButterflyMX Support at 800-398-4416 ext. 2.
- Our Support team will activate the device and confirm that the QR scan is triggering the unlock function.
With just a few tools and steps, you can install an affordable, modern, and app-free visitor management system that brings professional-grade access control to more buildings than ever before.