Key takeaways
- The ButterflyMX Wiegand-to-OSDP Converter bridges outdated Wiegand-based hardware with modern access control systems.
- The converter comes with clear wiring instructions, guiding you through hardware compatibility checks, proper wiring, and system activation for a smooth setup.
- You can quickly verify reader compatibility through LED indicators and real-time fob testing.
Upgrading your client’s access control systems can be challenging when their existing hardware uses outdated protocols like Wiegand. The ButterflyMX Wiegand-to-OSDP Converter solves this problem by providing a simple, reliable solution to bridge the gap between older technology and today’s advanced access control systems.
Read on to learn:
- What is the Wiegand-to-OSDP Converter?
- Before you install the Wiegand-to-OSDP Converter
- How to install the Wiegand-to-OSDP Converter
What is the Wiegand-to-OSDP Converter?
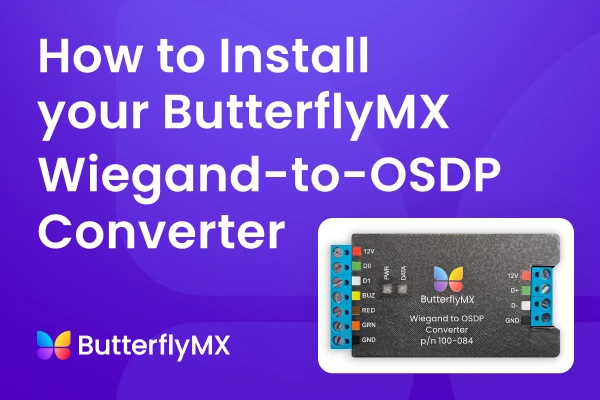
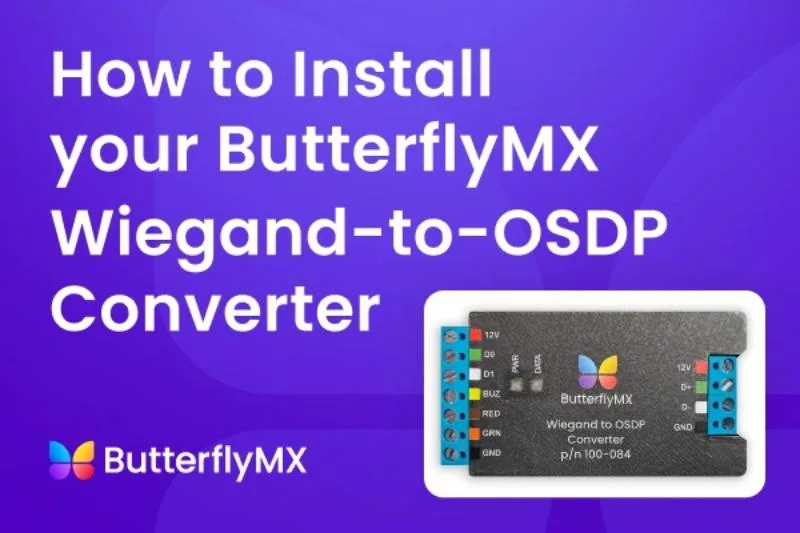
The ButterflyMX Wiegand-to-OSDP Converter allows you to connect third-party Wiegand readers to the ButterflyMX Access Controller, enabling seamless integration with modern access control systems. It ensures compatibility through quick testing and simplifies installation with clear wiring instructions.
Before you install the Wiegand-to-OSDP Converter
Before getting started, ensure you have all the required materials, components, and tools.
What’s included in the package:
- Wiegand-to-OSDP Converter
- System overview documentation
What’s NOT included:
- Compatible Wiegand reader
- ButterflyMX Access Controller
How to install the Wiegand-to-OSDP Converter
Once you’ve determined that you have the necessary materials, follow the steps below to install the Wiegand-to-OSDP Converter.
How to install the ButterflyMX Wiegand-to-OSDP Converter:
Step 1: Verify hardware compatibility
Before installing, you will need to confirm the compatibility of your Wiegand reader with the Wiegand-to-OSDP Converter.
Follow these steps to verify compatibility:
- Connect the Wiegand reader to the left side of the converter using the 7-position terminal block.
- Attach the controller’s power (12V) and ground (GND) wires to the Converter’s right side using the 4-position terminal block.
- Check that the power and data LEDs on the Converter are illuminated.
- Test the reader by scanning a fob or sticker.
- While scanning, watch the Converter’s DATA light.
- If the white light blinks rapidly three times, the reader is compatible.
- If it does not blink rapidly, the reader is not compatible.
- Scan the fob several times to confirm that the Converter’s light blinks as expected.
If the reader is incompatible, contact ButterflyMX support for troubleshooting.
Step 2: Install the Converter
Important note: The Converter must be installed in a secure, weatherproof box or location. It should be installed as close to the reader as possible.
Once compatibility is confirmed, continue with the installation steps below:
1. Wire the Wiegand Reader
Connect the 12V, D0, D1, and GND wires for standard operation. Then, use the RED/GRN LED wire for multi-color LED readers and connect the BUZ wire for readers that lack native beeping functionality.
2. Wire the Converter to the Access Controller:
Use the 4-position terminal block to connect the Converter’s 12V, D+, D-, and GND wires to the ButterflyMX Access Controller.
Step 3: Activate the system
After installation, enroll the user credentials into the ButterflyMX OS by calling ButterflyMX Support while on-site to verify the data format and ensure compatibility. Then, the Support Team will assist you in activating the system.
For more installation resources and guides, visit the installer resources page.
