Important note: You must be certified to install ButterflyMX Security Cameras. If you are not certified, you risk voiding our two-year hardware warranty. Join our free dealer program to get certified. Once you’ve joined , you’ll be eligible to receive discounted hardware pricing and installation referrals.
Once you’re a ButterflyMX certified dealer, follow the steps below to install and activate our Security Cameras.
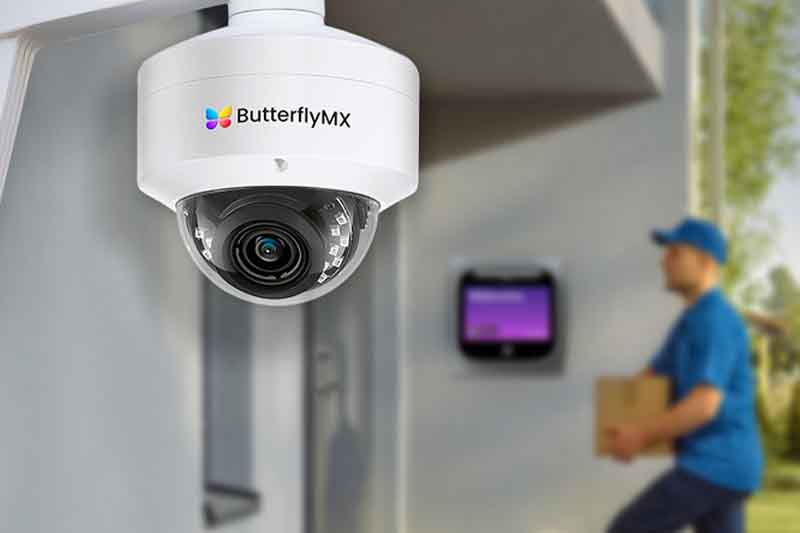
What you’ll need to install ButterflyMX Security Cameras
When you purchase a ButterflyMX security camera system, here’s what you’ll receive:
- Security Cameras: Choose between our Dome or Bullet models based on your needs.
- Mounting hardware: Anchors, screws, and a mounting bracket to ensure a secure installation.
- Cable gland: This will protect your connection when installing cameras outdoors.
- Camera Gateway: The ButterflyMX Camera Gateway, which is sold separately, is essential for connecting your cameras into the ButterflyMX ecosystem.
In addition to the equipment in the box, you’ll need a:
- Power over Ethernet Switch (PoE).
- Cat5e or Cat6 cables to supply power and data to the cameras.
How to install ButterflyMX Security Cameras
- Conduct a site visit
- Mount the Security Cameras
- Connect the Security Cameras
- Set up the Camera Gateway
- Configure the Security Camera Settings
Step 1: Conduct a site visit
Before you install your Security Cameras, it’s important to conduct a thorough site visit. This will help you understand the building layout, identify key entry points, and determine the ideal camera placement. By planning ahead, you’ll avoid unnecessary complications during installation.
Step 2: Mount the Security Cameras
Once you’ve selected the best locations for your cameras, it’s time to mount them.
For both Dome and Bullet Cameras, start by drilling holes for the mounting screws. Use the included mounting bracket to securely attach the camera to the desired surface. If you’re installing a Dome Camera, remember to adjust its 90-degree tilt feature to maximize coverage.
Step 3: Connect the Security Cameras
ButterflyMX Security Cameras are designed for PoE, meaning you only need a single Ethernet cable to provide both power and data. After mounting the cameras, run a Cat5e or Cat6 cable from each camera to a PoE switch that meets the system’s power requirements (each camera requires 8 watts of power and 2 Mbps bandwidth).
Step 4: Set up the Camera Gateway
Each ButterflyMX Security Camera must be assigned to a ButterflyMX Camera Gateway, which supports up to 10 cameras. To set this up, connect the cameras and the Gateway to the same PoE switch, ensuring they are all on the same local area network subnet.
Step 5: Configure the Security Camera settings
Once the Security Cameras and Camera Gateway are set up, contact the ButterflyMX support team to configure your camera settings. The phone number for the support team is 800.398.4416 ext. 2
Once set up, your clients will be able to see live and historical footage through the ButterflyMX, and manage property access from one unified system.
For more information on installing ButterflyMX products, visit our installer resources.