Key takeaways
- An intercom system itself can cost up to $5,000, while intercom installation can cost up to $3,000.
- Intercom systems that are installed correctly can last up to 20 years.
- The process of installing an intercom will vary based on whether you’re installing a new intercom or retrofitting an old one.
- Closely follow a step-by-step guide in order to install any intercom system correctly.
Whether it’s for your multifamily building, commercial office space, or large-scale property, installing an intercom system can greatly enhance security and convenience.
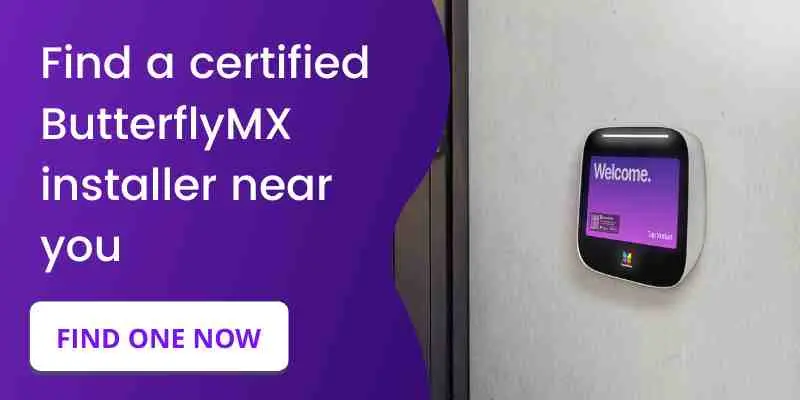
However, for an intercom installation project to be successful, it requires an experienced installer certified for the job. Otherwise, the property won’t benefit from all the intercom system has to offer.
In this guide, we detail everything you need to know about installing an intercom system. You’ll find out how much it costs to install, how long the process typically takes, and the differences between a new construction and a retrofit installation.
This guide covers:
- How do you install an intercom system?
- How much does it cost to install a video intercom?
- How long do intercom systems last?
- New construction vs. retrofitting intercom installation
How do you install an intercom system?
To ensure a successful installation, use this guide as a step-by-step process for setting up your intercom system.
However, the process of installing an intercom may vary based on the system you’re installing.
Follow these steps to install an intercom system:
- Choose the right intercom system
- Read the installation manual carefully
- Acquire the materials needed for intercom installation
- Unbox and register the intercom
- Prepare the intercom mounting site
- Prepare the intercom wiring
- Mark the mounting area
- Attach the intercom backplate
- Connect the wiring to the intercom
- Attach the intercom system
- Activate and test the system
- Configure the settings
- Train users
1. Choose the right intercom system
Choosing the right intercom system for your property is key to ensuring you get the most value from your investment.
For example, if you own or manage a medium to large-scale property that regularly gets a lot of visitors, consider getting an intercom with a camera so you always stay in the know about who’s entering your building.
Here are a few other key features to look for in an intercom system:
- Mobile app. When paired with a mobile app, an intercom empowers tenants and visitors to open any entry point with their smartphone.
- Unified access control solution. Consider an intercom that is a component of a unified access control system. As a result, this will empower you to integrate elevator controls, smart locks, vehicle access control, and more to manage access to and throughout your property.
- Wide-angle camera. A wide-angle camera lens enhances security because you’ll get a clear, unobstructed view of everyone who accesses your property.
- WiFi and RFID connectivity. Intercoms with flexible connectivity options empower tenants with the choice to open access points with their smartphones. In addition, they can opt to use other keyless RFID credentials like keycards or fobs.
- Cloud-based system. Keep track of who’s frequenting your property with time-and-date-stamped audit logs. What’s more, a cloud-based intercom system empowers you to manage, monitor, and adjust access permissions from anywhere.

2. Read the installation manual carefully
Read the installation documentation thoroughly and follow the instructions carefully to ensure you don’t void your warranty by accidentally installing the intercom improperly.
Furthermore, by meticulously going through the manual, installers gain a comprehensive understanding of the intercom’s features, wiring diagrams, and configuration options.
So, this empowers you to get the most out of your intercom system by capitalizing on all your intercom’s powerful features. Moreover, you can tailor your intercom system to fit the exact needs of your property.
3. Acquire the materials needed for intercom installation
Acquiring the right tools and equipment not only facilitates the installation process but also ensures the safety, efficiency, reliability, and functionality of the system.
The general tools you’ll need for an intercom installation include:
- A smartphone. You’ll likely need a phone to register the intercom and speak with the support team to activate the system after installation.
- Video intercom device. Lay out all the video intercom parts to ensure you have everything you need before beginning.
- Required wiring. Depending on your system, the wiring used will vary. However, many intercoms use similar types of wiring, including power, Ethernet, and door release.
- Fish tape. If you have to run any kind of wiring through the walls or ceilings, a fish tape or rod helps it reach the destination easier.
- Screwdriver. An electric drill can act as a replacement, but in some cases, a screwdriver may be more appropriate for removing and inserting screws, such as the intercom’s backplate.
- Electric drill. The electric drill will help with drilling any necessary holes, alongside securing the intercom to the surface.
- Razor blade or scraper. A straight edge from a razor or scraper is perfect for cleaning up the edges of any holes or caulk from an old system.
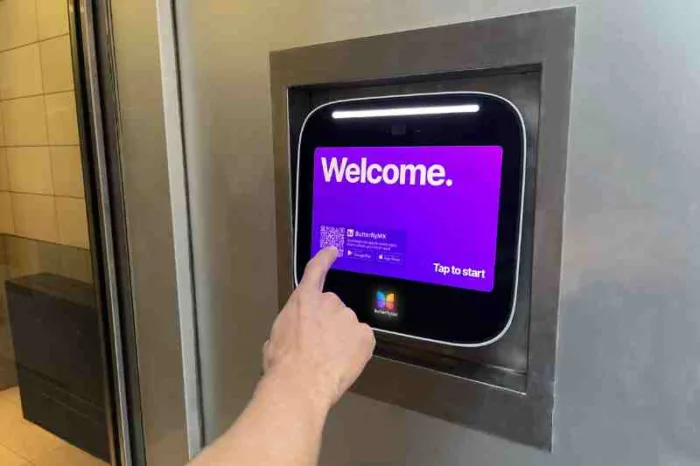
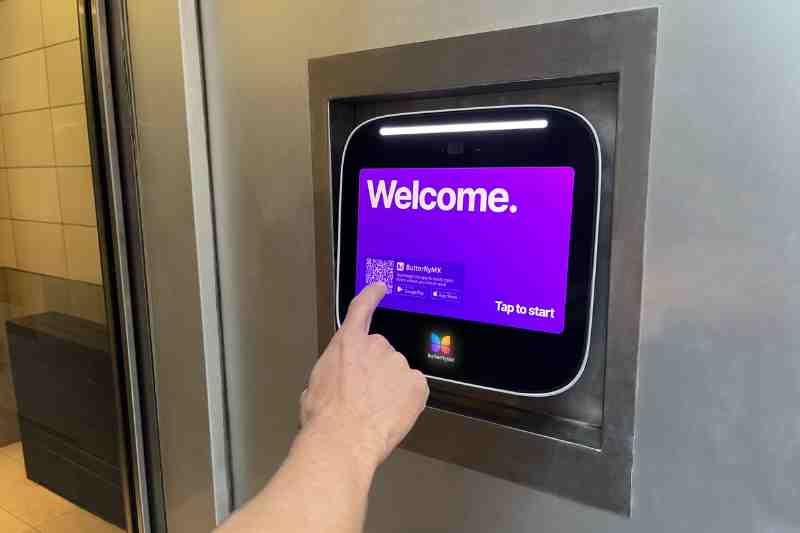
Learn how to remove an old intercom before installing ButterflyMX:
4. Unbox and register the intercom
The first step of installing an intercom system is to remove it from the packaging and locate the serial number. Write it down or take a picture of it for later. The serial number is required to register and activate the intercom after the system is installed.
5. Prepare the intercom mounting site
This step will vary based on whether there is an existing intercom or not.
If you’re replacing an old intercom, remove it from the wall safely before disconnecting the wiring. Afterward, clean the area as best as possible, removing any leftover adhesive, caulking, or debris.
On the other hand, if there is no existing intercom, ensure the mounting site is level and clear of debris. Then, using the backplate or intercom as a guide, mark a spot to cut a hole for wiring. Finish this step by cleanly cutting the hole for the intercom wiring using the appropriate tool.
6. Prepare the intercom wiring
For those who have to remove an old intercom, review the quality of any wiring you’ll be utilizing. Ensure the wires are intact and there is no damage to the shielding. Next, assemble any cabling you may need to run through the wall with the fish tape.
With the wiring attached, slowly push the fish tape through the wall to the desired location before connecting it to the respective port.
If you’re running wiring to the intercom location for the first time, attach all of them to the fish tape. Once secured, feed the fish tape through the wall, following a path toward the desired location. After the wiring has reached its destination, connect each to the correct port.
7. Mark the mounting area
Determine where you’d like to mount the system by using the intercom mounting bracket or backplate. Once you’re happy with the placement, use a pen or marker to mark the holes.
8. Attach the intercom backplate
After your intercom backplate’s position has been labeled, use an electric drill to make the holes. Before securing the backplate to the wall, ensure all the required cables are routed through the backplate’s hole. Next, secure the backplate to the wall using screws. Before you finish tightening the screws of the backplate, check to make sure it’s level.
9. Connect the wiring to the intercom
Now, if necessary, remove any port covers on the back of the intercom, keeping any screws safe. If there is a hole present, run the cables through it before plugging anything in. Then, attach all the wiring required to the intercom: power, Ethernet, and door strike. Lastly, reattach the back cover before moving forward.
Pro tip: Follow your system’s intercom wiring diagram to prevent damage, wear, or interference over time. Additionally, secure intercom system wiring reduces the risk of accidental tripping or disconnection, maintaining the integrity of the unit.
Furthermore, following the intercom wiring guide minimizes the chance of signal loss or distorted communication between units.
10. Attach the intercom system
Once the wiring is connected to the intercom, secure the system to the backplate. If the intercom has any locking mechanism, be sure to engage that right away.
Attaching the intercom properly directly impacts the system’s functionality, safety, and longevity. What’s more, a properly attached intercom makes it easier to troubleshoot and maintain, saving time and effort in the long run.
This step not only prevents intermittent failures but also ensures the intercom operates properly, enhancing its durability and performance.
11. Activate and test the system
Finally, follow the activation instructions provided by the intercom company. You’ll need the serial number you recorded earlier. After activation, test the system to ensure the intercom is working correctly before it’s handed off to the property.
Testing a new intercom system ensures its functionality, reliability, and overall effectiveness. What’s more, testing empowers you to identify and address any potential issues before the system is fully deployed.
Additionally, testing your new intercom allows you to confirm that all intercom units are properly connected. So, you can detect and resolve any audio or video quality problems. As a result, this ensures users can communicate clearly without any distortions or disruptions.
12. Configure the settings
Configure your intercom system properly to guarantee that your intercom operates successfully.
Here’s why configuring your intercom is essential:
- Optimize performance. Configuring intercom settings ensures that the system operates at its optimal performance level.
- Customization. Tailor the system based on your needs by setting up communication channels, adjusting volume levels, configuring access controls, and integrating additional features.
- Integrations. Proper configuration allows seamless integration with features such as smart locks, alarms, smart automation systems, and more.
- Ensure a user-friendly experience. Configured settings create a user-friendly interface with intuitive menu options, clear instructions, and simplified controls that ensure users can easily navigate the new system.
Pro tip: Hire a certified intercom system installer to ensure your new intercom is configured exactly to your property’s needs and specifications.
13. Train users
Train your tenants and staff on how to use the new intercom to ensure a seamless transition to the new system.
Here’s how you can easily train users on the new intercom effectively:
- Hold info sessions. Organize training sessions to familiarize users with the intercom system. What’s more, these sessions can be conducted in person, online, or through instructional videos.
- Demonstrate basic functions. Conduct live demonstrations to show users how to make calls, adjust volume, and access additional functionalities.
- Utilize user guides and video tutorials. Most commercial intercom companies have resources like user guides and video tutorials that are widely available and accessible.
- Ask for feedback. Encourage users to provide feedback about their experiences with the intercom system. As a result, you can use their feedback to address common challenges and improve user satisfaction.
During installation, you may run into more issues. Consult our frequently asked questions about intercom installation to troubleshoot.
How much does it cost to install a video intercom?
The cost to install a video intercom ranges from $1,000 to $3,000 or more, depending on certain factors.
Factors that impact intercom installation costs are:
- Vendor
- Location
- Whether you choose a wireless or a hardwired intercom system
- Complexity of installation
How much does an intercom system cost?
An intercom system could cost anywhere from $500 to more than $5,000. What will influence the cost is the range of functionality and features it has.
Note: This price range excludes ongoing subscription costs, maintenance, or installation.

How long do intercom systems last?
The average intercom system lasts approximately 20 years with proper care and maintenance.
Of course, cloud-based video intercom systems last longer because they can receive new features and updates remotely without needing manual updating. Plus, cloud-based systems can easily scale with a property’s growth, extending the device’s lifespan.
New construction vs. retrofitting intercom installation
The intercom system installation process will vary based on the type of building it’s installed in and the type of intercom being installed. New developments will plan for the intercom, while an existing building may have to adjust its infrastructure.
So, it’s vital for intercom installers to consider the unique factors that will impact the installation process.
Considerations for both types of intercom installation: