
Features of our new intercom
- Built-in WiFi for easy installation
- Wide-angle camera for enhanced security
- RFID for fob and keycard access
- Cast aluminum for improved durability
- Ultra bright LED display for visibility day or night
- Backward compatibility for fast upgrades
Prerequisites
- You must have an existing ButterflyMX video intercom
- You must be a certified ButterflyMX installer
Replacing your existing ButterflyMX video intercom with our new video intercom is fast and easy. In this post, we’ll show you how to remove your existing intercom, test the wiring, and replace it with our new model. Read on to get started.
You can also review our complete installation documentation for all of our access control products.
How to replace your existing ButterflyMX intercom with our new intercom:
- Remove the existing intercom
- Remove the I/O port cover and disconnect the wiring
- Remove the existing backplate
- Test power and ethernet connections
- Mark and drill holes for the new intercom using the mounting template
- Install the mini-mount
- Prep new intercom for installation
- Install new backplate
- Double-check and test connections
- Connect all wires securely to the I/O port
- Close I/O port
- Secure and lock the new intercom to the backplate
1. Remove the existing intercom
Using the original key provided, unlock the existing intercom from the backplate and remove it. Note: If you don’t have the key, please contact our support team to request a new one.
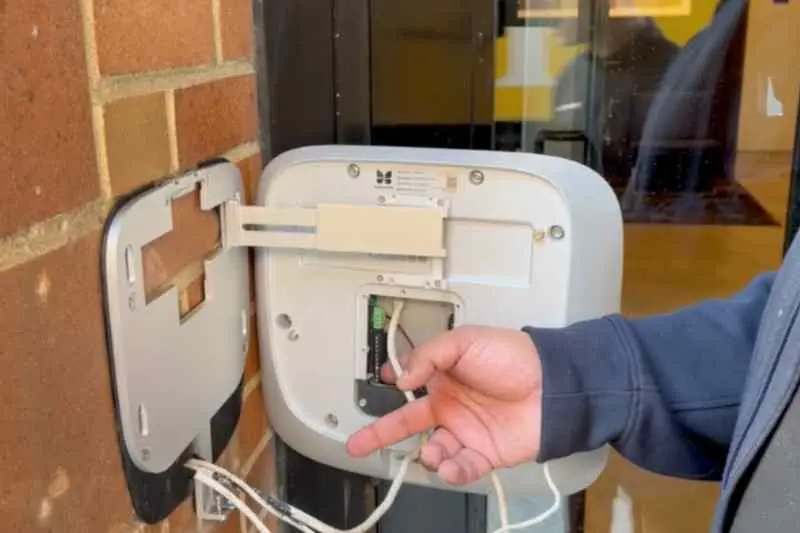
2. Remove the I/O port cover and disconnect the wiring
Using a screwdriver, remove the I/O port screws to separate it from the intercom. You’ll find the power wire, ethernet cable, and relay cables behind the I/O port cover.
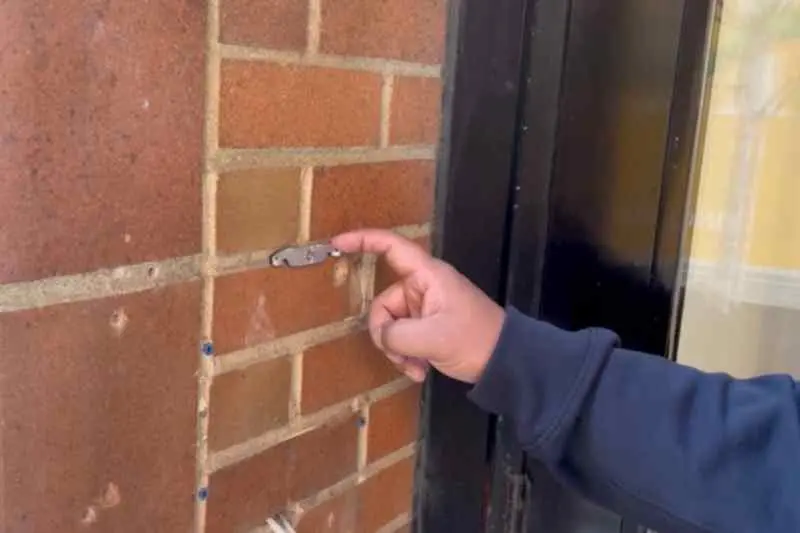
3. Remove the existing backplate
Using a screwdriver, remove the screws to separate the existing intercom’s backplate from the wall.
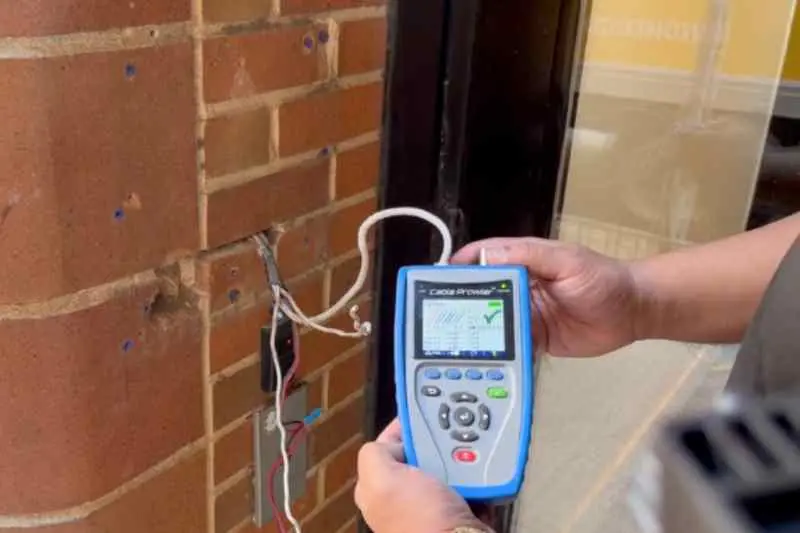
4. Test the current power and ethernet connections
Ensure the existing power supply is providing 24 volts. If the voltage is within this 24-volt range, you can replace the existing barrel connector with the new Phoenix connector. If the voltage reading is poor, you’ll need to re-run the power cable with the one provided with the new intercom.
5. Mark and drill holes for the new intercom using the mounting template
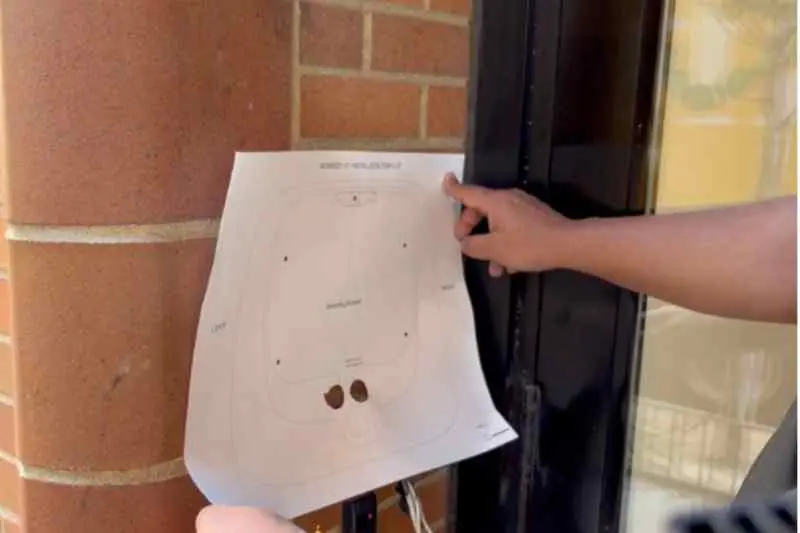
Mark the drill holes using the mounting template provided with the new intercom. Once marked, drill the holes and insert the provided anchors, making sure they are properly secured in place.
6. Install the mini-mount
The mini-mount is used to hold the new intercom in place while securing it to the wall.
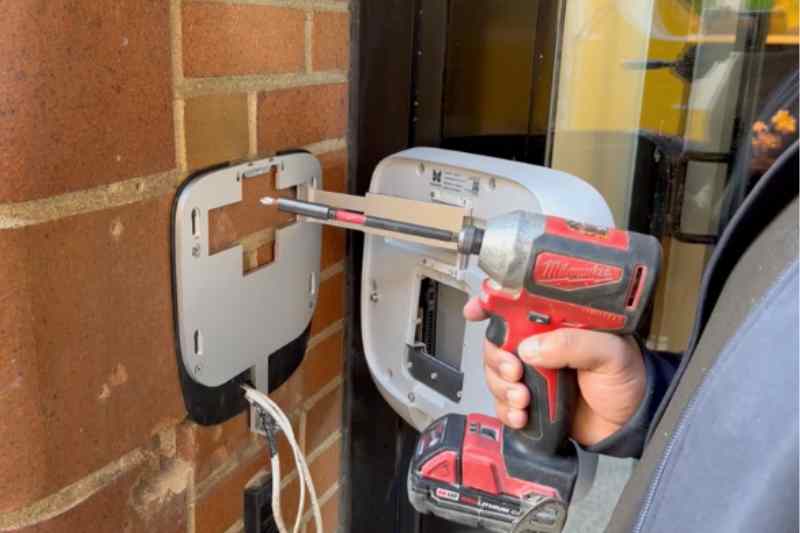
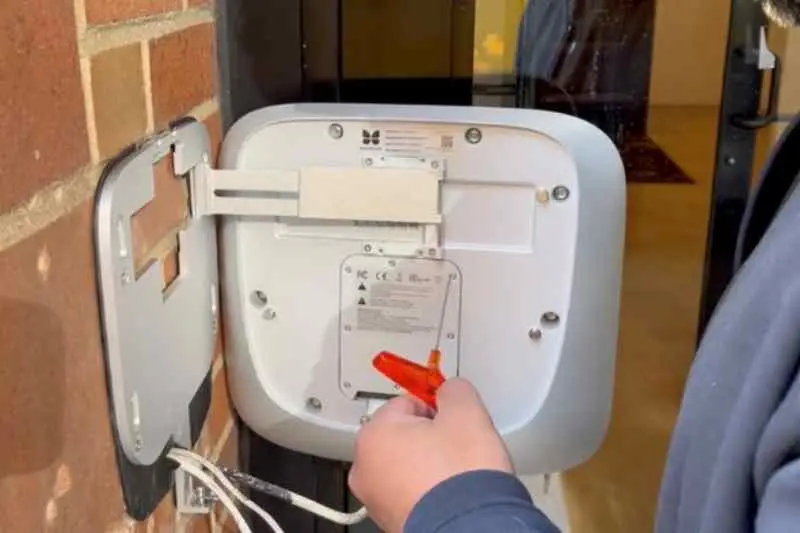
7. Prep the new intercom for installation

Remove the I/O port cover from the new intercom using the tool provided. Be sure to keep the I/O port cover, screws, and tool in a safe place.
8. Install the new intercom backplate
Using the mini mount to hold the backplate and new intercom in place, screw the screws for the backplate into the wall.
9. Double-check and test all connections
Check the voltage again to ensure the power supply is providing 24 volts. We also recommend testing the ethernet wire again to make sure nothing came loose during the installation.
10. Connect all wires securely to the I/O port
Ensure that all wires are securely fastened so they do not come loose or become disconnected when securing the intercom to the backplate. Also, ensure that the door relay wiring is wired in the appropriate state, depending on the type of access control system or lock it is connected to.
11. Close I/O port
Using the provided tool that came with the new intercom, screw the I/O port cover back onto the new intercom. Be sure that all the screws are fastened properly, or the intercom will not close.
12. Secure and lock the new intercom to the backplate
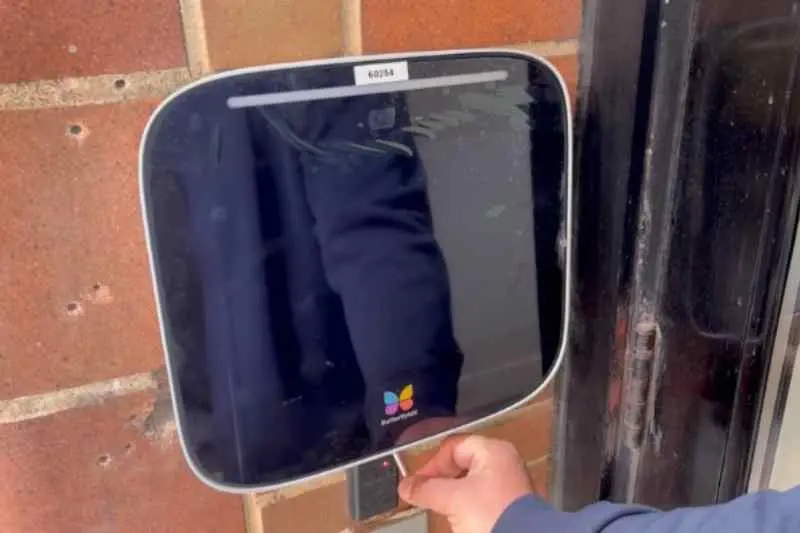
Secure the new intercom to the backplate and lock it with the provided key.
Once these steps have been completed, the intercom is ready to be powered on and activated. To activate your new intercom, follow the instructions on the screen. If you have any additional questions, please refer to our installation documentation or contact support.