If internet connectivity issues arise while using the ButterflyMX Video Intercom, there’s an easy solution: Switching the ethernet port.
Follow the instructions below to learn how to do this
- Locate the Video Intercom security key
- Remove the IO port cover on the back of the Intercom
- Unplug the network (CAT) cable
- Plug the network (CAT) cable into the other port
- Remount your Video Intercom
Step 1: Locate the Video Intercom security key
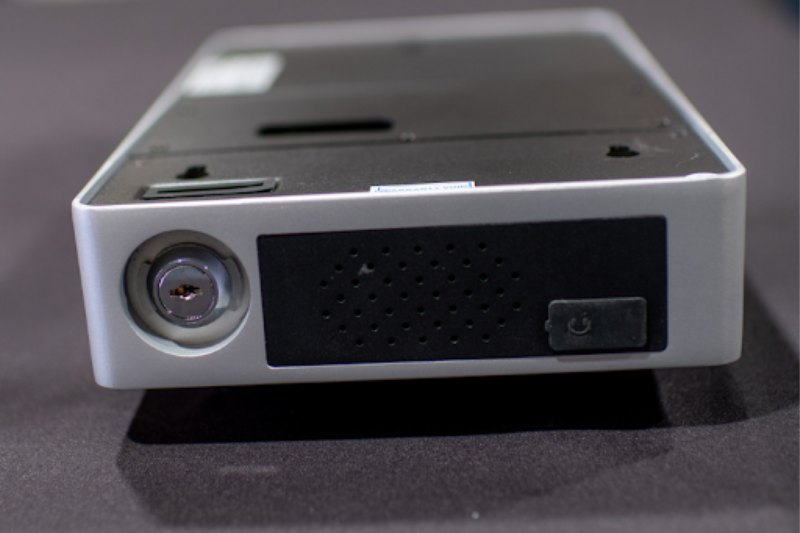
The first step is to locate your Video Intercom’s security key. This key was provided upon installation and will allow you to remove the intercom from the wall.
Simply insert the key at the bottom of the intercom (shown in the image below) to allow removal of the intercom from its backplate or backbox.
Step 2: Remove the IO port cover on the back of the Intercom
Once the Intercom has been taken off the wall, you’ll need to remove the IO port cover (on the back of the intercom) by unscrewing it. Keep these screws close by because you’ll need them to put the cover back on.
Step 3: Unplug the network (CAT) cable
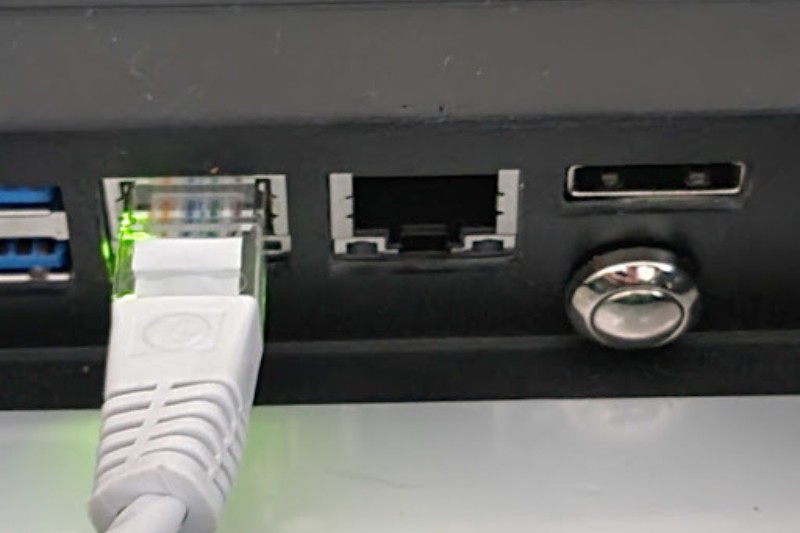
Locate the CAT cable and unplug it.
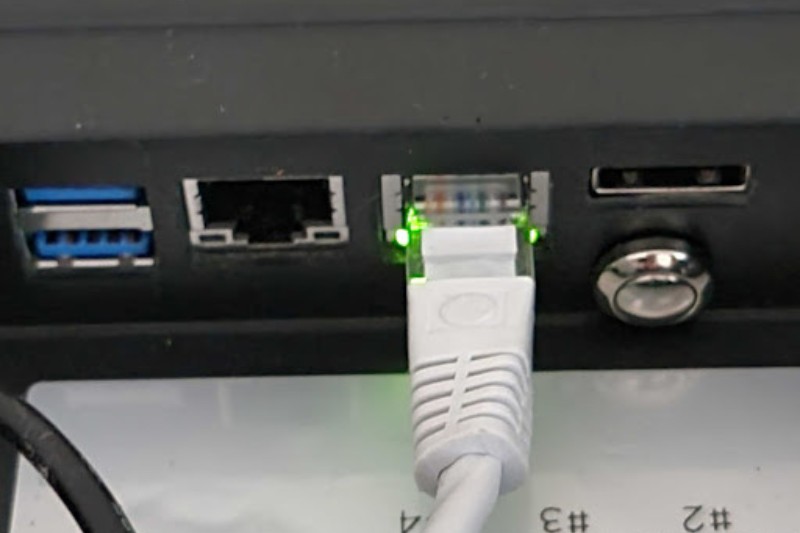
Step 4: Plug the network (CAT) cable into the other port
You’ll notice that the Video Intercom has two different ethernet ports. So, plug your CAT cable into the other port that wasn’t previously being used.
In many cases, switching the ethernet port resolves internet connectivity issues.
Step 5: Remount your Video Intercom
Put the IO port cover back on and remount the Intercom on the wall. Then, test the Video Intercom to ensure proper connectivity.
For more information on internet connectivity issues with your ButterflyMX Video Intercom, contact support.
