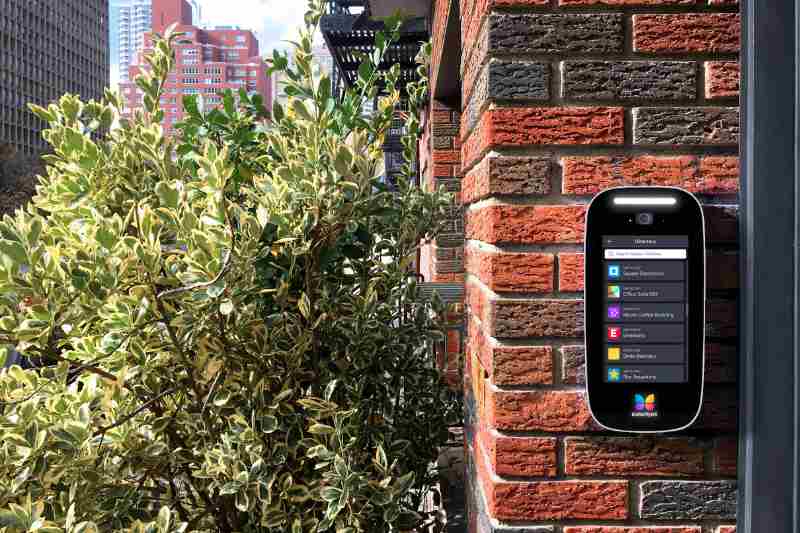
If you have a commercial property, it’s important that your ButterflyMX video intercom has a commercial directory.
Our commercial directory differs from our residential directory because it displays both company names and individual tenants’ names. This way, a visitor can still gain property access by calling the company’s front desk or receptionist — even if they don’t know exactly who at that company they’re visiting.
For this to work, each company must be assigned an office suite and a front desk attendant.
How to add tenants to your commercial intercom
- Log into the ButterflyMX OS
- Navigate to the ‘Business units’ section
- Hit ‘Add business unit’
- Fill in the information about the business unit
- Add employees
Step 1: Log into the ButterflyMX OS
Log in to the ButterflyMX OS on a computer.
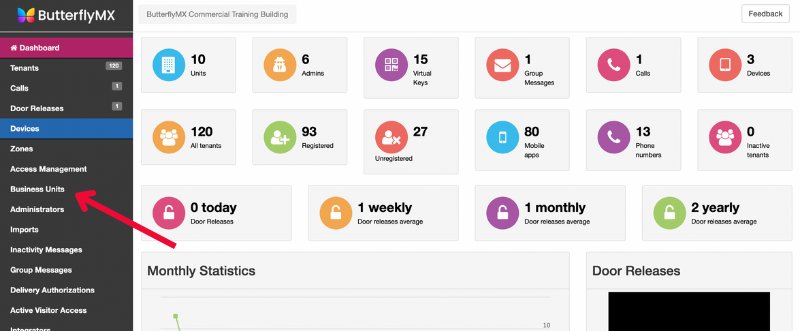
Step 2: Navigate to the ‘Business units’ section
Navigate to the ‘Business units’ section from the menu on the left-hand side of the page.

Step 3: Hit ‘Add business unit’
In the top right-hand corner of the page, click ‘add business unit’.

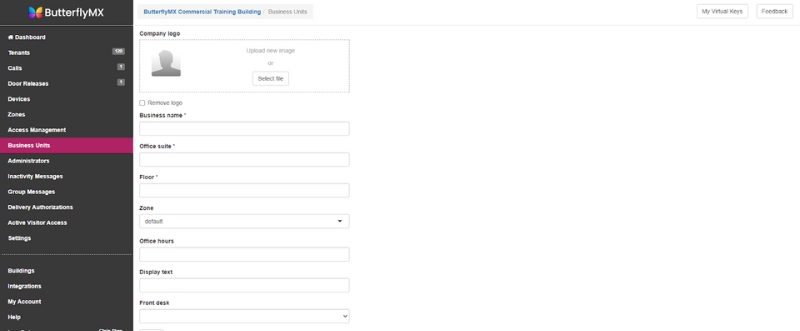
Step 4: Fill in the information about the business unit
From here, you will need to name the office. Fill in the suite number (unit label) and the floor, set the zone, and assign a front desk attendant. A front desk attendant is a person who receives calls when a visitor taps ‘call front desk’ on the video intercom.
Note: Assigning a front desk attendant is required for the commercial directory.
There is also optional information that you can display on the intercom, including a logo, office hours, and instructions for visitors.

Step 5: Add employees
Next, add the employees to that particular Business Unit. You can manually add individual tenants or use our Google Workspace integration to sync your employee information.
And that’s how you add tenants to your commercial intercom. If you need assistance, please contact our support team.


