As an installer, you’re bound to come across customers looking to install a ButterflyMX video intercom in various types and styles of buildings. One popular style you’ll encounter is brick buildings. However, you might wonder: Can ButterflyMX be mounted onto a brick building? Read on to learn how to install ButterflyMX video intercoms on a brick wall.
Navigate this post:
Can I install ButterflyMX Intercoms on a brick wall?
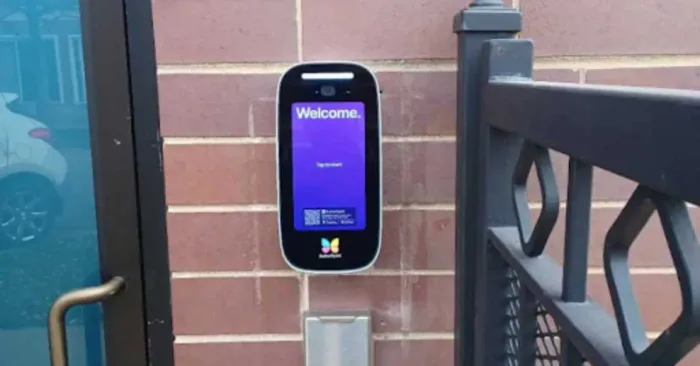
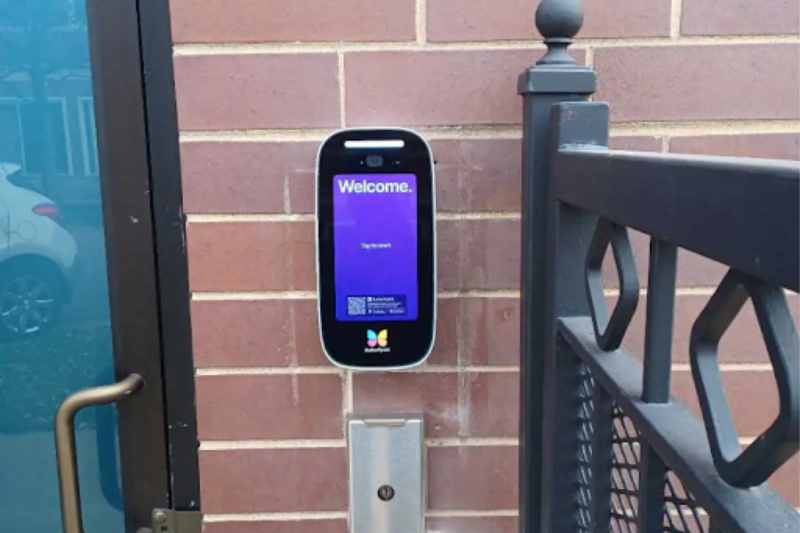
Yes, you can install ButterflyMX Video Intercoms on most surfaces, including brick, concrete, and glass. The detailed mounting system is designed to securely attach to brick, ensuring stability and durability. This ensures that your client’s intercom will withstand weather, use, and temperature changes while seamlessly blending in with their brick architecture.
How to install an Intercom on a brick wall
Installing a video intercom on a brick wall might seem intimidating at first glance, but it’s easier than expected.
Follow these six steps:
- Gather materials
- Drill the holes
- Connect the wiring
- Integrate with the access control system
- Apply silicone
- Activate the intercom

Step 1: Gather the materials
Before getting started, make sure you have all the required materials for installation:
- The video intercom
- Mounting hardware
- Brick drilling tools
Step 2: Drill the holes
Next, you’ll need to mark the installation area for the intercom and drill holes for the mounting screws. Use proper masonry drill bits and anchors suitable for brick to guarantee a secure installation.
Step 3: Connect the wiring
The video intercom needs three connections: power, internet, and a connection to the door lock. Connect the intercom to a dedicated power source. If the distance between the intercom and the power source is large, you may need an extension cable of the appropriate gauge. Additionally, the intercom requires a hardwired Ethernet connection. And if the distance from the intercom to the router is more than 300ft, you’ll need a network switch.
Step 4: Integrate the access control system
If you’re integrating the intercom with an Access Control System (ACS), connect the relay outputs from the intercom to the relay inputs on the ACS. If there’s no ACS, you can connect directly to the door lock using an isolation relay to safeguard the intercom from inductive kickback voltage.
Step 5: Apply silicone
Remember to apply silicone around the edges to prevent water from seeping in, especially when mounting the intercom on an outdoor brick wall surface. Once the intercom is mounted, secure it by locking the latch key.
Step 6: Activate the Intercom
Finally, to activate and set up the Intercom, contact our support team. This process involves entering a code generated from the ButterflyMX OS during installation. If you face any problems or require additional assistance, contact the Solutions Architecture Team for technical questions.