The amenity spaces at your property play a crucial role in promoting resident satisfaction. From your clubhouses and gym areas to your rooftops and more, you’ve put considerable effort into making sure your residents have spaces beyond their apartment units to enjoy.
Ensuring seamless amenity space reservation, however, can be a challenge. It’s important to guarantee your residents can easily reserve a space, but also that your property staff can keep bookings organized on the back end.
Read this post to learn more about the ButterflyMX amenity reservation tool and how to set it up at your building.
Navigate this post:
What is an amenity reservation?
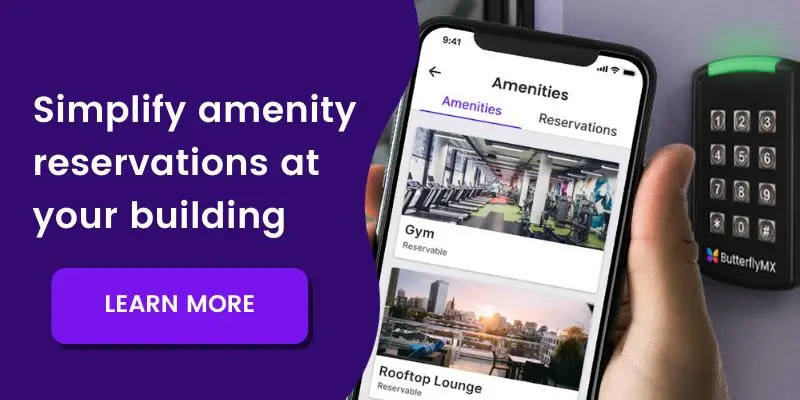
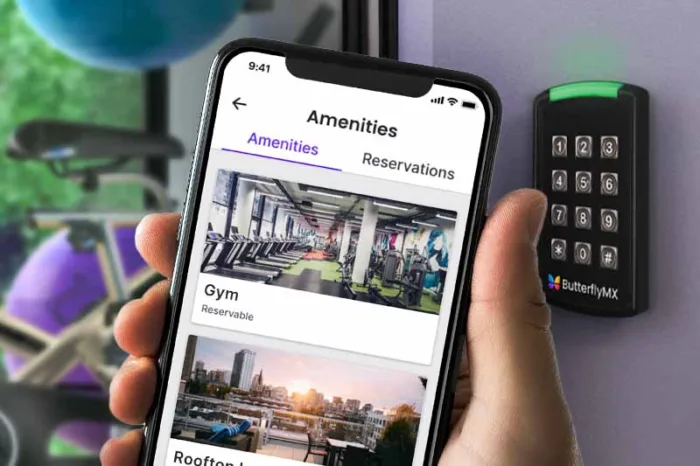
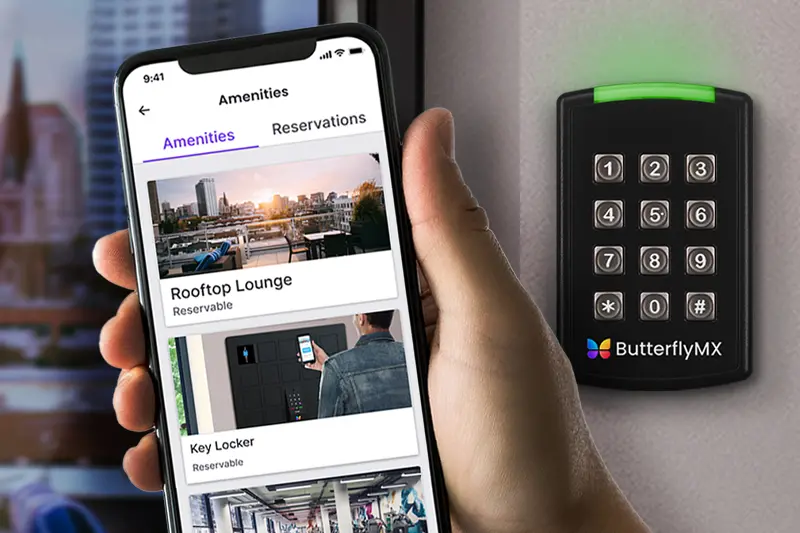
The ButterflyMX amenity reservation feature streamlines the amenity booking process for you and your residents. Once set up, residents can explore, reserve, and invite guests to your amenity spaces right through the ButterflyMX mobile app. Upon reservation, residents receive exclusive ‘swipe-to-open’ access, while guests receive date- and time-limited PIN codes to access the amenity space.
Additionally, this feature provides you with visibility into your booked amenities, reservation details, and payment status — all within your ButterflyMX account. Plus, you can manage requests, approvals, and access logs with ease from any smartphone or computer.
How do I set up amenity reservations at my building?
Prerequisites:
- You must have ButterflyMX keypads or intercom installed at your amenity space
- You must be a ButterflyMX admin
You can set up the amenity reservations feature by following the 5 steps below:
- Log into the ButterflyMX OS
- Navigate to the ‘Amenities’ section
- Click ‘Add Amenity’
- Add the amenity space details
- Approve reservation requests
1. Log into the ButterflyMX OS
Log into the ButterflyMX OS on a computer.
2: Navigate to the ‘Amenities’ section
On the left-hand menu, click on the ‘Amenities’ tab.

3. Click ‘Add Amenity’
Within the ‘Amenities’ tab in the ButterflyMX OS, begin adding your building’s amenities.
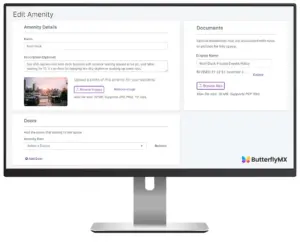
4. Add the amenity space details
Add the following details to your amenity space (these are visible to your residents):
- Amenity name
- Description (optional)
- An image of the space
- Fees associated with booking the space
You can also add additional details such as:
- Whether the space is reservable or non-reservable
- Reservation constraints (such as hours available for booking)
- Which spaces visitors have access to with a Visitor Pass
- Approval preferences
- The door associated with that amenity space
- Documentation associated with rules or policies for the space
5. Approve reservation requests
Finally, once the amenity spaces are set up in the ButterflyMX OS, your residents may begin to reserve the spaces. If you choose to require approval on reservations, all reservation requests will appear within the amenities tab for you to review and approve or deny.
Once approved, residents will have time-restricted access to that amenity space through the mobile app and can invite guests of their choosing.