If you’re installing a ButterflyMX intercom and reading this post, you should have already unboxed and registered the ButterflyMX surface intercom. Now, the next step is to install the ButterflyMX backplate. Read the instructions below to learn how.
How to install the ButterflyMX surface intercom backplate to the wall:
- Plan where the backplate will go
- Mark the holes with a Sharpie
- Pre-drill the holes
- Route the wires through the hole in the backplate
- Screw the backplate into the wall
- Double-check your work with a level
Step 1: Plan where the backplate will go
Use a level to plan the placement of the backplate.
Step 2: Mark the holes with a Sharpie
Once you’re happy with the placement, mark the holes with a Sharpie.
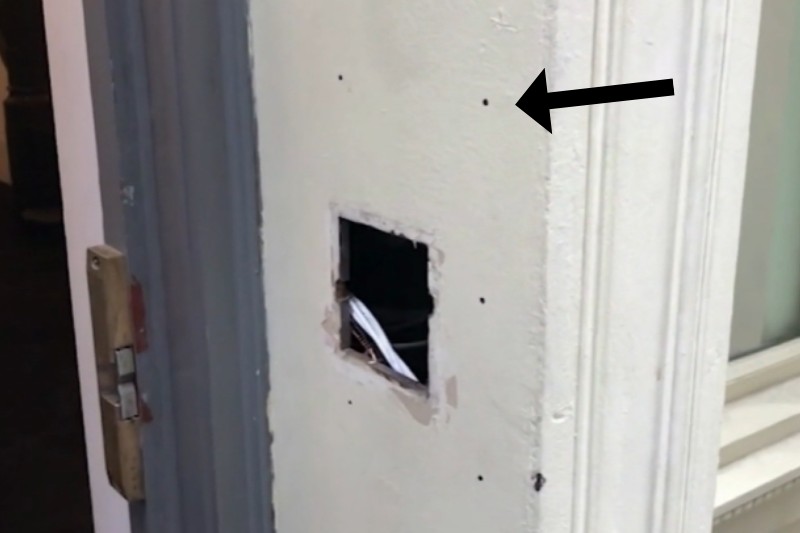
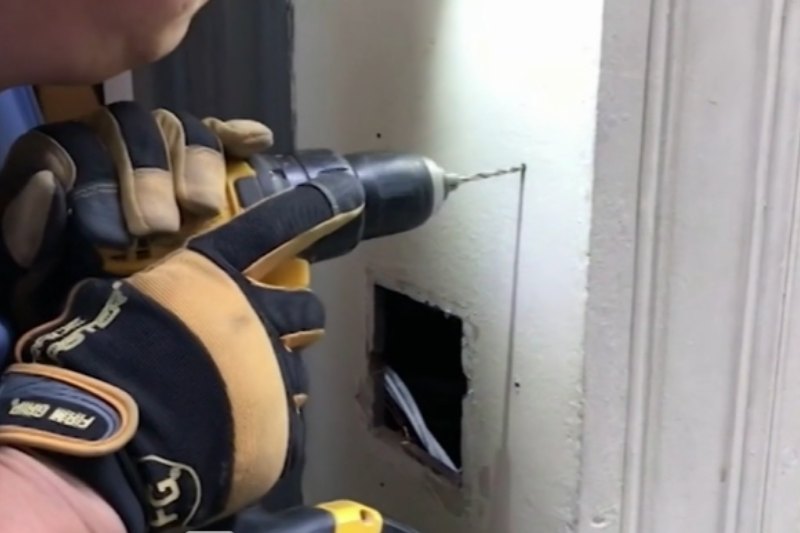
Step 3: Pre-drill the holes
Pre-drill the holes with a 5/32 bit.
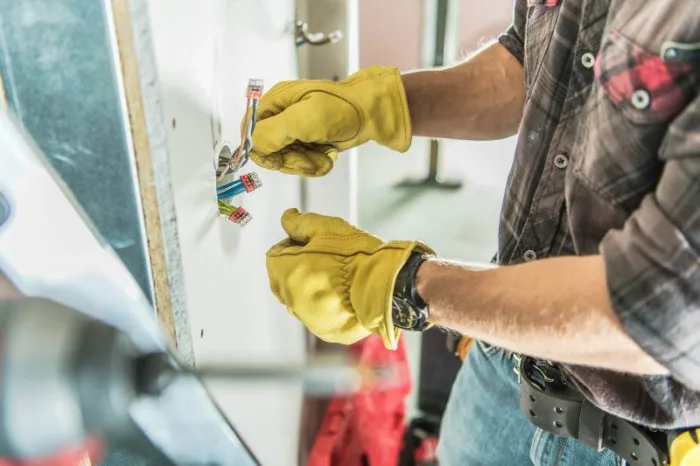
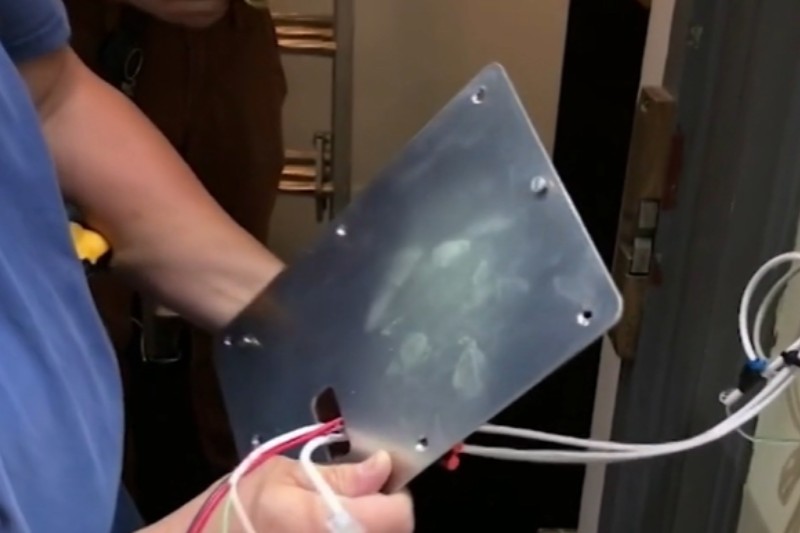
Step 4: Route the wires through the hole in the backplate
Before you mount the backplate to the wall, make sure to route the wires through the hole in the backplate.
You should have a power cable, Ethernet cable, and a relay cable for the door strike.
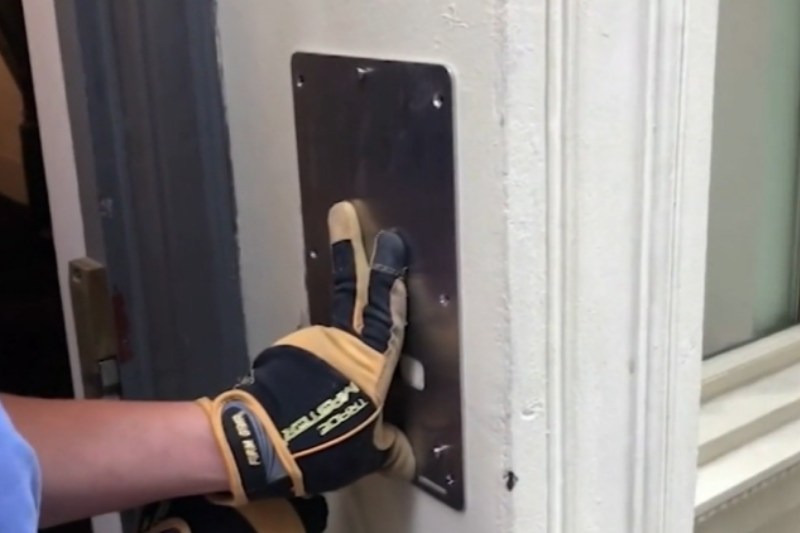
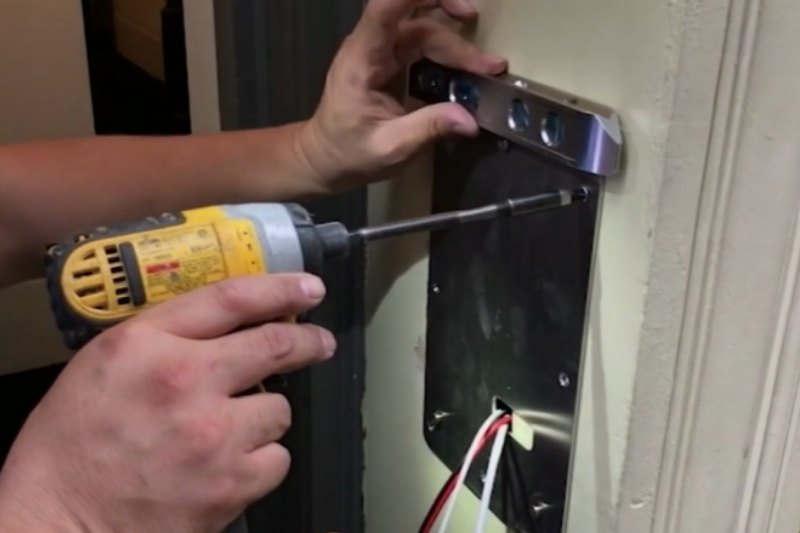
Step 5: Screw the backplate into the wall
Once you’ve placed the backplate in position, begin screwing it into the wall.

Step 6: Double-check your work with a level
Before you mount the intercom, double-check your work with a level to ensure the backplate is straight.
And that’s how you install the ButterflyMX backplate. Be sure to check our installation guide for more information on installing our smart video intercoms.