Important note: You must be certified to install ButterflyMX video intercoms. If you are not certified, you risk voiding our two-year hardware warranty. Join our free dealer program to get certified. Once you’ve joined , you’ll be eligible to receive discounted hardware pricing and installation referrals.
Once you’re a ButterflyMX certified installer, follow the 8 steps below or learn how to install our new video intercom.
How to install ButterflyMX:
- Remove the existing intercom (if applicable)
- Unbox and record the serial number
- Gather the supplies needed for installation
- Prepare the wiring
- Install the backplate
- Mount the intercom and terminate the cabling
- Secure the intercom by locking the latch key
- Call ButterflyMX Support to register and activate the intercom
Step 1: Remove the existing intercom
If you are replacing an existing intercom, you will first need to remove it. Then, check the existing wiring for the network and power. You can skip this step if you are not replacing an existing intercom.
How to remove an existing intercom »
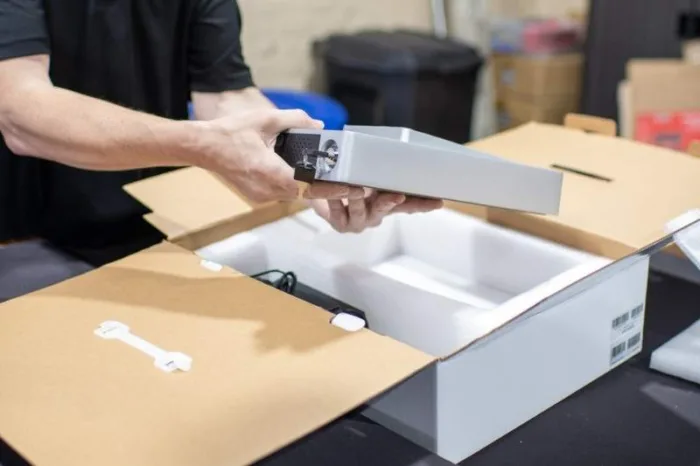
Step 2: Unbox and record the serial number
Before you begin the installation, first unbox and record the serial number.
Important: You’ll need the serial number to register the intercom later on. Please record the serial number before the intercom is installed.
How to unbox and register the intercom »
Step 3: Gather the supplies needed for the installation
Next, gather the supplies needed for the installation.
ButterflyMX provides
- The video intercom
- Latch key for the intercom
- 24 VDC transformer
ButterflyMX does not provide:
- Cat cable
- Rex line
- Uninterruptible Power Supply (UPS)
- Extension cable for power
- Isolation relays
- 12 VDC adapter for isolation relays
- Diodes (DC locks)
- Resistors (AC locks)
Step 4: Prepare the wiring
Once you unbox and register the intercom, you can begin preparing the wiring before mounting the intercom to the wall or pedestal.
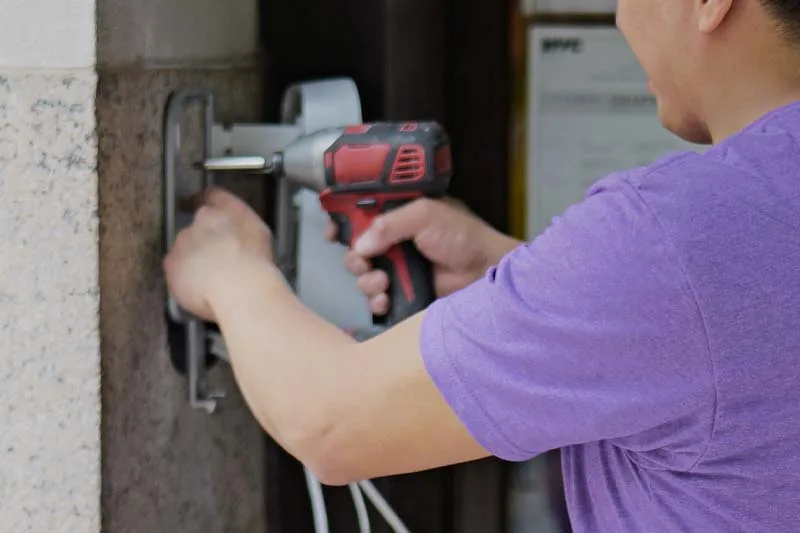
Step 5: Install the backplate
Next, install the intercom’s backplate.
How to install the backplate »
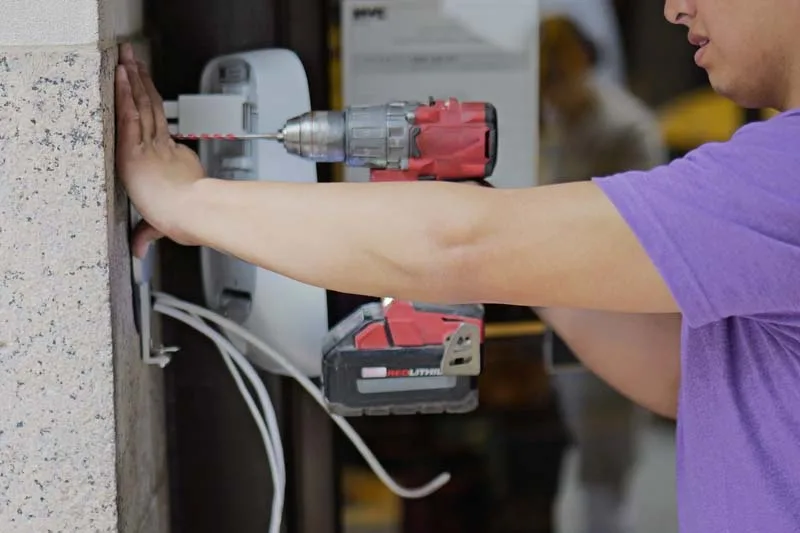
Step 6: Mount the intercom and terminate the cabling
Now it’s time to mount the intercom and terminate the cabling. Depending on whether you are installing a recessed or a surface intercom, the instructions will be slightly different. Be sure to mount the intercom at a height that is ADA-compliant.
How to mount the recessed intercom »
How to mount the surface intercom »
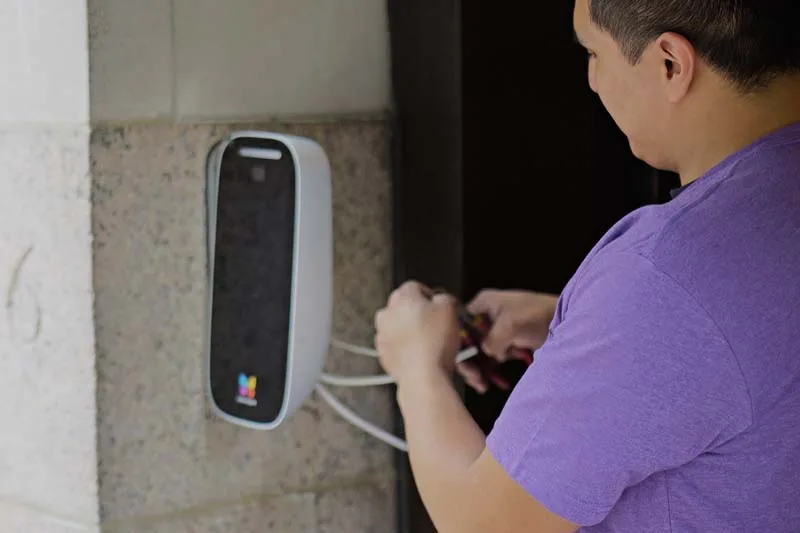
Step 7: Secure the intercom by locking the latch key
Then, secure the intercom by locking the latch key.

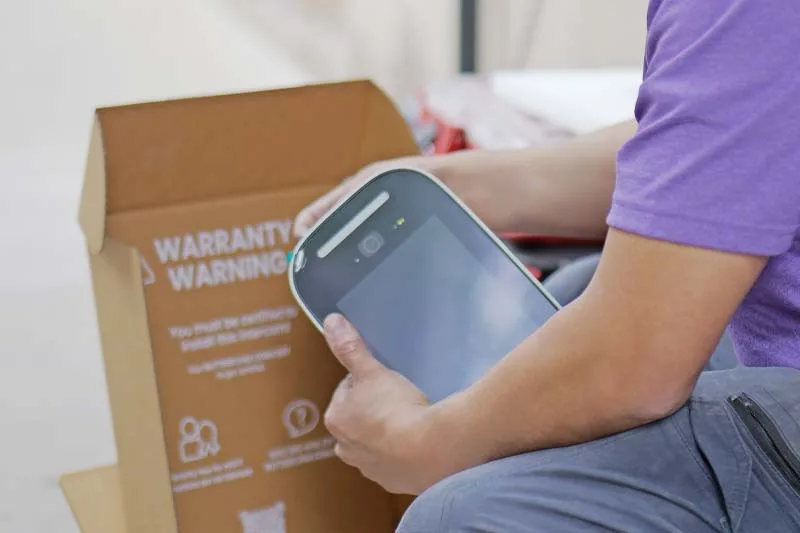
Step 8: Call ButterflyMX Support to register and activate the intercom
Finally, call the ButterflyMX support team. We’ll remotely set up the intercom for the specific property where you’ve installed it. The phone number for the support team is 800.398.4416 ext. 2. Reminder: you will need the serial number from step 2.
How to activate the intercom »
For more information on installing ButterflyMX products, visit our installer resources.