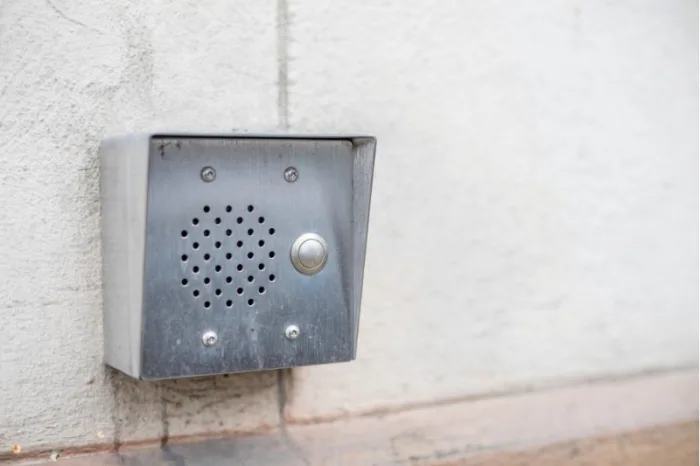
When you install a ButterflyMX Video Intercom, it’s possible that you will be replacing an older intercom. If that is the case, you will first need to remove the existing intercom. Read this post to learn how to remove an existing intercom from a door or gate.
How to remove an existing intercom
- Remove the intercom from the wall
- Pull out all of the wires
- Cut the power
- Cut the remaining wires
- Prepare the surface
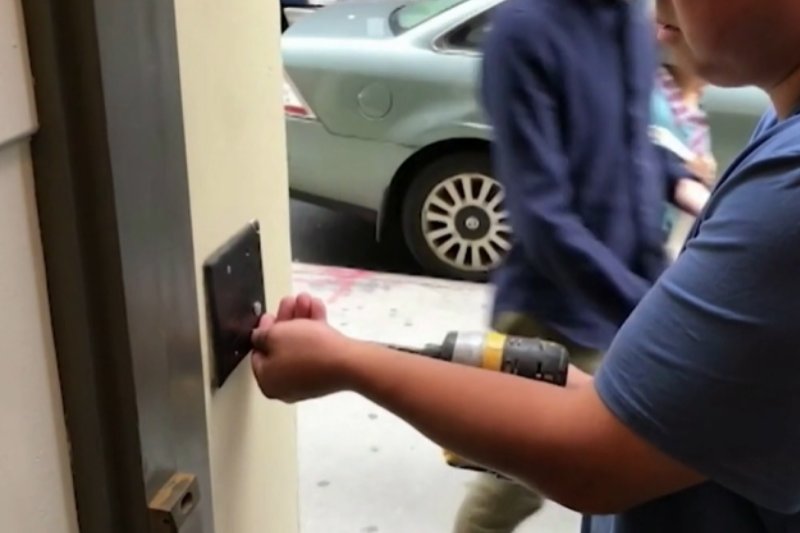
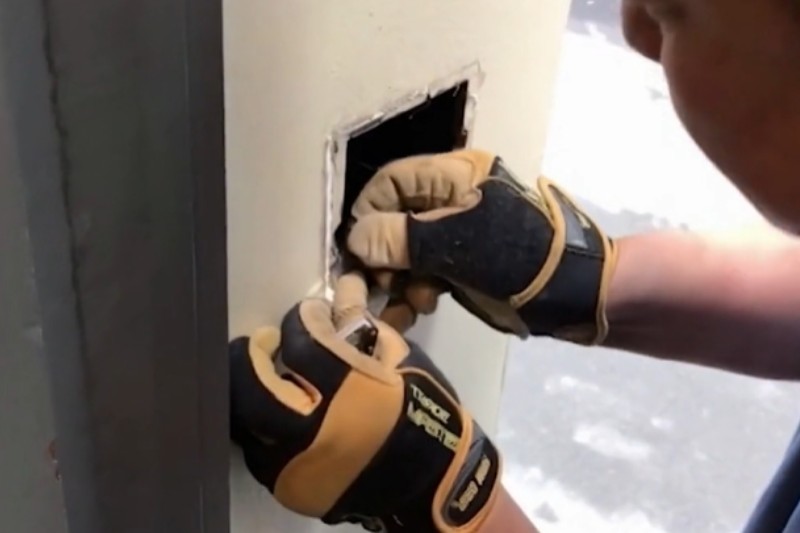
Step 1: Carefully remove the existing intercom from the wall
Carefully remove the intercom from the wall. Try not to damage the old intercom, as it will be returned back to the client.
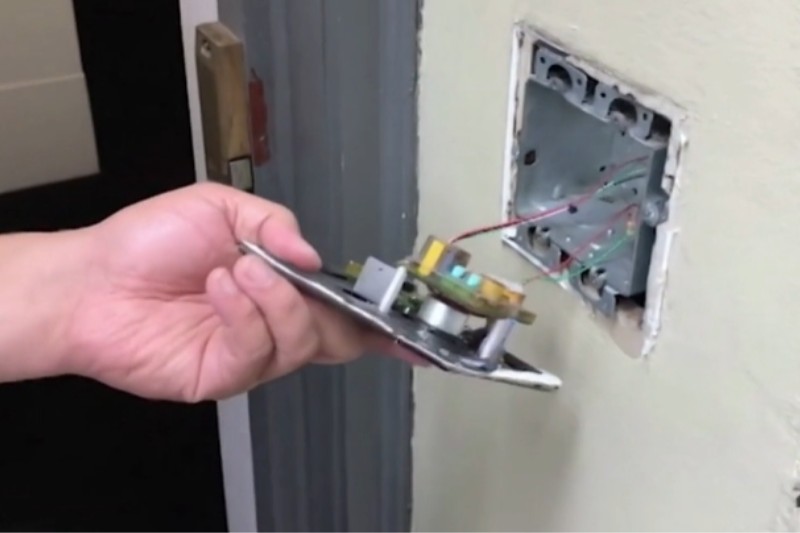
Step 2: Pull out all of the wires
Once you’ve detached the intercom, pull out all of the wires.
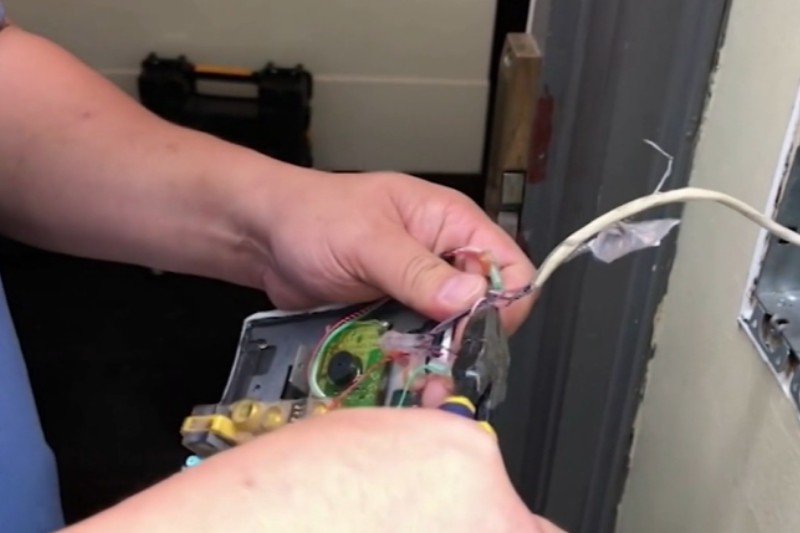
Step 3: Cut the power
Identify the red and black wires, and then cut the power.

Step 4: Cut any wires that remain
Cut any wires that remain.
Pro tip: Try to cut the wires as far from the intercom hardware as possible so that in the rare case of needing to put the intercom back on the wall, you can easily splice the wires together.
Step 5: Prepare the surface for the ButterflyMX Video Intercom
The backplate of your new ButterflyMX Video Intercom will sit flush on the wall, so you will need to perform basic surface preparation before mounting the backplate. In the video example shown above, they used a knife or scraper to remove silicone leftover from the previous intercom, then they used a toner to track the path of the cables through the building into the electrical room.
For more information on installing a ButterflyMX video intercom, visit the installer resources page on our website.