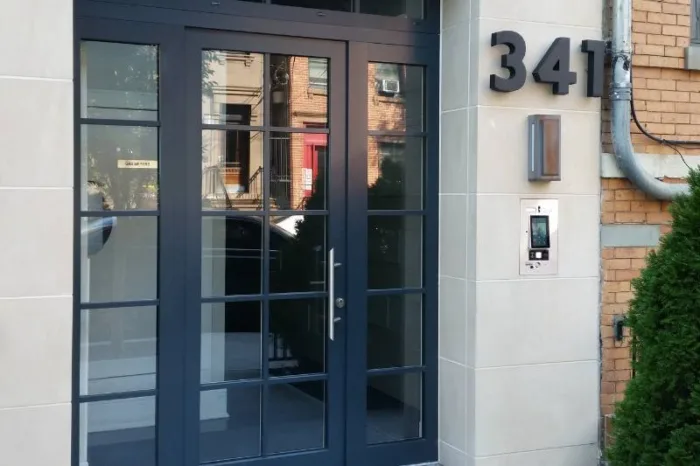
Important note: You must be certified to install ButterflyMX video intercoms. If you are not certified, you risk voiding our two-year hardware warranty. Register for our free, 30-minute online course to get certified. Once certified, you may also be eligible to receive installation referrals.
How to mount the ButterflyMX recessed intercom:
- Remove the faceplate
- Remove the screws along the outer edge of the intercom
- Record the serial number
- Carve out wall space
- Screw the backbox into the surrounding studs
- Apply silicone around the edge
- Mount the intercom to the backbox
- Screw in the intercom
- Attach the faceplate
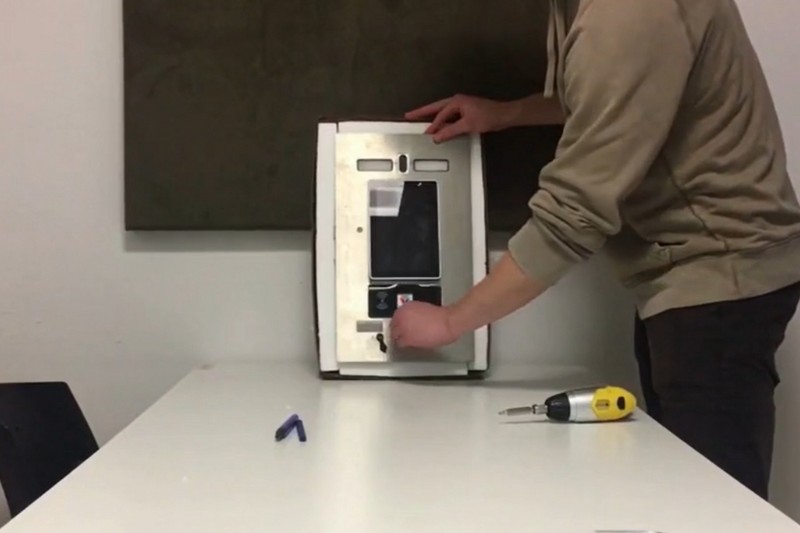
Step 1: Remove the faceplate
Use the key provided to remove the faceplate.
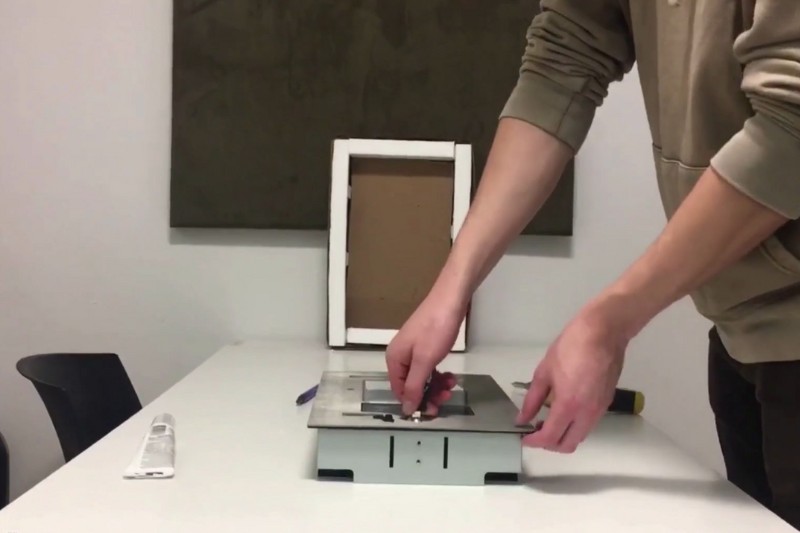
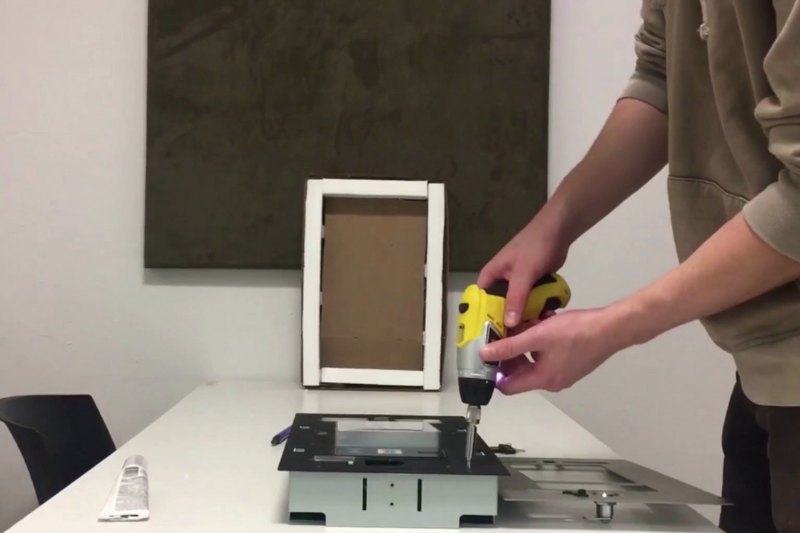
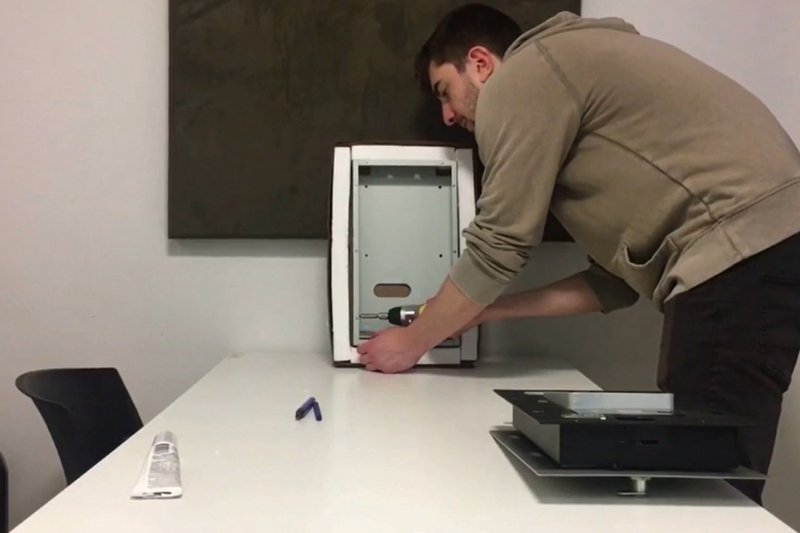
Step 2: Remove the screws along the outer edge of the intercom
Remove the screws along the outer edge of the intercom. These are screws that attach the intercom to the backbox.
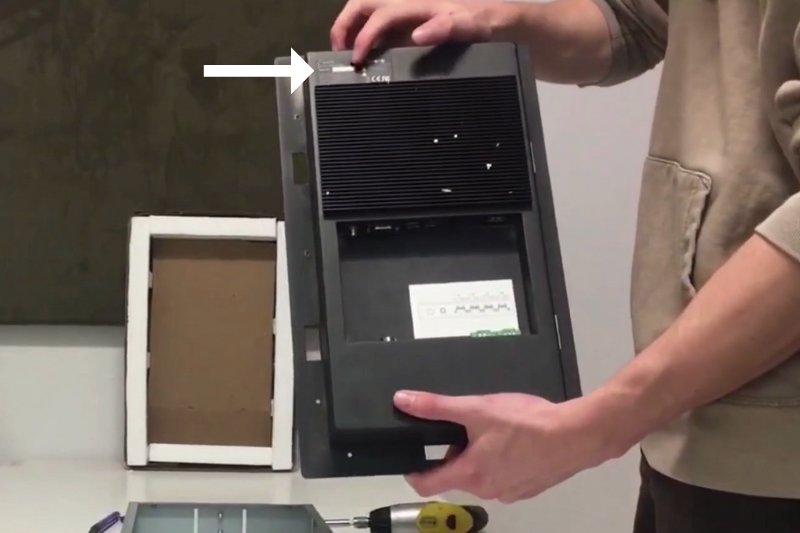
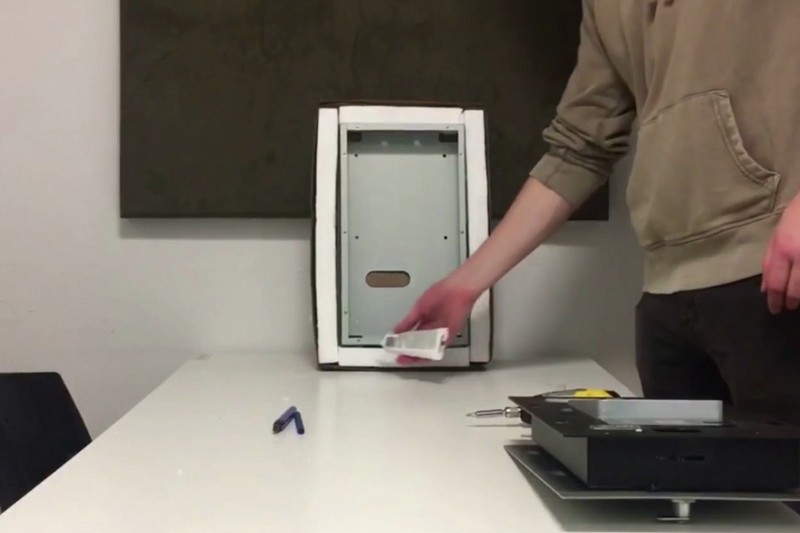
Step 3: Record the serial number
As soon as you remove the intercom from the backbox, be sure to record the serial number located on the back of the intercom. It will be on a black and white sticker. You’ll need this serial number to register the intercom when on the phone with support.
Step 4: Carve out wall space
Before carving out space in the wall, be sure that there are studs nearby that the backbox can mount to. Make sure that the backbox is not completely flush with the wall. It will need to stick out at least ⅙ of an inch.
Step 5: Screw the backbox into the surrounding studs.
Screw the backbox into the surrounding studs. This will secure it in place.
Step 6: Apply silicone around the edge
Apply silicone around the edge of the backbox where the backbox meets the wall. This will ensure a watertight seal.
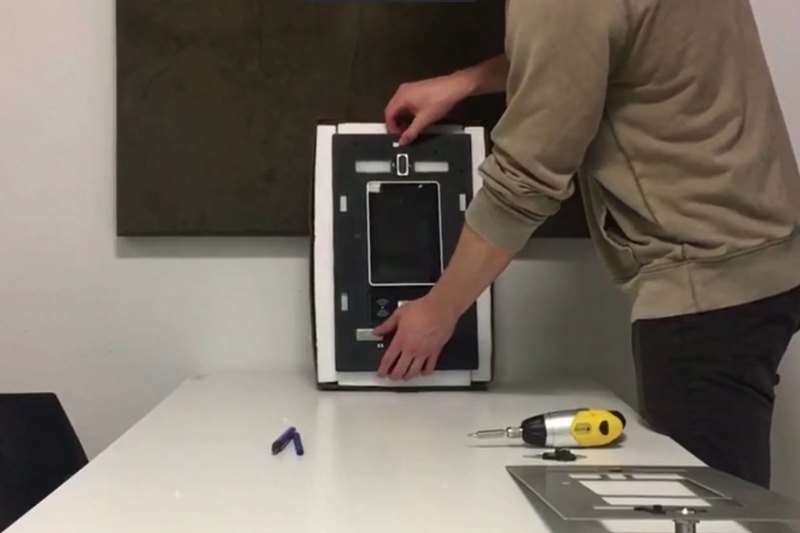
Step 7: Mount the intercom to the backbox
With the silicone applied, you can then mount the intercom to the backbox.
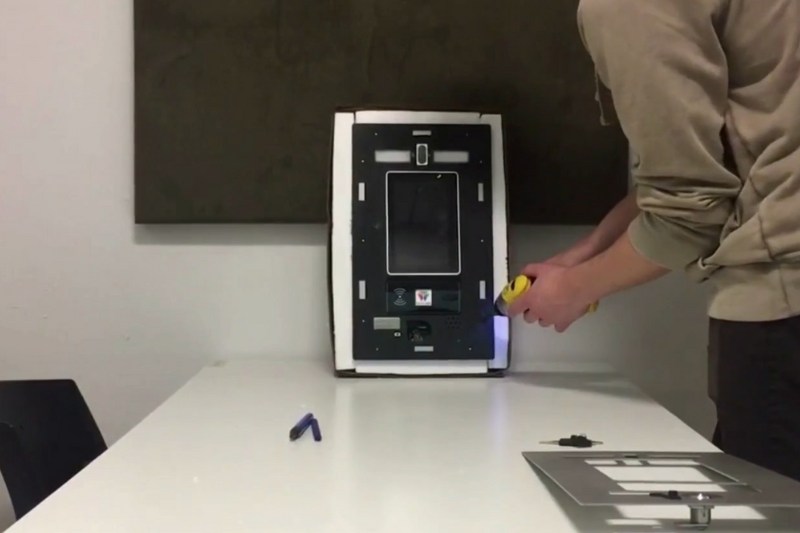
Step 8: Screw in the intercom
Screw in the intercom, make sure all screws are attached.
Step 9: Attach the faceplate
Attach the faceplate. Don’t forget to lock the faceplate with the keys provided.
And that’s how you mount the ButterflyMX recessed intercom. Be sure to check our installation guide for more information on installing our smart video intercoms.