Important note: You must be certified to install ButterflyMX video intercoms. If you are not certified, you risk voiding our two-year hardware warranty. Register for our free, 30-minute online course to get certified. Once certified, you may also be eligible to receive installation referrals.
How to mount the ButterflyMX surface intercom:
- Unscrew the I/O port cover
- Route the wires through the I/O port cover before connecting them to the intercom
- Connect the Rex line, ethernet, and power cables to the intercom
- Place the I/O port cover back on the intercom
- Replace all of the screws to ensure a watertight seal
- Mount the surface intercom onto the backplate on the wall
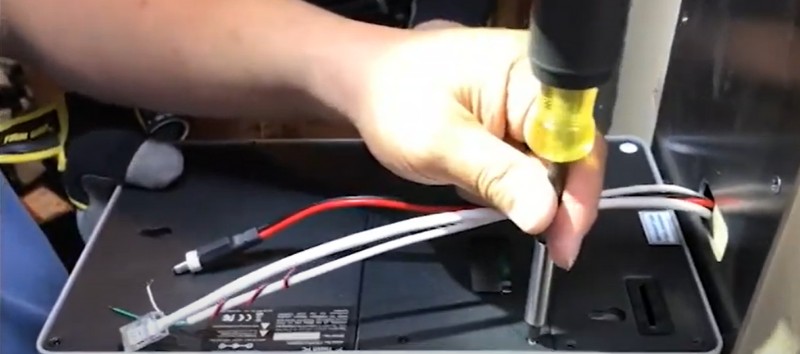
Step 1: Unscrew the I/O port cover
Unscrew the I/O port cover. Be sure to keep track of the screws as you will need to screw them back in later.
Step 2: Route the wires through the I/O port cover before connecting them to the intercom
Route the wires through the I/O port cover before connecting them to the intercom. Otherwise, you will have to start the process over.
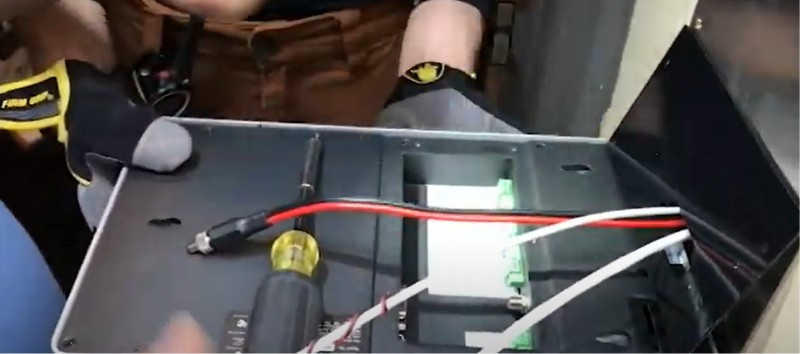
Step 3: Connect the Rex line, ethernet, and power cables to the intercom
Connect the Rex line, ethernet, and power cables to the intercom.
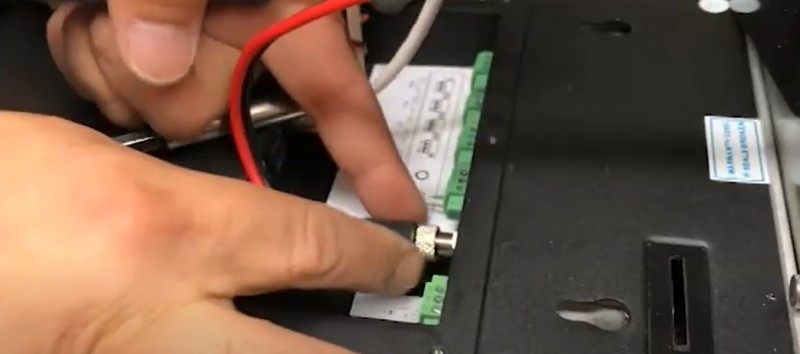
Step 4: Place the I/O port cover back on the intercom
Place the I/O port cover back on the intercom.
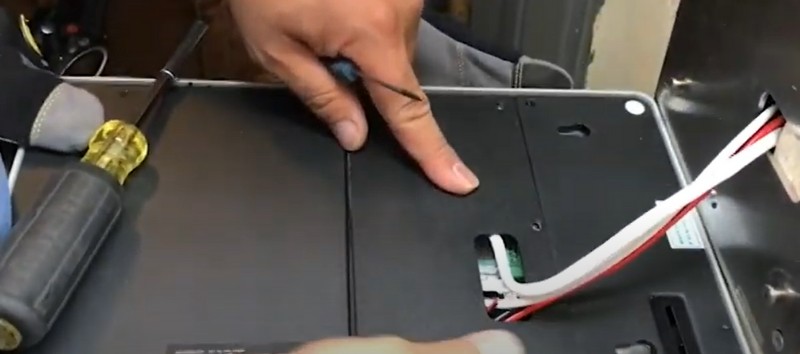
Step 5: Replace all of the screws to ensure a watertight seal
Replace all of the screws to ensure a watertight seal.
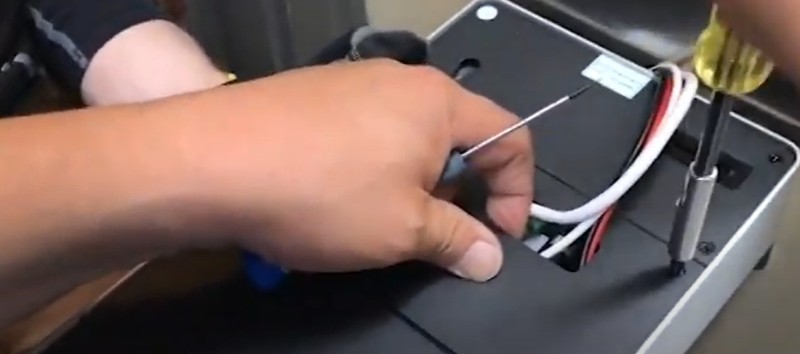
Step 6: Mount the surface intercom onto the backplate
Mount the intercom onto the backplate which at this point is already mounted onto the wall. Once you’ve finished, remember to lock your video intercom into place with the keys provided.
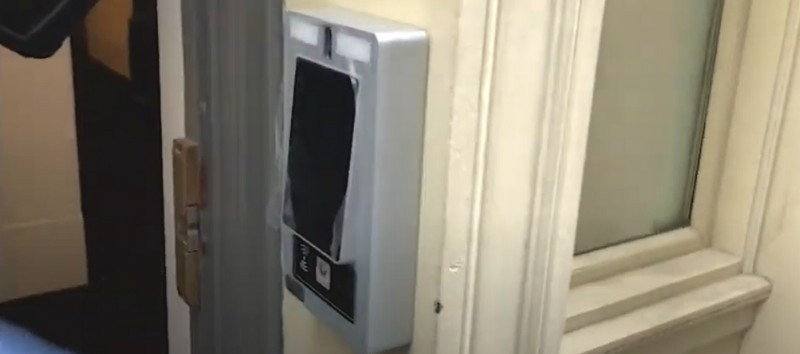
Be sure to check our installation guide for more information on installing our smart video intercoms.
