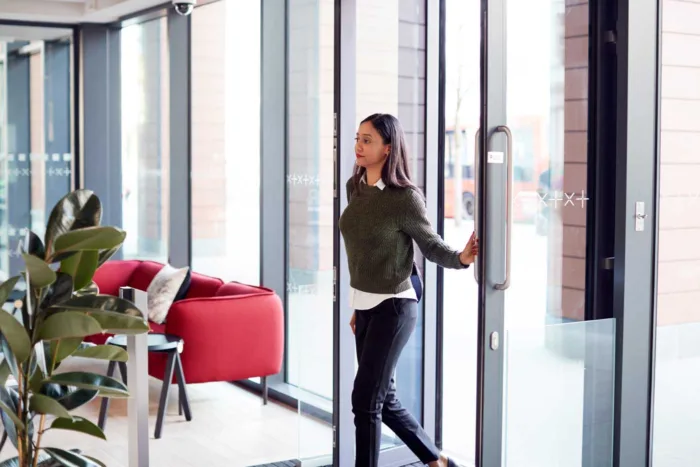
Self-guided tours for prospective residents have never been more important than they are today.
The benefits of self-guided touring include:
- It allows prospective residents to see your property and apartments on their own time.
- Maintaining social distance between prospects and building staff.
- Increasing efficiency and the number of tours you can provide since your building staff doesn’t have to be physically present.
It’s safe to say self-guided apartment tours are here to stay. However, offering them requires some thought.
Before you implement a touring solution, consider these three important questions:
- How do you maintain security at your property while also enabling prospects to access it?
- How do you know when to follow up with prospects after they’ve completed their tour?
- Can you offer self-guided tours without replacing your existing infrastructure?
Thankfully, ButterflyMX makes self-guided tours at your property secure and convenient. Plus, it doesn’t require any new infrastructure. Best of all, it’s included if you’re currently a customer.
Watch how ButterflyMX works:
Three steps to offer self-guided tours at your property with ButterflyMX:
- Install a ButterflyMX video intercom at the entryway.
- Install a smart lock on your demo unit.
- Place a WiFi camera in your demo unit for follow-up and security (Optional but recommended).
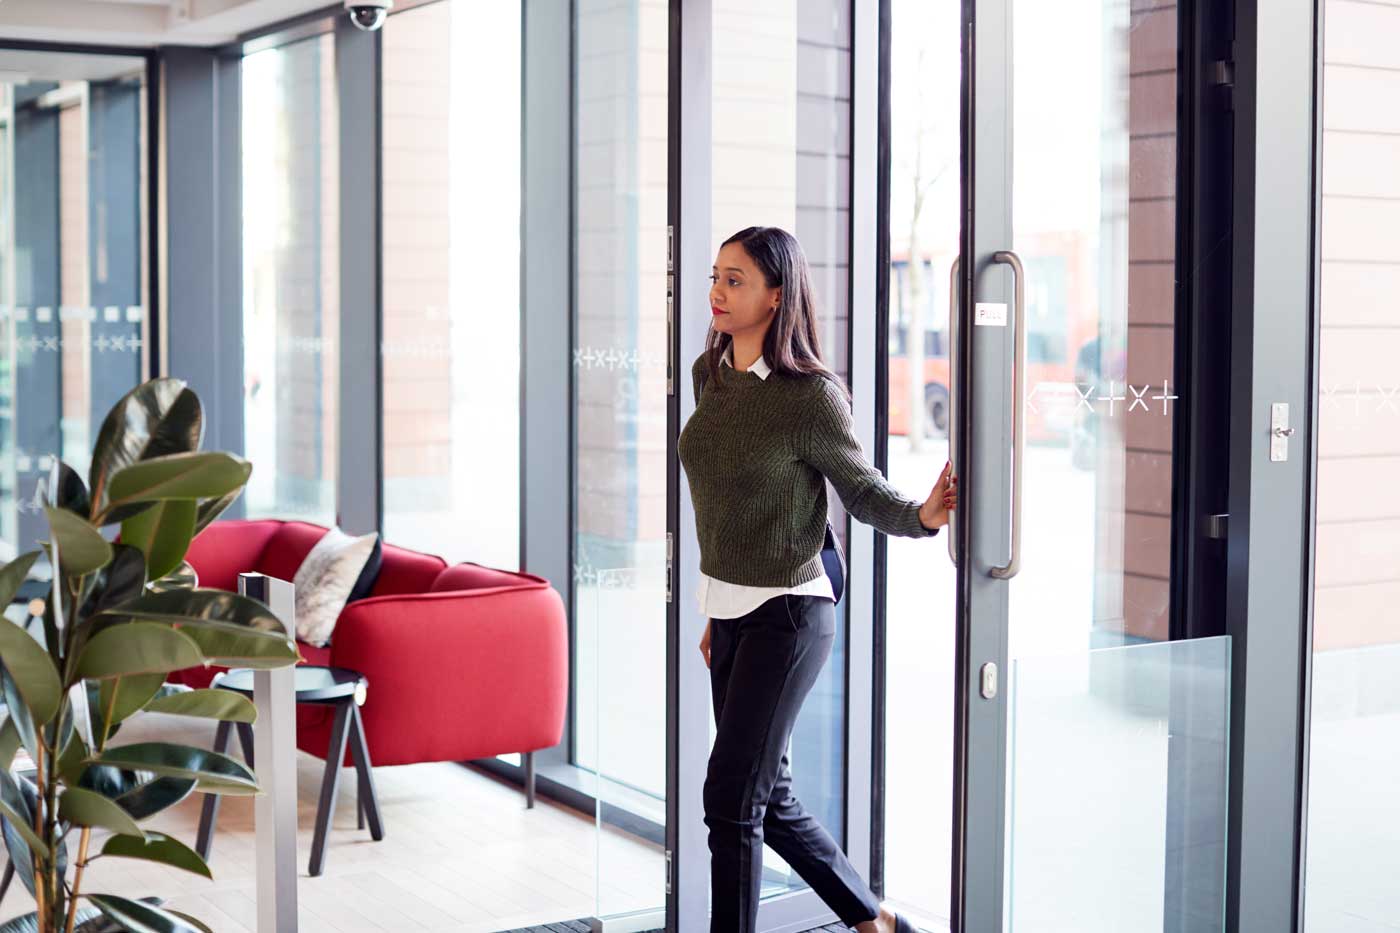
Step 1: Install a ButterflyMX video intercom at your property’s entryway
Our video intercom does a lot of things:
- Allows residents to open doors and gates from their smartphones.
- Ensures visitors — family, friends, and delivery people — can always access your property.
- Allows property managers and owners to maintain control over everything.
The intercom also enables self-guided touring — here’s how:
When a prospective resident approaches the entryway of your property, they have two options to gain access:
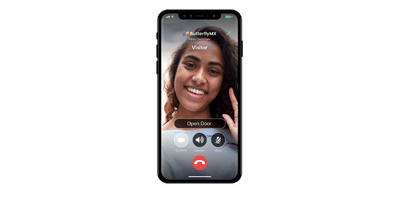 Option 1: They tap the ‘Self-Guided Tours’ button on the video intercom’s touchscreen.
Pushing this button calls the predetermined building staff (leasing agent, property manager, etc.) via our mobile app on their smartphone. Your building staff can then see and speak with the prospective residents before granting them access to the property.
This is a great opportunity to share useful information with the prospect, such as how to navigate the building, what’s special about the property or unit, or simply a friendly touchpoint before they proceed on their tour.
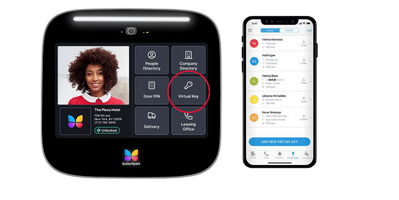 Option 2: They tap the Visitor Pass button and scan a time-limited QR code at the intercom.
Your property staff sends them this QR code in advance. Visitor Pass provide access to the property only during your selected times. Moreover, you’ll receive a push notification when your prospective resident has used the Visitor Pass and a picture of their face to maintain security.
Step 2: Install a smart lock on your demo unit
Now that you’ve provided building access for prospective residents, you need to give them access to your demo unit. The easiest way to do this is with a smart lock.
There are many smart locks available to choose from, each with its pros and cons. For example, some are hardwired; others are battery-powered. Some use BlueTooth, while others rely on WiFi.
It’s important to select a smart lock that is most suitable for your needs. We have a favorite for self-guided tours because it’s easy to install and use: the August Smart Lock.
The August Smart Lock is designed to be simple. Keep your existing locking hardware and place the August Smart Lock directly on top of it. Installation requires only a screwdriver and about 5-10 minutes of your time.
The lock runs for about six months on four AA batteries. As a result, you won’t have to hire an electrician to cut open walls and run new wiring. Most importantly, the August Smart Lock allows you to grant unit access via an app on your smartphone and an optional Smart Keypad you can place outside your demo unit. Prospective residents can enter a code to get in. Whenever someone enters that code, you get a notification.
Step 3: Place a WiFi camera in your unit for follow-up and security (optional but recommended)
Following up with residents after they’ve toured your property is crucial. Their likelihood of signing a lease drops by the minute, so you have no time to waste.
Additionally, knowing when a prospect has vacated your demo unit is important because sometimes you need that peace of mind. A WiFi camera gives you both.
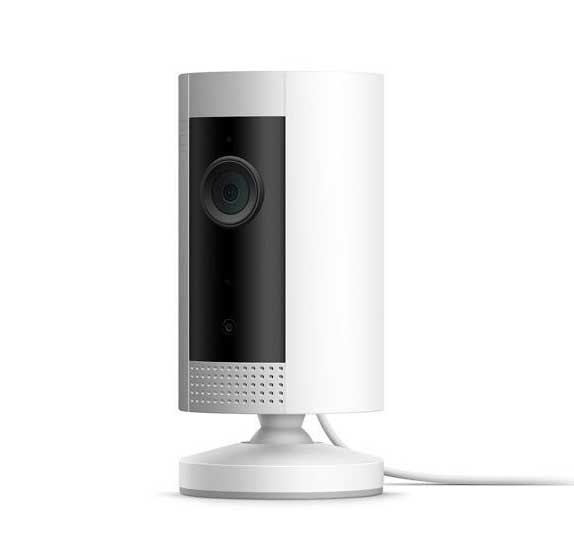 Place a Ring Indoor Cam or Google Nest Cam inside the demo unit and point it at the doorway. These cameras notify you and your staff when they detect motion. They also allow you to check in on the unit after your prospect has left to make sure everything is in order, remotely lock up, and confirm that it’s time to follow up with your prospect.
Ready to offer self-guided tours at your building?
As renters’ preferences change, ButterflyMX is committed to providing our customers with added value and services. If you’re a current customer and need assistance setting up your intercom with a ‘Self-Guided Touring’ button, please reach out to our support team, and we’d be happy to set this functionality up for you.
If you’re considering ButterflyMX for your property and would like to learn about all the ways our products and services can help you run a smarter building, please contact our sales team.
