Before you begin installing a ButterflyMX video intercom, read this post first to learn how to unbox and register the ButterflyMX intercom.
How to unbox and register the ButterflyMX intercom
- Take the intercom out of the box and remove the attached backplate
- Locate and record the serial number on the back of the intercom
- Provide our support team with the serial number
Step 1: Take the intercom out of the box and remove the attached backplate
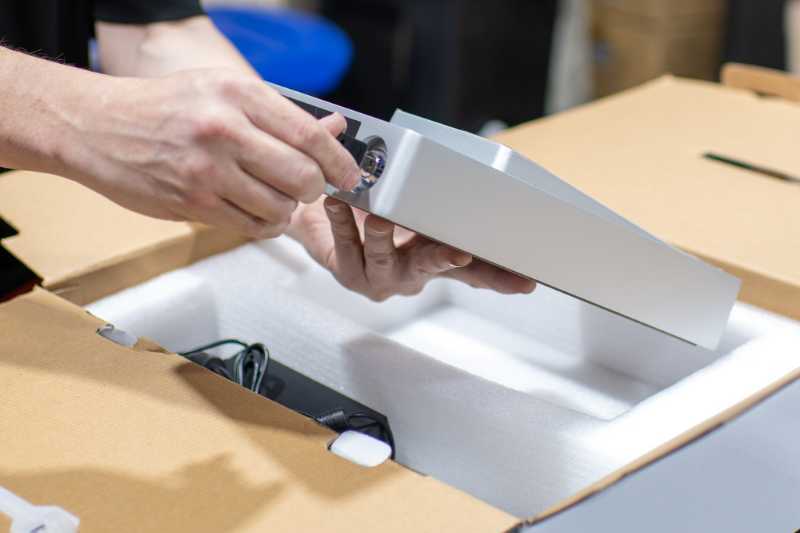
When you receive the shipment of your ButterflyMX video intercom, first take it out of the box. You’ll see that the video intercom comes with the backplate attached. Use the keys provided to unlock the latch and remove the backplate.

Step 2: Locate and record the serial number on the back of the intercom
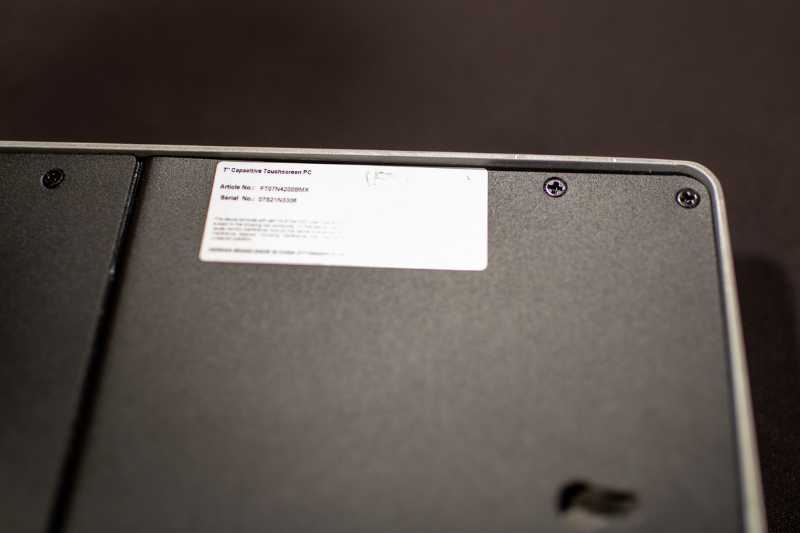
This is the most crucial step of the process. As soon as you’ve removed the backplate, locate the serial number on the back of the intercom as shown below. Write down the serial number and hold onto it. You will need the serial number to register the intercom after it has been installed on the door or gate.

The serial number on the back of the ButterflyMX video intercom.
Step 3: Provide our support team with the serial number to register the ButterflyMX intercom
Next, to activate the smart video intercom, you will need to contact support to register it. Provide the support team with the serial number you recorded in step 2 so that the property can start using the video intercom.
And that’s it, you’ve now successfully learned how to unbox and register the ButterflyMX intercom.
Be sure to check out our installer resources page for more information on installing our smart video intercoms.


