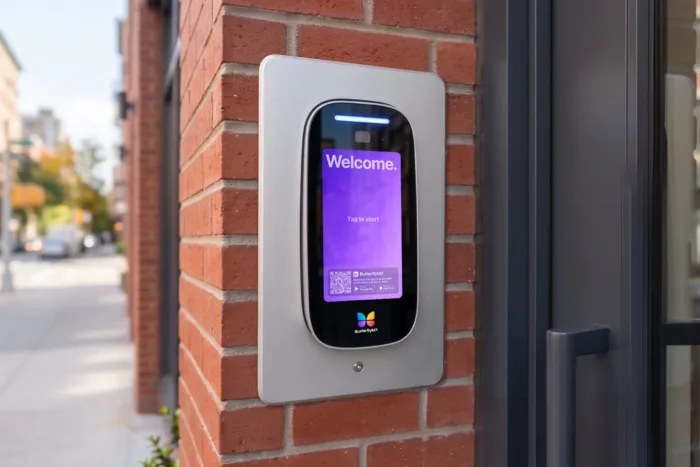
If you are installing a ButterflyMX video intercom, you may need to extend the power cables. If this is the case, you’ll have to splice the appropriate gauge cable into the 24-volt transformer that comes with each smart intercom.
Before you continue, we will assume the following:
- You have completed the installer certification course ensuring you do not void the 2-year hardware warranty that comes with all ButterflyMX intercoms.
- You have a general familiarity of cable splicing and decent circuit polarity.
Remember: You must use the correct gauge cable based on the distance from the intercom to the wall outlet. For runs of less than 50 feet, use an 18/2 American wire gauge (AWG) power conditioned by a Universal Power Supply (UPS). For runs of 50 to 100 feet, use a 16 AWG.
While you can go as far as 300 feet with a 12 AWG cable, runs that long are costly and increase the risk of electromagnetic interference. In this case, we recommend placing a high voltage outlet closer to the intercom closer. Please note that doubling the wire gauge will not satisfy ButterflyMX’s specifications; an 18/4 cannot be used in place of a 16/2 for a 50 to 100ft run.
For more information about cable lengths and wire gauge relationship requirements, please refer to our installer documentation.
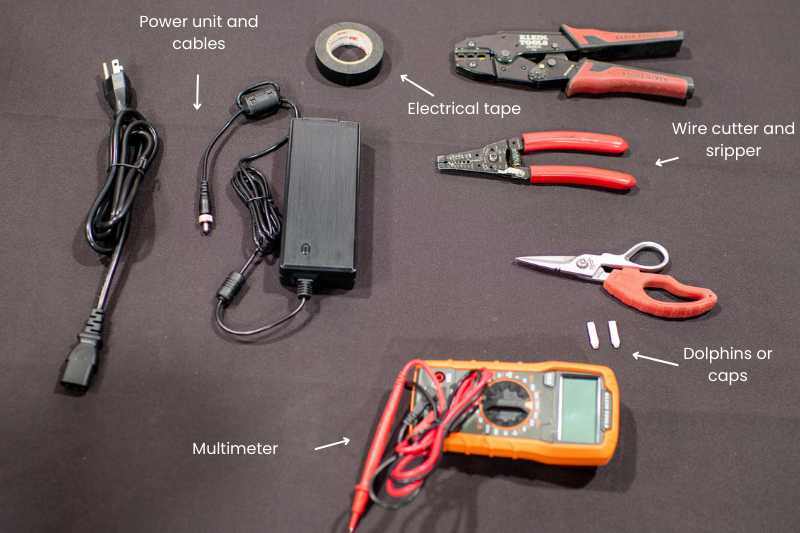
To splice the 24-volt DC transformer you will need:
- A power unit and cables
- A cable for splicing and a multimeter
- A wire cutter or stripper
- Dolphins or caps
- Electrical tape
How to splice the power cable
- Stretch the cable with the barrel connector and fold it around the middle
- Strip the outer sheath
- Separate the outer conductor from the inner conductor
- Twist the outer conductor into itself to make a single unsheathed cable
- Unsheathe the inner conductor
- Splice the outer conductor
- Place a dolphin or cap on the splice
- Repeat step 6 with the inner conductor
- Place a dolphin or cap on the splice
- Use a multimeter to test the splice
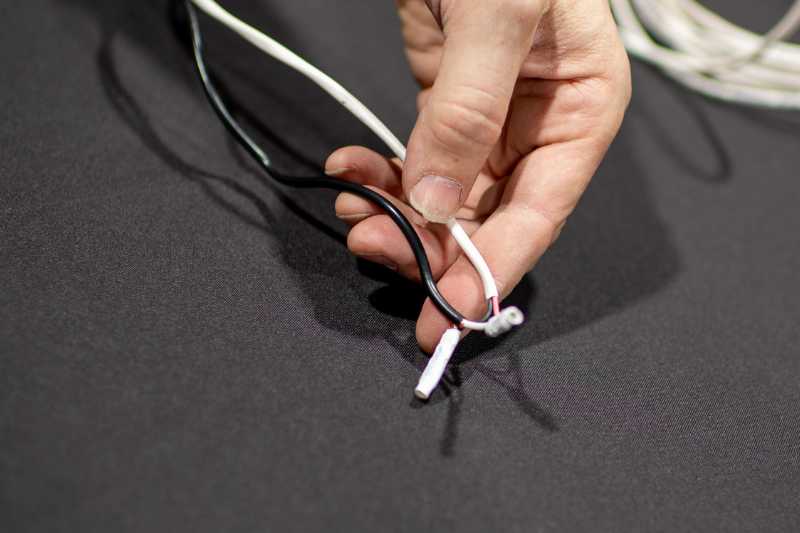
Step 1: Stretch the cable with the barrel connector and fold it around the middle
Begin by stretching the cable with the barrel connector and folding itself into the middle. This will ensure that there is enough cable on both ends in case you need to repair the splice in the future.
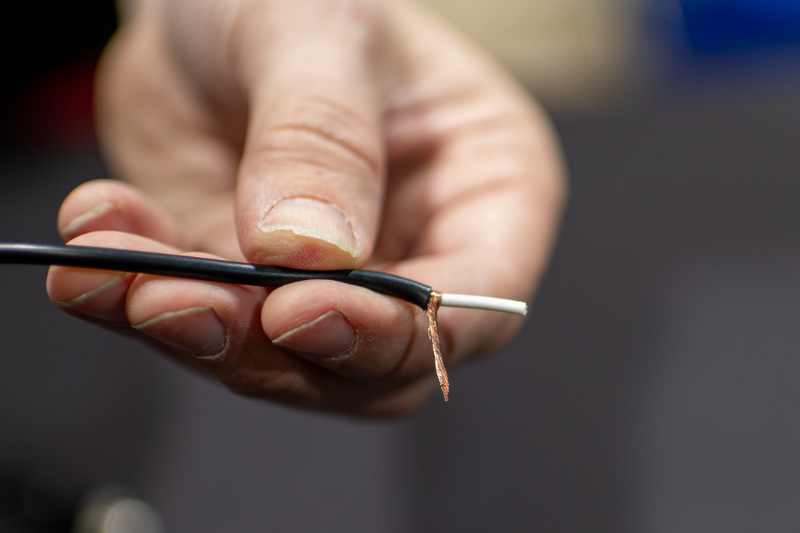
Once cut, you will notice the concentric circle pattern on both ends.

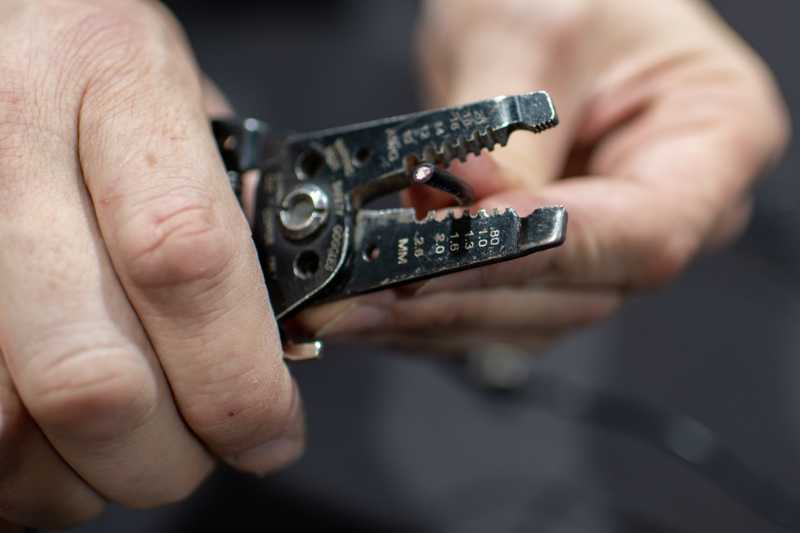
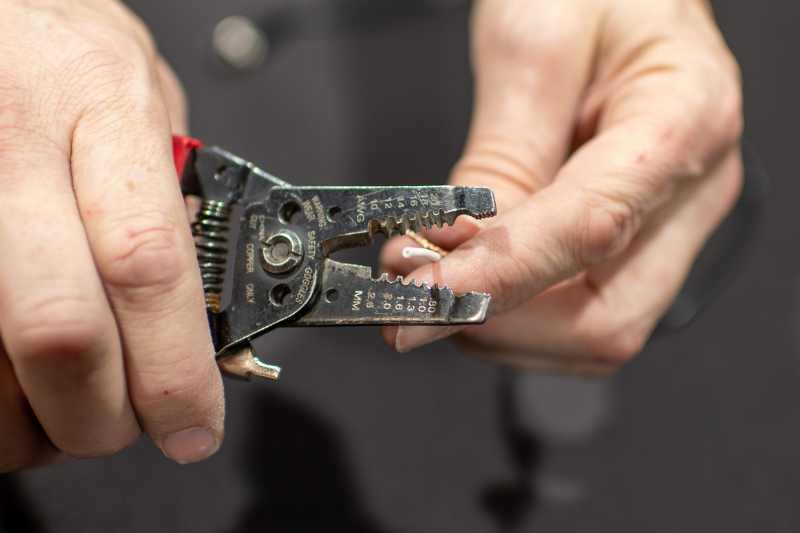
Step 2: Strip the outer sheath
You will see a black outer sheath, a silver stranded outer conductor for the negative, a white inner sheath, and a silver stranded inner conductor for the positive. While stripping the outer sheath, be careful not to cut into the outer conductor.
Note that it is stranded and surrounds the inner conductor like a shield.
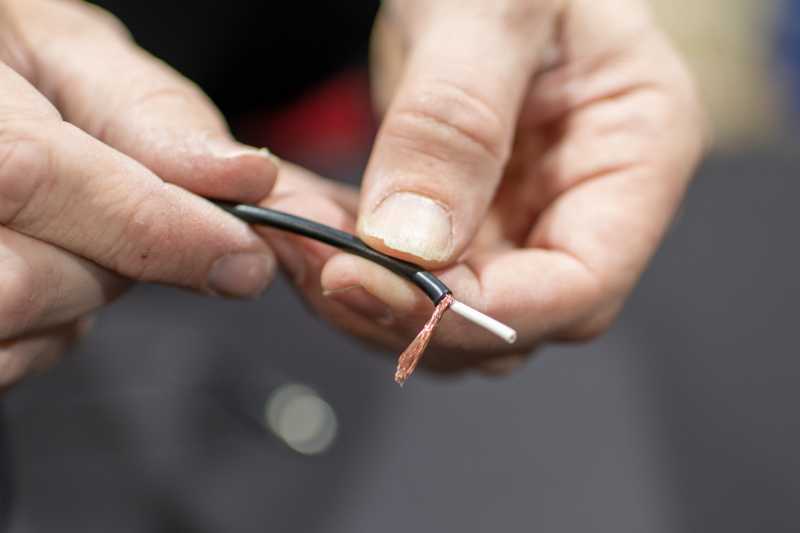
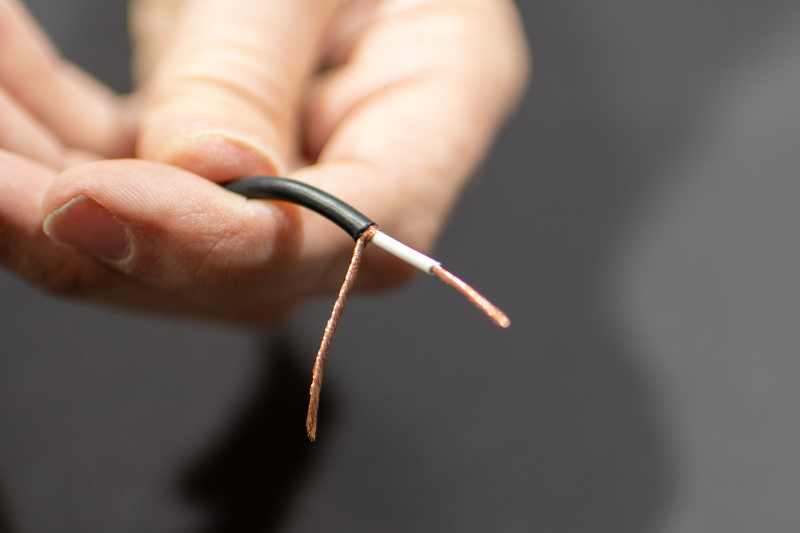
Step 3: Carefully separate the outer conductor from the inner conductor
Notice how the outer conductors surround the inner conductor.
Carefully separate the outer conductor from the inner conductor while joining the outer conductor strands together with your fingers to ensure a clean bundle.
Once separated, they should look like a Y or a T shape, with one side being the outer conductor strands bundled together and the other side being the inner conductor.
Step 4: Carefully twist the outer conductor into itself to make a single unsheathed cable
Carefully twist the outer conductor into itself to make a single unsheathed cable.
Step 5: Unsheathe the inner conductor
Unsheath the inner conductor. To help prevent contact between the conductors, always cut the inner sheath a little bit above the outer sheath. The greater the distance, the lesser the risk of a short.
Since the inner conductor is also stranded, take great care not to have loose strands that can generate a short circuit.
Step 6: Splice the outer conductor
Using a cable with two conductors, splice the outer conductor into the corresponding conductor and the cable being spliced in.
Step 7: Place a dolphin or cap on the splice
Next, twist together the conductors to place a dolphin or cap on the splice. Verify there are no loose strands that could cause a short.
In the base of the white inner conductor sheath, there should still be visible strands of the outer conductor. This is normal. Ensure that there are no loose strands from these.
Step 8: Repeat step 6 with the inner conductor
Repeat the process with the inner conductor and its corresponding one with the cable being spliced in.
Again, ensure no loose strands are visible. If necessary, re-do the splice.
Loose strands will cause a short that will damage the intercom.
Step 9: Place a dolphin or cap on the splice
Once again, you will place a dolphin or cap on the splice. Tape together the bundle to secure the splice.
Now that you’ve completed the splice on the cable end with the barrel connector, the process is identical on the other end. Ensure that the same wires in the cable you are splicing in connect the inner and outer conductor.
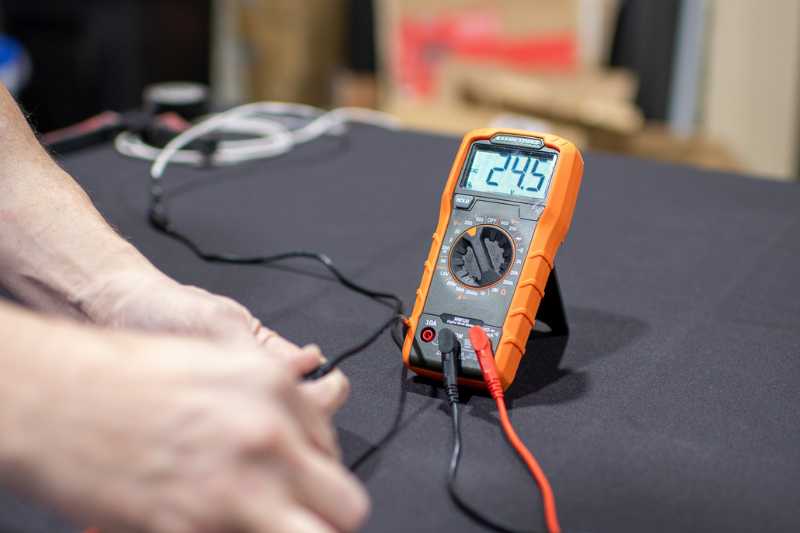
Step 10: Use a multimeter to test the splice
Now, use a multimeter to test the splice for polarity and continuity, and ensure that there are no shorts of polarity. Set the multimeter to DC in the 200 gold range.
The barrel connector has the positive inside the barrel, and the negative on the outside. Place the positive probe of the multimeter inside the barrel. Ensure it makes no contact with the outside.
Then, touch the negative to the outer barrel. The multimeter should display correct polarity in both, indicating a good splice.
And that’s how you splice the power cable. Be sure to check out our installer resources page for more information on installing our smart video intercoms.