ButterflyMX’s vehicle access control system enables seamless vehicle access for your clients. Now, your clients can easily operate and manage gates from a cloud-based dashboard, and allow their residents to enter the gate with only a windshield tag. This solution seamlessly integrates with the property’s video intercom, elevator controls, and smart locks, offering a unified access solution.
Read this post for step-by-step instructions on how to install the ButterflyMX vehicle access control system.
Follow these instructions to install the ButterflyMX vehicle reader:
Step 1: Determine the reader location
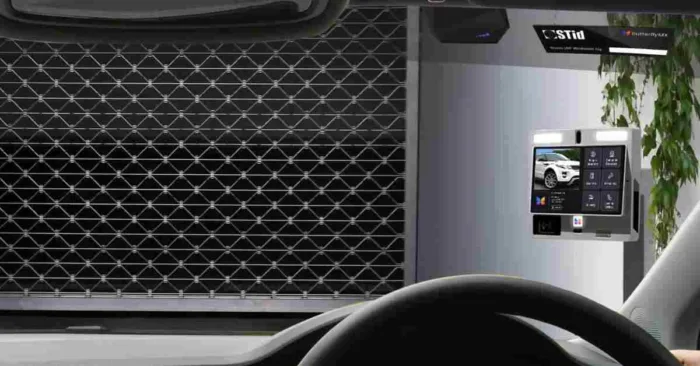
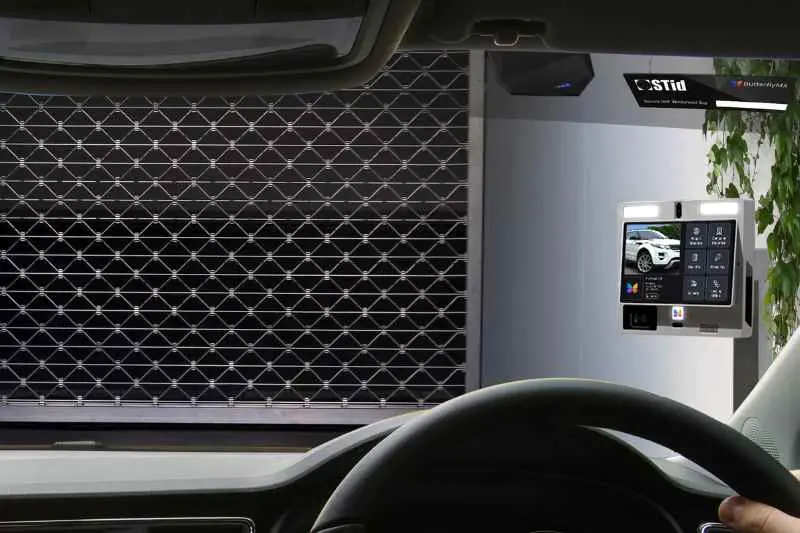
The ButterflyMX vehicle reader can read a vehicle sticker up to 40 feet away. To ensure reliable functionality, we recommend mounting the reader at a height between 6.5 and 9.8 ft to create a typical identification zone within 0 and 9.8 ft from the reader.
Obstacles can compromise the reader’s ability to detect the tag, so it’s crucial to ensure unobstructed communication between the vehicle’s tag and the antenna. During installation, align the vehicle reader as parallel as possible to the average car height within the identification zone to ensure tag detection.
Step 2: Remove the hatch
Once you’ve decided on the reader’s location, begin the installation by lifting off the access hatch located on the back of the reader. Open the white square hatch by loosening the four captive screws to access the reader connectors, but do not fully detach it from the hatch.
Be sure you do not to remove the screws near the red checkmarks, as this will disconnect the RFID antenna.
Join ButterflyMX’s industry-leading dealer program:
Step 3: Connect to the controller
Next, connect the vehicle reader to the 2-door access controller and external power supply. You must use an external power supply for all installations of the vehicle reader and controller. When connecting the vehicle reader to the external power supply, only use the 4 rightmost screw terminals on the terminal block (CLK1 Rx / L-, DATA1 Tx / L+, Alim, GND).
Important note: The vehicle reader is outdoor rated, but the ButterflyMX controller is meant for indoor use only. So, you must install the controller in a secure, weatherproof location indoors or within an IP-rated box.
How to install the ButterflyMX 2-door controller »
Step 4: Mount the reader
Finally, mount the reader with the adjustable mounting bracket and M4x12 stainless steel screws found in the vehicle reader kit.
You must purchase pole-mounting hardware separately. It can be found on Amazon or other hardware retailers. We recommended that you use the WALI Mount Plate for pole diameters between 1.1” and 2.4”.
For more information on installing ButterflyMX, visit our installer resources page.