Important note: You must be certified to install the ButterflyMX access control system. If you are not certified, you risk voiding our two-year hardware warranty. Register to join our dealer program to become eligible to install our hardware and receive hardware discounts, installation referrals, and sales and marketing support.
Once you’re a ButterflyMX-certified installer, follow the steps below to install and activate our access control system.
How to install the ButterflyMX access control system:
- Gather the supplies needed for installation
- Install the controller
- Install the reader
- Activate the system
Step 1: Gather the supplies needed for installation
Before you get started, gather all the supplies needed for installation.
What comes in the box:
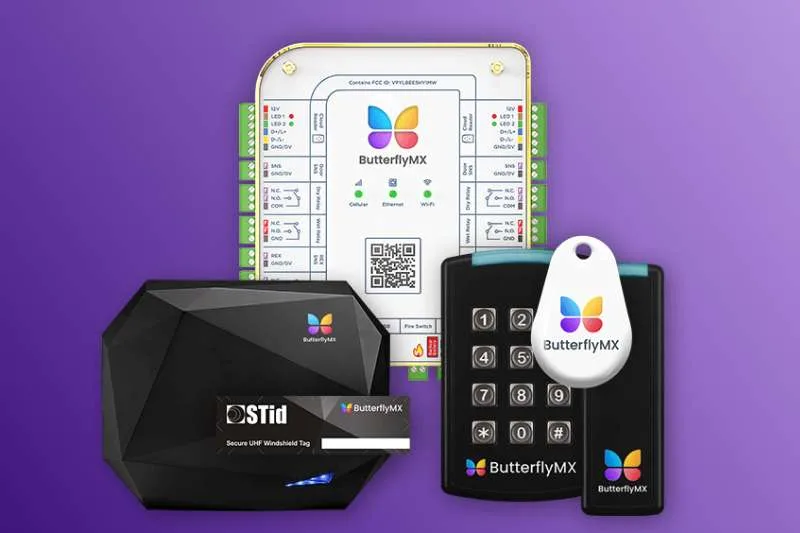
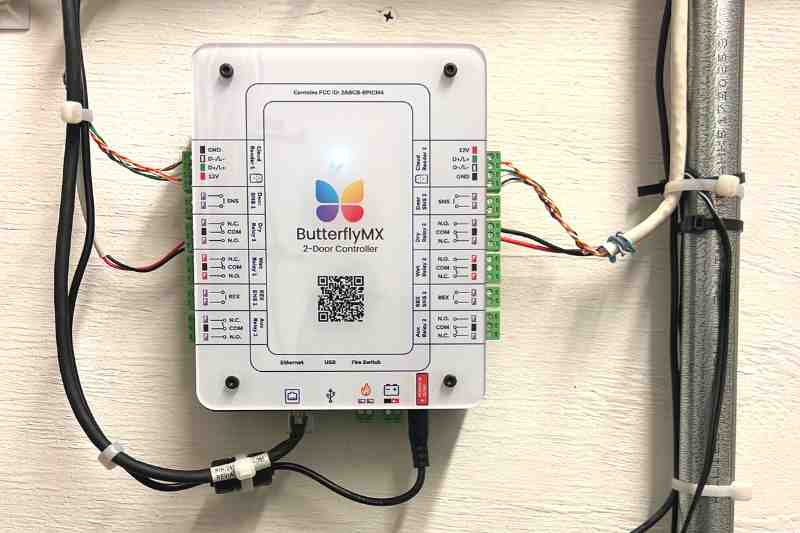
- ButterflyMX 2-door access controller
- 12V 5A power supply
- DIN rail and screws
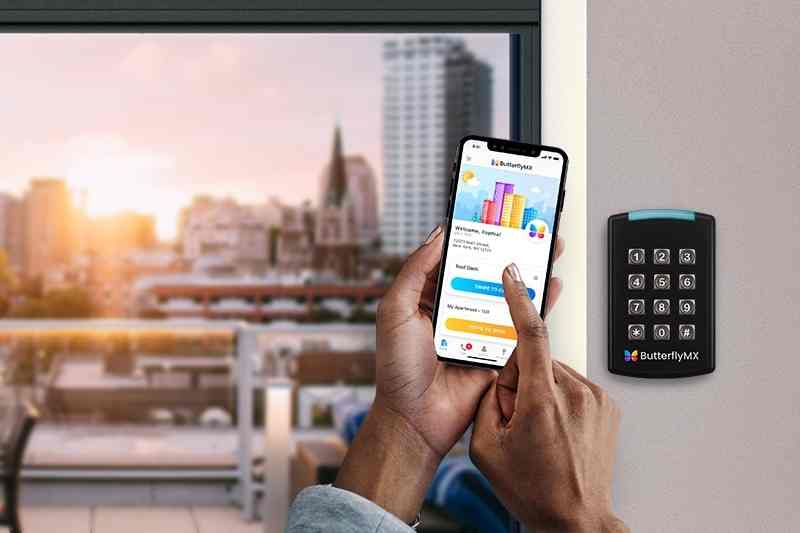
- ButterflyMX readers (optional)
What’s not included:
- Electric locking hardware
- Low voltage cables
- Request-to-Exit (REX) device
- Reader cables
- Ethernet cord
- Battery backup
- Enclosure
Step 2: Install the controller

To begin the installation of the ButterflyMX access control system, start by mounting the controller to the wall. Then, connect it to power and the internet. Last, connect the controller to the electronic locking hardware.
How to install the ButterflyMX 2-door controller »
Step 3: Install the reader
Next, connect the reader to the controller. Then, mount it to the wall.
How to install the ButterflyMX readers »
Join ButterflyMX’s industry-leading dealer program:
Step 4: Activate the system

After completing the previous steps, you will activate the system. In order to activate the system, be sure you are present at the access control system and have access to a mobile phone. Once activated, test the system to ensure it works properly.
How to activate and test the access control system:
To activate the system, call ButterflyMX Support at (800) 398-4416, extension 2 while you’re on-site of the installation.
For more information on installing ButterflyMX products, visit our installer resources page.


