As an installer, you understand the importance of providing your clients with the most convenient solution for their building needs. Today, many property owners and managers are looking to upgrade their outdated access control systems with new technologies, but the question arises: Can ButterflyMX be retrofitted into my client’s building?
Yes, the ButterflyMX products can be retrofitted into every type of building. Read on to learn how this is done.
Read on to learn:
- How to retrofit the ButterflyMX video intercom
- How to retrofit the ButterflyMX access control system
How to retrofit the ButterflyMX video intercom
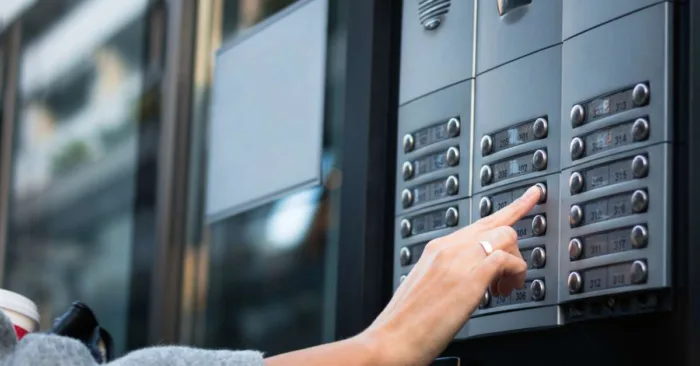
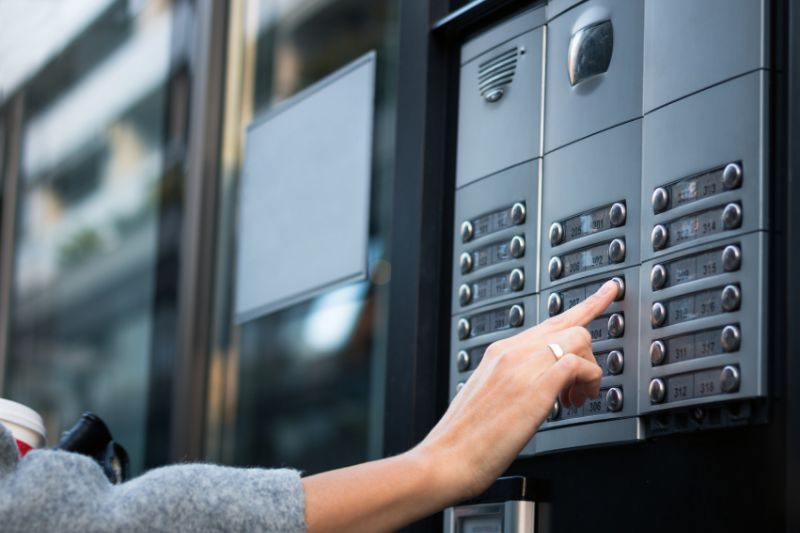
As an installer, you may come across different features at retrofit installations. One feature you may find is an existing call box. Some buildings’ existing call boxes act as an access control system (ACS) and must be preserved to avoid loss of functionality while the telephone entry portion is retrofitted for ButterflyMX. In this case, consider a few things before starting the installation process.
What to consider:
- The existing call box infrastructure must be maintained to preserve the functionality of the fob system.
- If the building does not want to continue using the fob system in place, simply remove the call box and replace it with ButterflyMX.
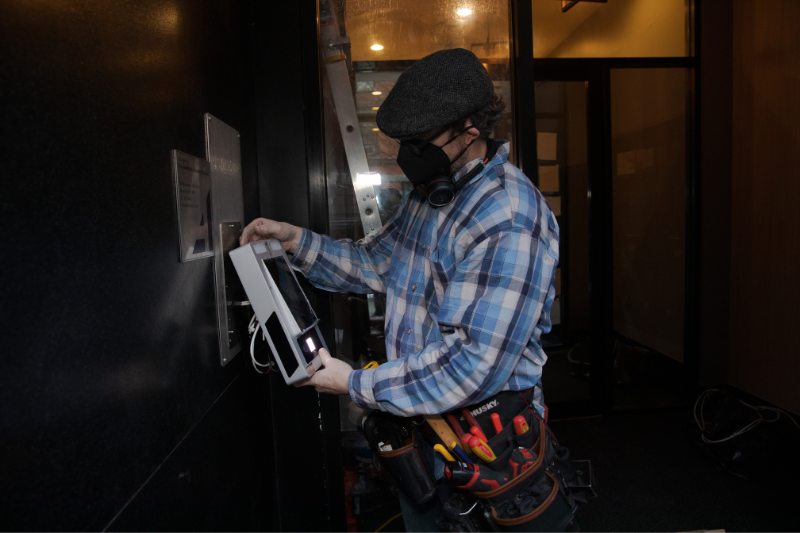
How to retrofit the video intercom with an existing ACS
If an access control system is present, you must wire the ButterflyMX intercom directly to the system.
Maintain the existing call box functionality with these three options:
Recess the call box into the wall
Simply recess the existing call box behind the ButterflyMX intercom and mount the ButterflyMX intercom onto the wall.
Relocate the call box
To maintain the wiring, relocate the existing call box to an electrical room or IT closet.
Maintain the call box location
Leave the existing call box in its original location and install ButterflyMX next to it.
Other important information for installation:
-
- When connecting the ButterflyMX relay to an existing ACS, connect the ButterflyMX output directly to the input on the access control board.
- Follow the documentation for the existing ACS to know how to configure the ACS inputs properly.
- Continue ButterflyMX video intercom installation as normal.
Join ButterflyMX’s industry leading dealer program:
How to retrofit the ButterflyMX access control system
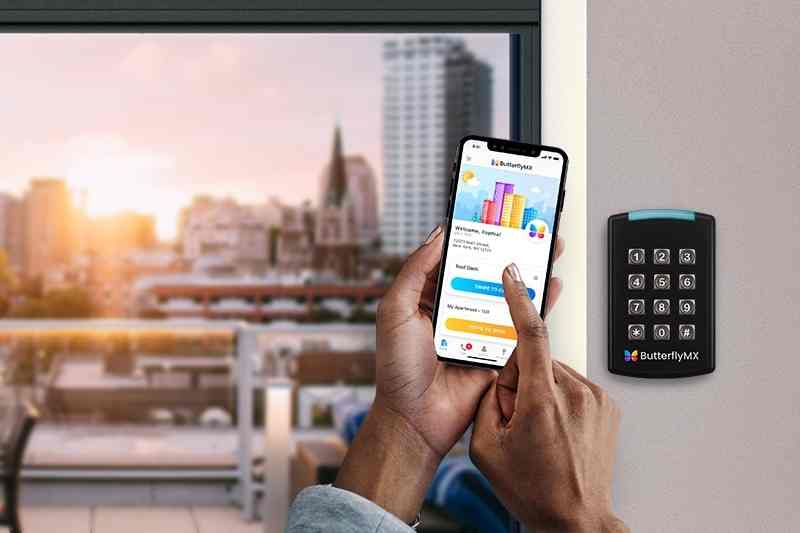
The ButterflyMX access control system (ACS) includes keypads/mullion readers, vehicle controls, elevator controls, and a 2-door controller. The controller serves as the brain for controlling access, receiving permissions from the ButterflyMX cloud, and sending commands to unlock doors & gates as necessary. So, when retrofitting the ButterflyMX ACS, the first and most important step is to install the 2-door controller.
Follow these instructions to retrofit the ButterflyMX access control system:
- Confirm the ButterflyMX 2-door controller can be connected to power and internet
- Confirm the ButterflyMX readers can be connected to the controller
- Confirm the electric locking hardware wiring is compatible and in good condition
- Replace the building’s existing wiring (if necessary)
Step 1. Confirm the ButterflyMX 2-door controller can be connected to power and internet
The ButterflyMX 2-door controller is designed for easy installation. To power the controller, you must connect it to the included power supply, which easily plugs into a standard 110VAC wall outlet. Additionally, to enable internet connectivity, you can choose between two options: ethernet or WiFi.
Before retrofitting the ButterflyMX 2-door controller, it’s essential to determine if the controller can reliably be connected to the internet and power using the building’s existing wiring infrastructure. To do this, ensure this existing infrastructure is in good condition and capable of connecting a ButterflyMX controller.
Step 2: Confirm the ButterflyMX readers can be connected to the controller
Next, confirm that the ButterflyMX readers (mullion reader, keypad reader, single-gang reader, and vehicle reader) can be connected to the controller. In most cases, the existing reader cables will work as long as they’re in good condition. For more information on ButterflyMX reader cables and maximum run lengths, please refer to our 2-Door Access Controller & Readers Installation Guide.
Step 3. Confirm the electric locking hardware wiring is compatible and in good condition
Once you’ve confirmed a reliable power and internet connection, the next step is to check the building’s existing electric locking hardware and wiring. The ButterflyMX 2-door controller has two relay options: wet and dry. The wet relay powers and operates the electric locking directly, while the dry relay controls the electric locking with an external power supply. You must verify that the building’s electric locking hardware and wiring are in good condition for a successful ButterflyMX retrofit.
Step 4: Replace the building’s existing wiring (if necessary)
In some rare cases, the building’s wiring is not usable. This can occur if the wires are damaged, the equipment is outdated, or other unforeseen issues arise. If the existing wiring is deemed unsuitable, the recommended approach is to remove it entirely and replace it with new wiring, ensuring a reliable and efficient installation of ButterflyMX products.
Other important installation information:
-
- If the internet wiring is deemed unsuitable, the 2-door controller is WiFi-compatible.
- For more information on installing ButterflyMX products, visit our installer resources page.