Key takeaways
- The ButterflyMX intercom offers several access options, including the directory, Delivery PIN, and Door PIN.
- Guests can easily enter by scanning a QR code from their Visitor Pass at the intercom.
- If you need help, you can quickly contact the front desk or leasing office directly from the screen.
(Note: not all ButterflyMX intercom displays look the same, as some buildings may have customized their display. Please use this post for guidance and feel free to contact support if you have any questions).
How to use the ButterflyMX intercom display
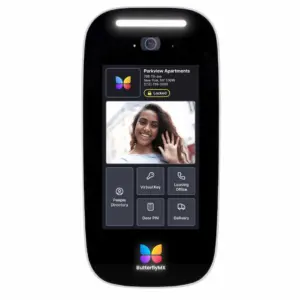
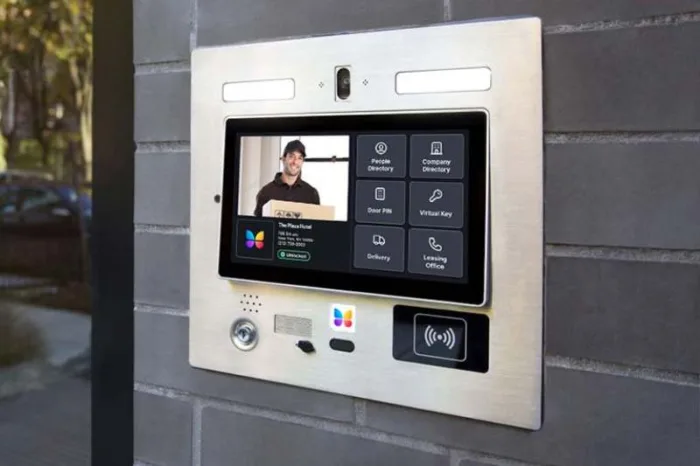
When you approach a ButterflyMX Video Intercom, you will first see a welcome screen. Once you tap to begin, you’ll see yourself on video as well as a set of buttons on the right.
The buttons on the intercom screen include:
Directory
The next button is ‘Directory’. When you click on the Directory button, you will find a list of all tenants who live or work in the building. You can scroll through the directory to locate the tenant. You can also use the search bar and type in the tenant’s name to find them quickly.
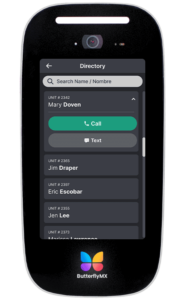
Once you have found the tenant that you’re trying to reach, you can tap on their name, which will give you a couple of options.
You can either:
- Send the tenant a text message
- Leave them an audio message from the intercom
- Call them, and they can let you in directly from their smartphone
How to change how your name appears on the intercom directory »
Door PIN
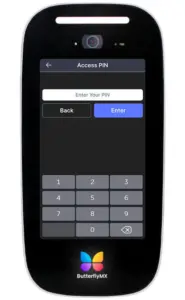
The last button we will go over is ‘Door PIN’. If you are a tenant, enter your unit number, click ‘next’, and from there you will enter your PIN to gain access to the building. Click ‘OK’, and then the door will be released.
Note: Door PINs are meant for resident/tenant use only. If you need to provide access to a visitor, please create a Visitor Pass for them instead. They offer you more control and can be issued to multiple people.
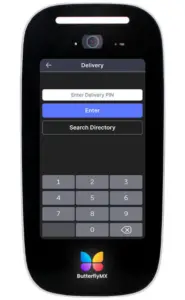
Delivery PIN
Next, you have the ‘Delivery’ button. Package carriers or delivery drivers use this button to gain access to the building. When you click on the button, it’s first going to ask if you have a PIN. If you do not have a PIN, click on ‘no’. From there, you can call the tenant from the directory to let them know that there is a delivery.
If you do have a PIN, you can click ‘yes’, and then enter the PIN that was given to you. That will release the door for five seconds, granting you access to the building.
How to create a Delivery Pass »
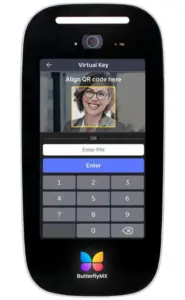
Visitor Pass
If you received a ‘Visitor Pass’, tap the ‘Visitor Pass’ button. Hold your QR code up to the intercom camera, making sure to align it within the box on the screen. Once scanned, the door will unlock, granting you access.
Front Desk
The ‘Front Desk’ button allows you to quickly connect you with a building’s front desk attendant or staff member.
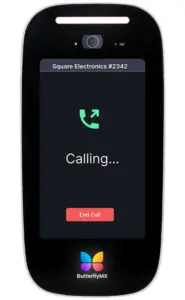
Leasing Office
When you click on the Leasing Office button, the intercom will call the leasing office, who can then give you access to the building.