by Meredith Murray | Oct 3, 2020 | Product How-To
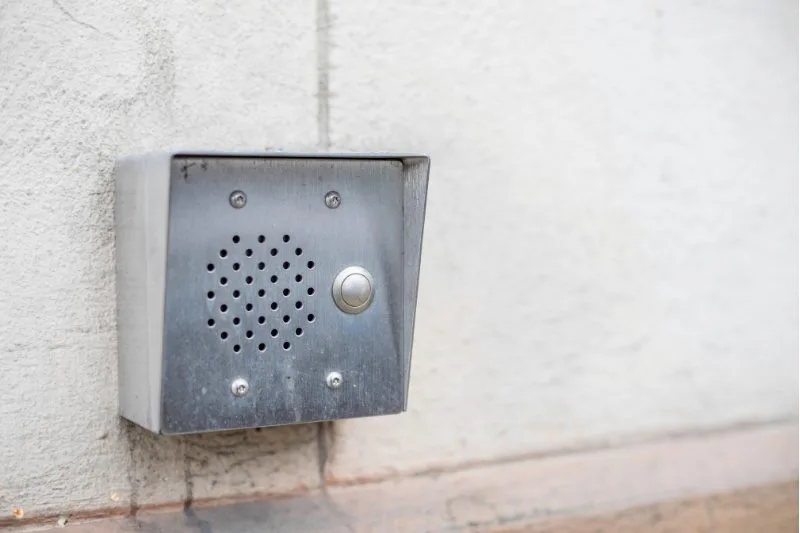
When you install a ButterflyMX Video Intercom, it’s possible that you will be replacing an older intercom. If that is the case, you will first need to remove the existing intercom. Read this post to learn how to remove an existing intercom from a door or... Read More

by Meredith Murray | Sep 30, 2020 | Mobile App Features, Product How-To
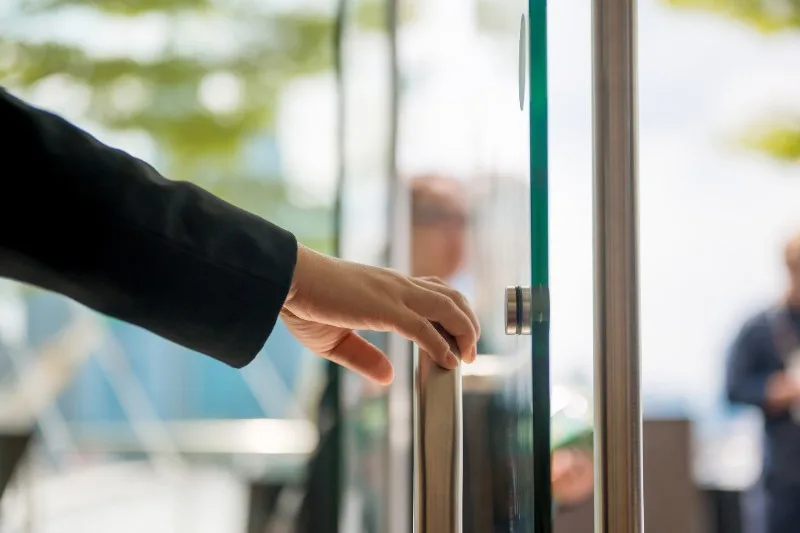
Residents love ButterflyMX’s video calling because it allows them to see who’s at the door or gate before letting them into the property. And if you’re not expecting a visitor and someone is suddenly at the door or gate, it’s natural to want to see... Read More
by Meredith Murray | Sep 24, 2020 | Product How-To
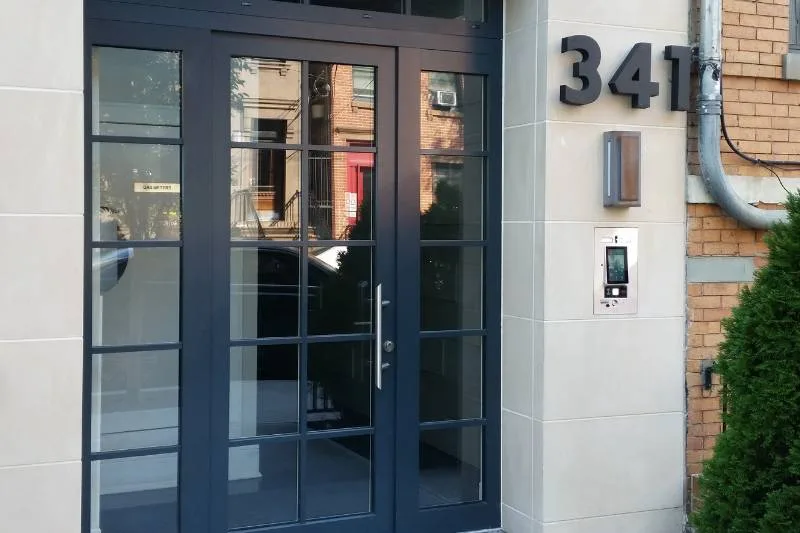
Important note: You must be certified to install ButterflyMX video intercoms. If you are not certified, you risk voiding our two-year hardware warranty. Register for our free, 30-minute online course to get certified. Once certified, you may also be eligible to... Read More
by Meredith Murray | Sep 22, 2020 | Dashboard Features, Product How-To
One of the benefits of having a ButterflyMX video intercom at your building is the added security. Every time a resident or visitor uses ButterflyMX to enter the building, the intercom takes a time-and date-stamped photo of the person entering. As a ButterflyMX... Read More
by Meredith Murray | Sep 20, 2020 | Product How-To
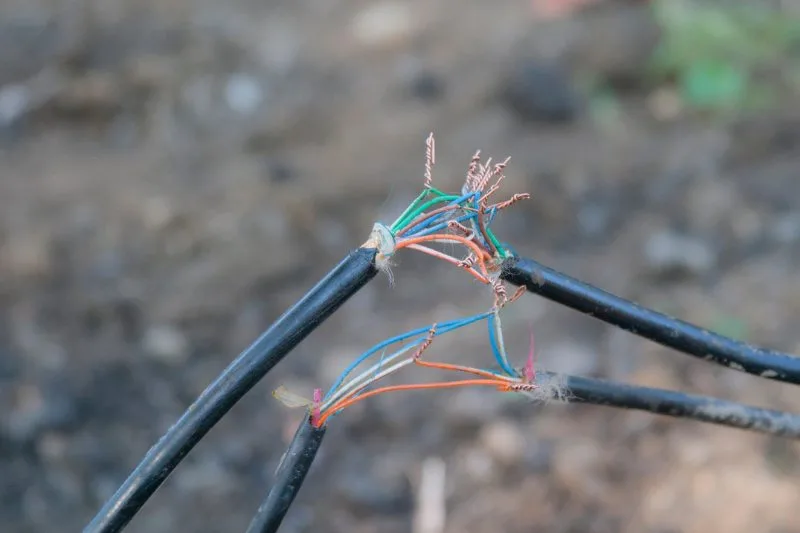
If you are installing a ButterflyMX video intercom, you may need to extend the power cables. If this is the case, you’ll have to splice the appropriate gauge cable into the 24-volt transformer that comes with each smart intercom. Before you continue, we... Read More