An uninterruptible power supply (UPS), is a large battery that ensures clean, continuous power for any device plugged into it. Also known as a battery backup, an uninterruptible power supply is similar to a surge protector. But it provides significantly more... Read More
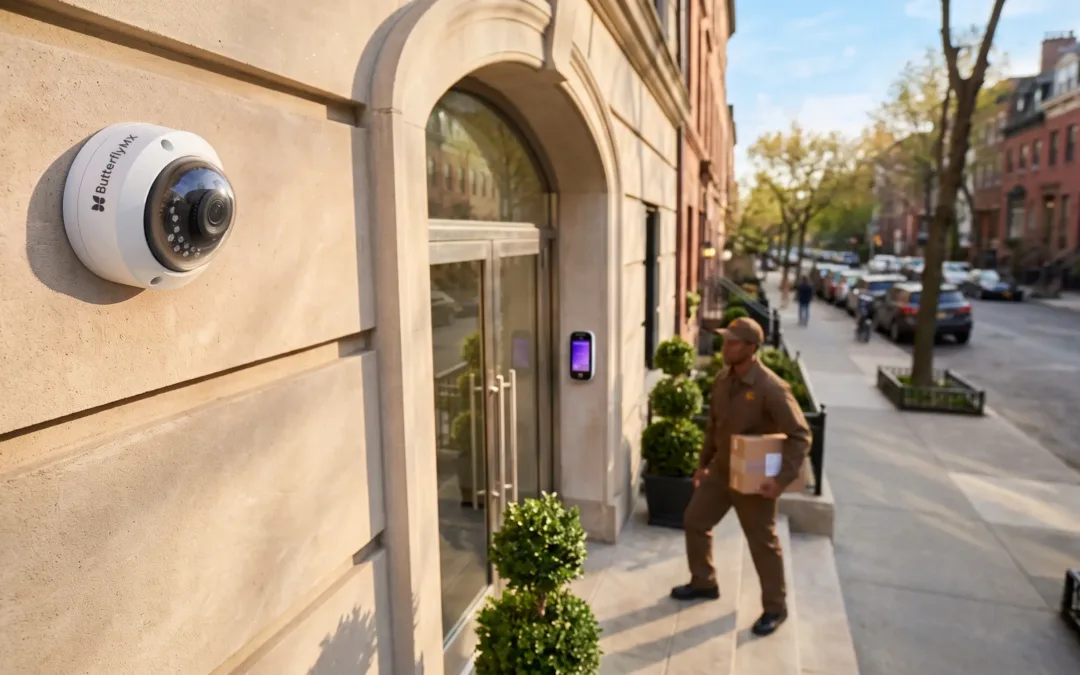
ButterflyMX video intercoms are usually installed at a property’s front door or gate. This means our intercoms are often outside. So you might be wondering: How does the intercom withstand the weather, like rain, snow, or dust? The answer is the ButterflyMX IP65... Read More
If you’re an admin at a building with ButterflyMX, you’ll want to log into ButterflyMX regularly to: View audit trails Manage permissions Manage integrations Logging into the ButterflyMX OS is simple. If you work in a building with ButterflyMX, follow these... Read More
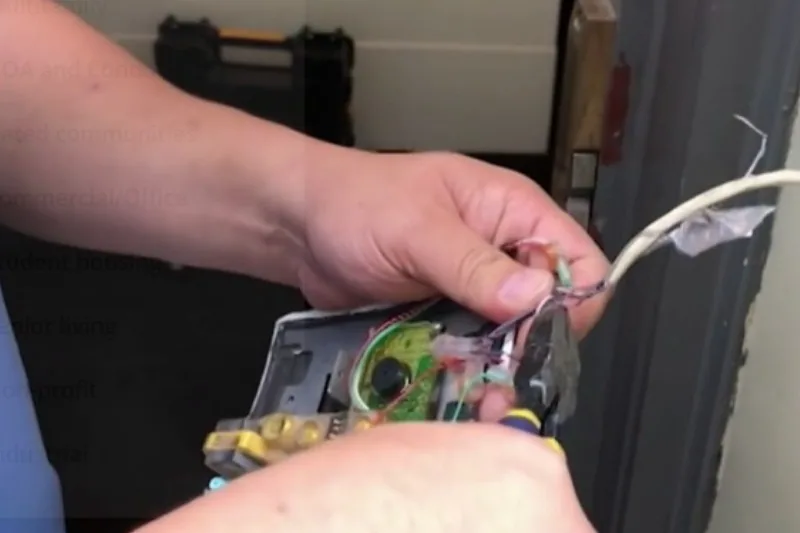
When installing a ButterflyMX video intercom, you’ll need to prepare the wiring before mounting the intercom to the wall or pedestal. Follow these four steps to prepare the wiring: Ensure you’re meeting the minimum wiring specs Assemble the Cat5e/6... Read More
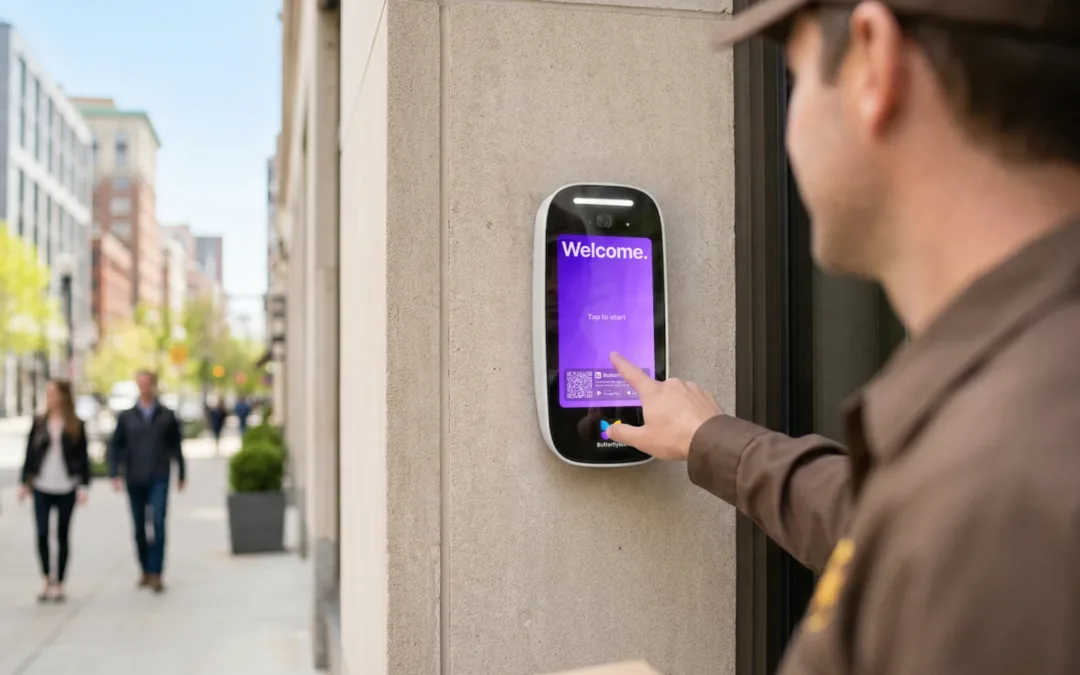
Key takeaways: A Delivery Pass is a single-use, six-digit code generated through the ButterflyMX mobile app, allowing delivery personnel to access your building securely. Residents can create a Delivery Pass by opening the ButterflyMX app, selecting ‘New Delivery... Read More
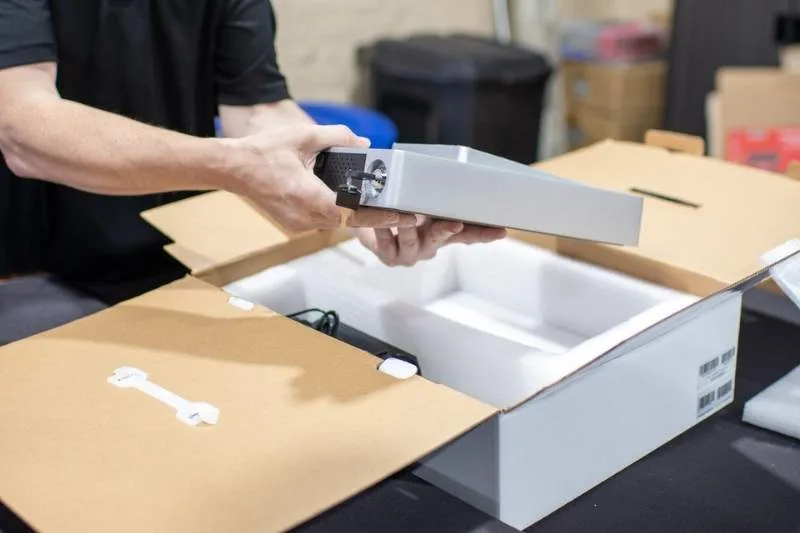
Important note: You must be certified to install ButterflyMX video intercoms. If you are not certified, you risk voiding our two-year hardware warranty. Join our free dealer program to get certified. Once you’ve joined , you’ll be eligible to... Read More