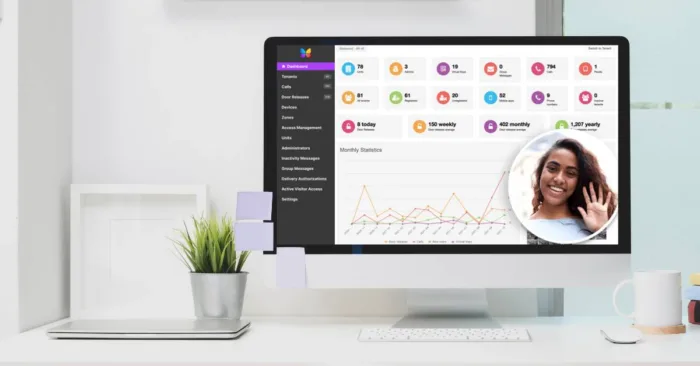
As a ButterflyMX property admin, you have a lot of tools at your disposal to help you better manage property access at your building. To name a few, you can view an audit of who has entered the building, monitor how visitors are gaining access to your building, and send direct messages to your tenants.
All of this can be done within the ButterflyMX OS. Read on to learn the various features within each section of the OS that will help you better manage your property.
Follow these steps to learn how to use and manage ButterflyMX at your property:
- Log into the ButterflyMX OS
- Navigate the ButterflyMX OS dashboard
- Click through each menu item on the left-hand side of the page to view
Step 1: Log into the ButterflyMX OS
Start by logging into the ButterflyMX OS on a computer.
Step 2: Navigate the ButterflyMX OS dashboard
The first thing you see when you log into the ButterflyMX OS is the dashboard.
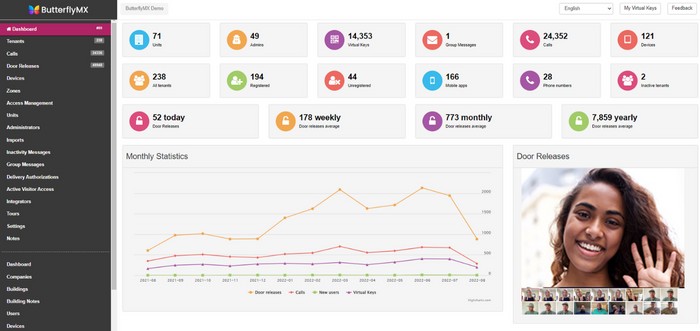
Click any of the boxes above and it will take you to another section of the Operating System. This high-level overview will tell you:
- The number of tenants currently in your system
- How many admins are on your account
- How many Visitor Passes your tenants have sent out
- The number of group messages that account admins have sent out
- How many calls have been made
- The number of panels your building has
Scroll down the page and you will see your building’s monthly statistics.
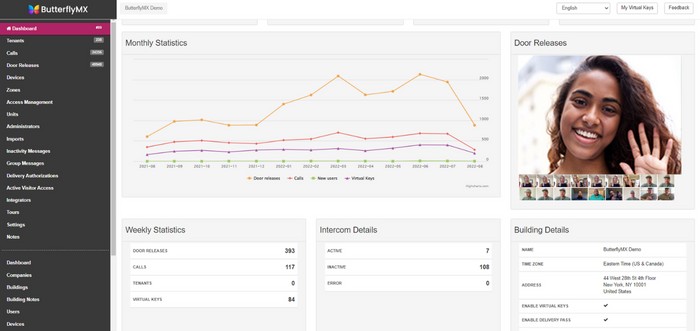
These charts show you:
- How many times the intercom released the doors at your building
- How many calls visitors made
- The number of tenants in the system
- The number of Visitor Passes sent out that month
On the right side of the screen, you get a preview of the most recent door release images. Every time the intercom releases the door, it takes a time-and date-stamped photo of the person standing at the intercom.
Underneath the chart, you will see weekly stats, the number of intercoms at your property (and how many are active), as well as additional building details.
On the left-hand side of the page, you will see a menu with various tabs. Clicking into these tabs is where you will find the various features that will help you better manage your property. Below, we will walk you through each menu item.
Step 3: Click through the ButterflyMX OS menu items
Click through the menu items to learn the features and functionality to help you better use and manage ButterflyMX at your property:
- Tenants
- Calls
- Door Releases
- Devices
- Zones
- Access Management
- Units
- Administrators
- Inactivity messages
- Group Messages
- Delivery Authorizations
- Active Visitor Access
- Integrations
- Tours
- Settings
- Notes
Tenants
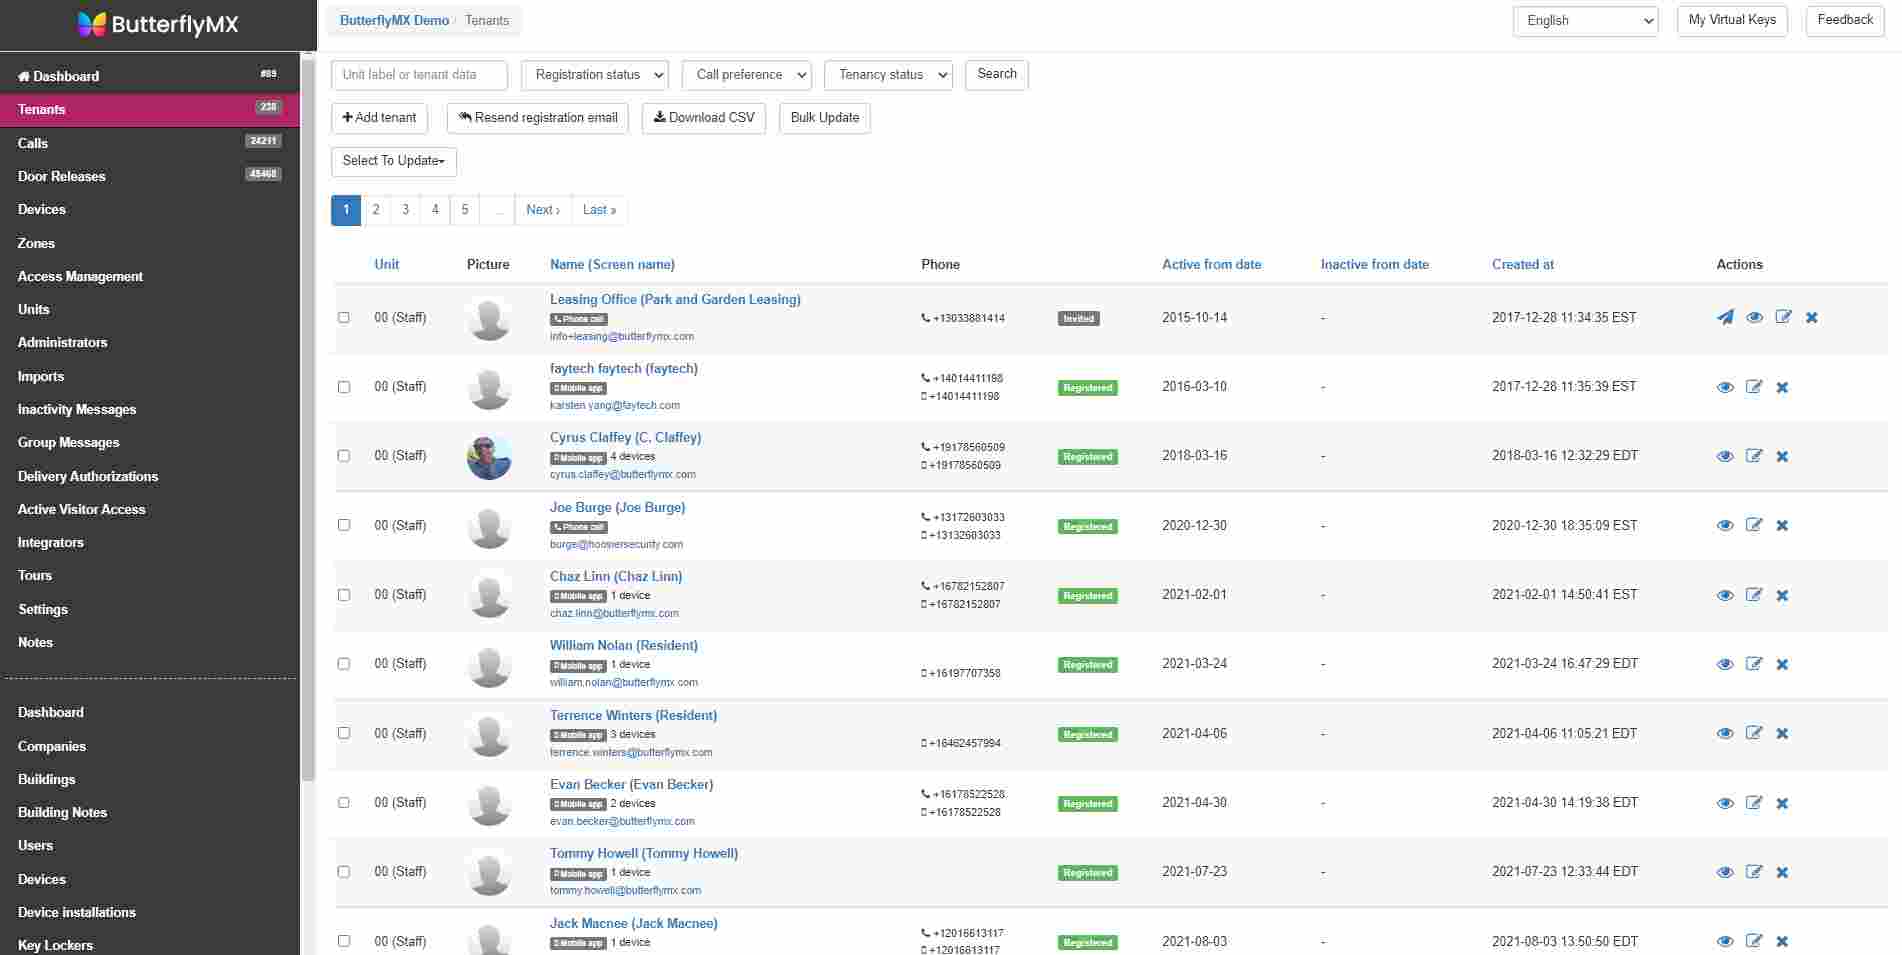
The ‘Tenants’ section is where you can add, edit, and delete tenant information.
How to add tenants into the ButterflyMX system »
Calls
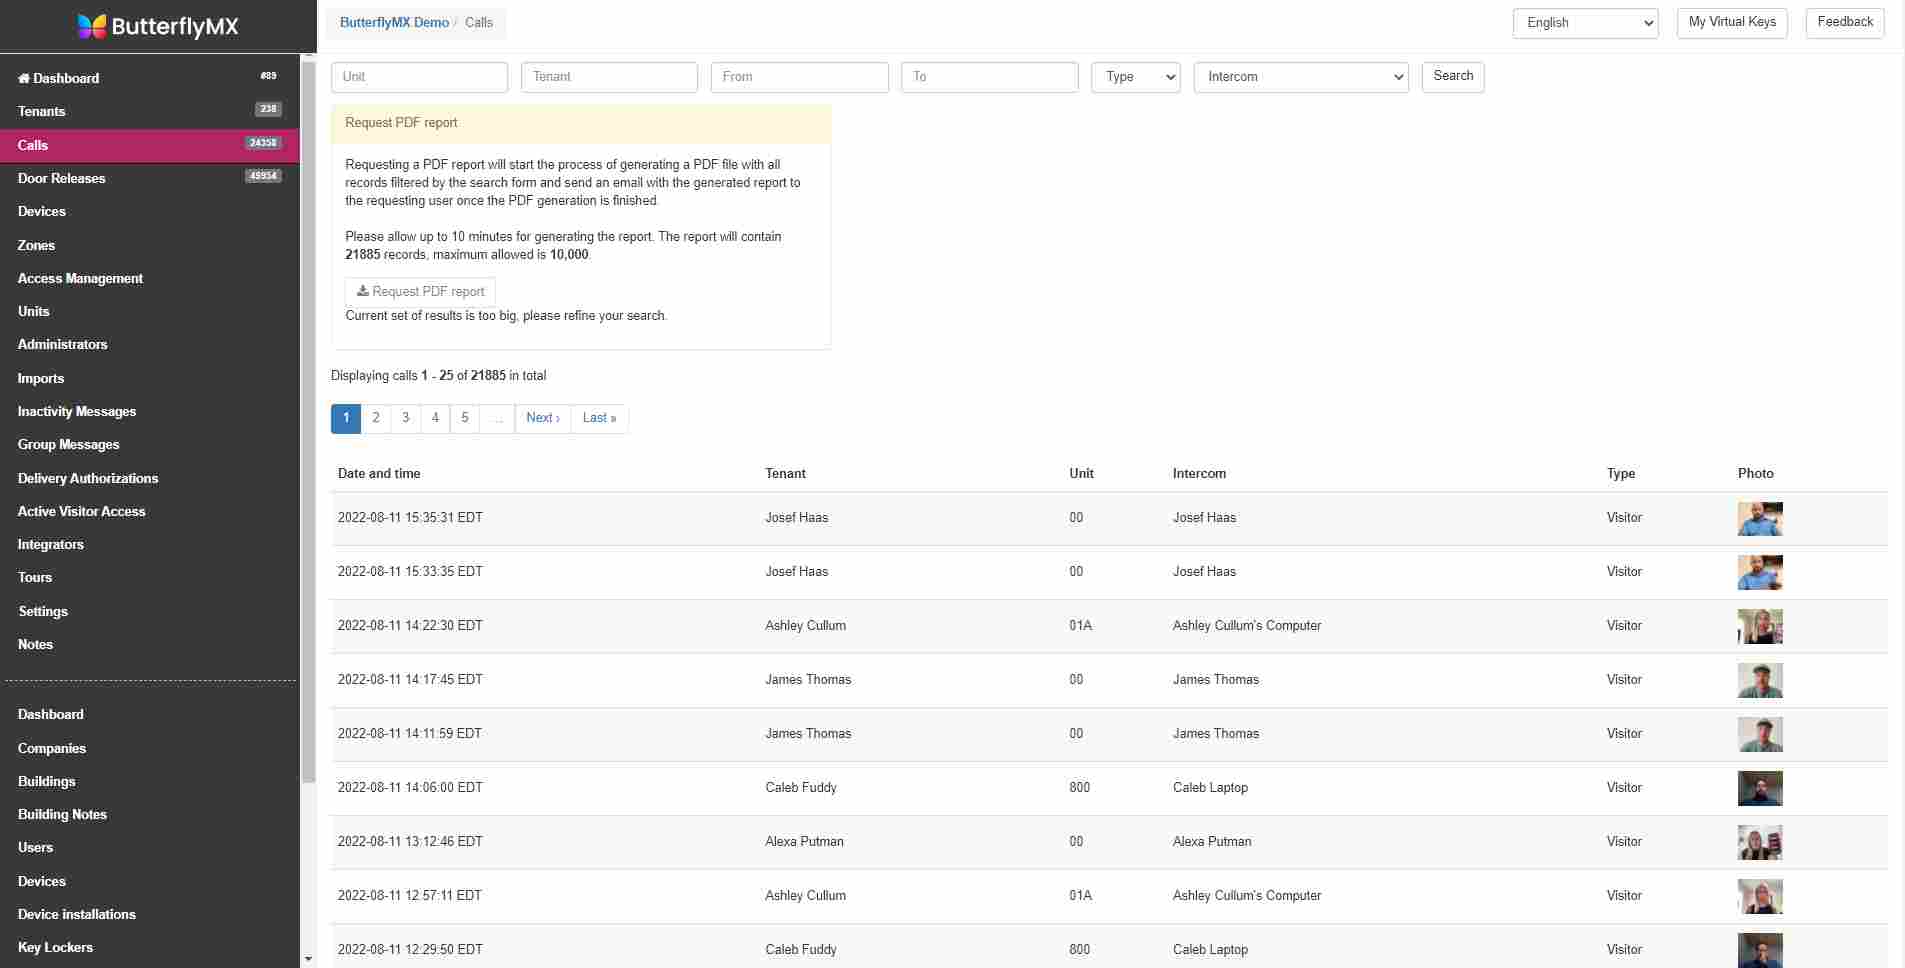
‘Calls’ list all calls made through the panel with a photo of the visitor and a time-and-date stamp.
Door Releases
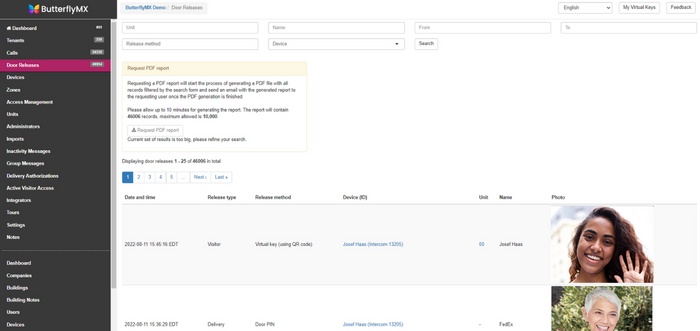
‘Door Releases’ is where you’ll find your door release log. Here, you will find all events resulting in the intercom opening the door with a time- and date-stamped photo of the visitor and the resident/apartment that released the door.
How to review call and door release history as a property admin »
Devices
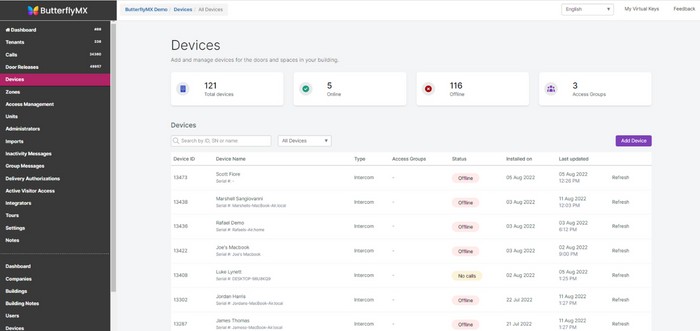
The ‘Devices’ section is where you find the various intercoms that you have at your property. For example, if you have one intercom at the front entrance and one at the garage entrance, you will see those listed here.
Zones
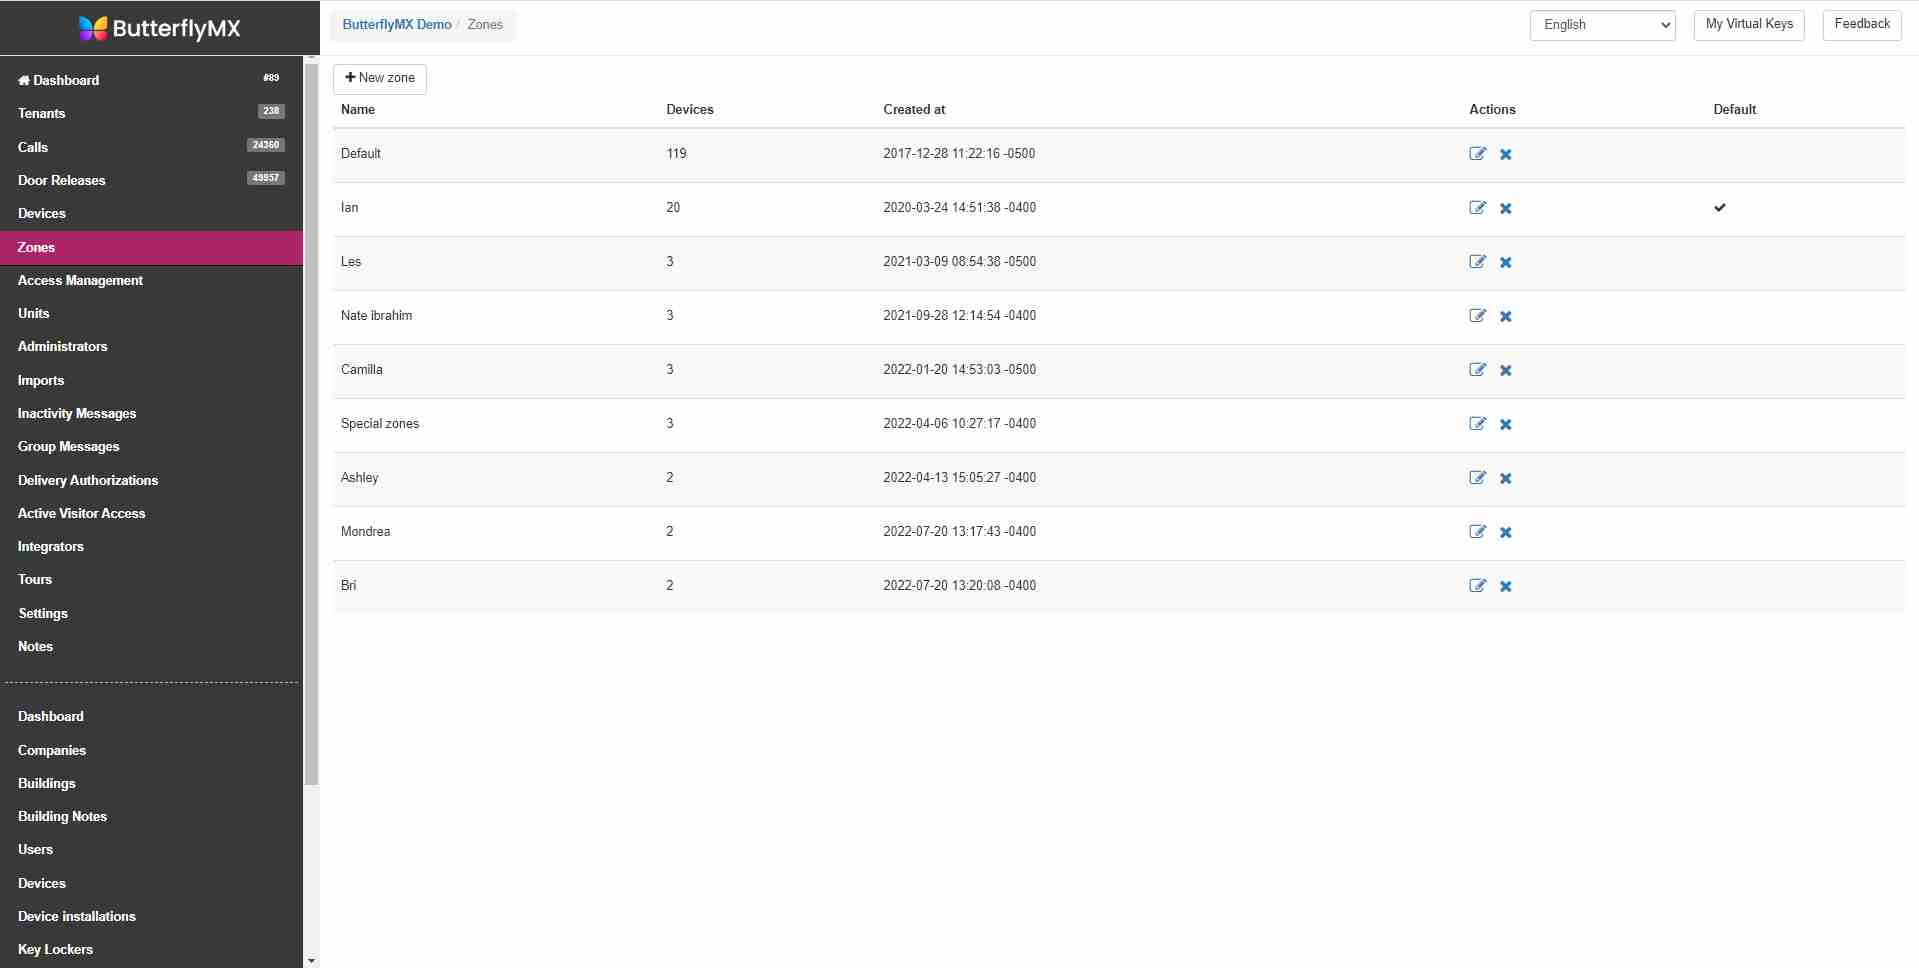
The ‘Zones’ section is for access privileges for tenants/visitors. Mixed-use buildings will find the most use for this section.
Access Management
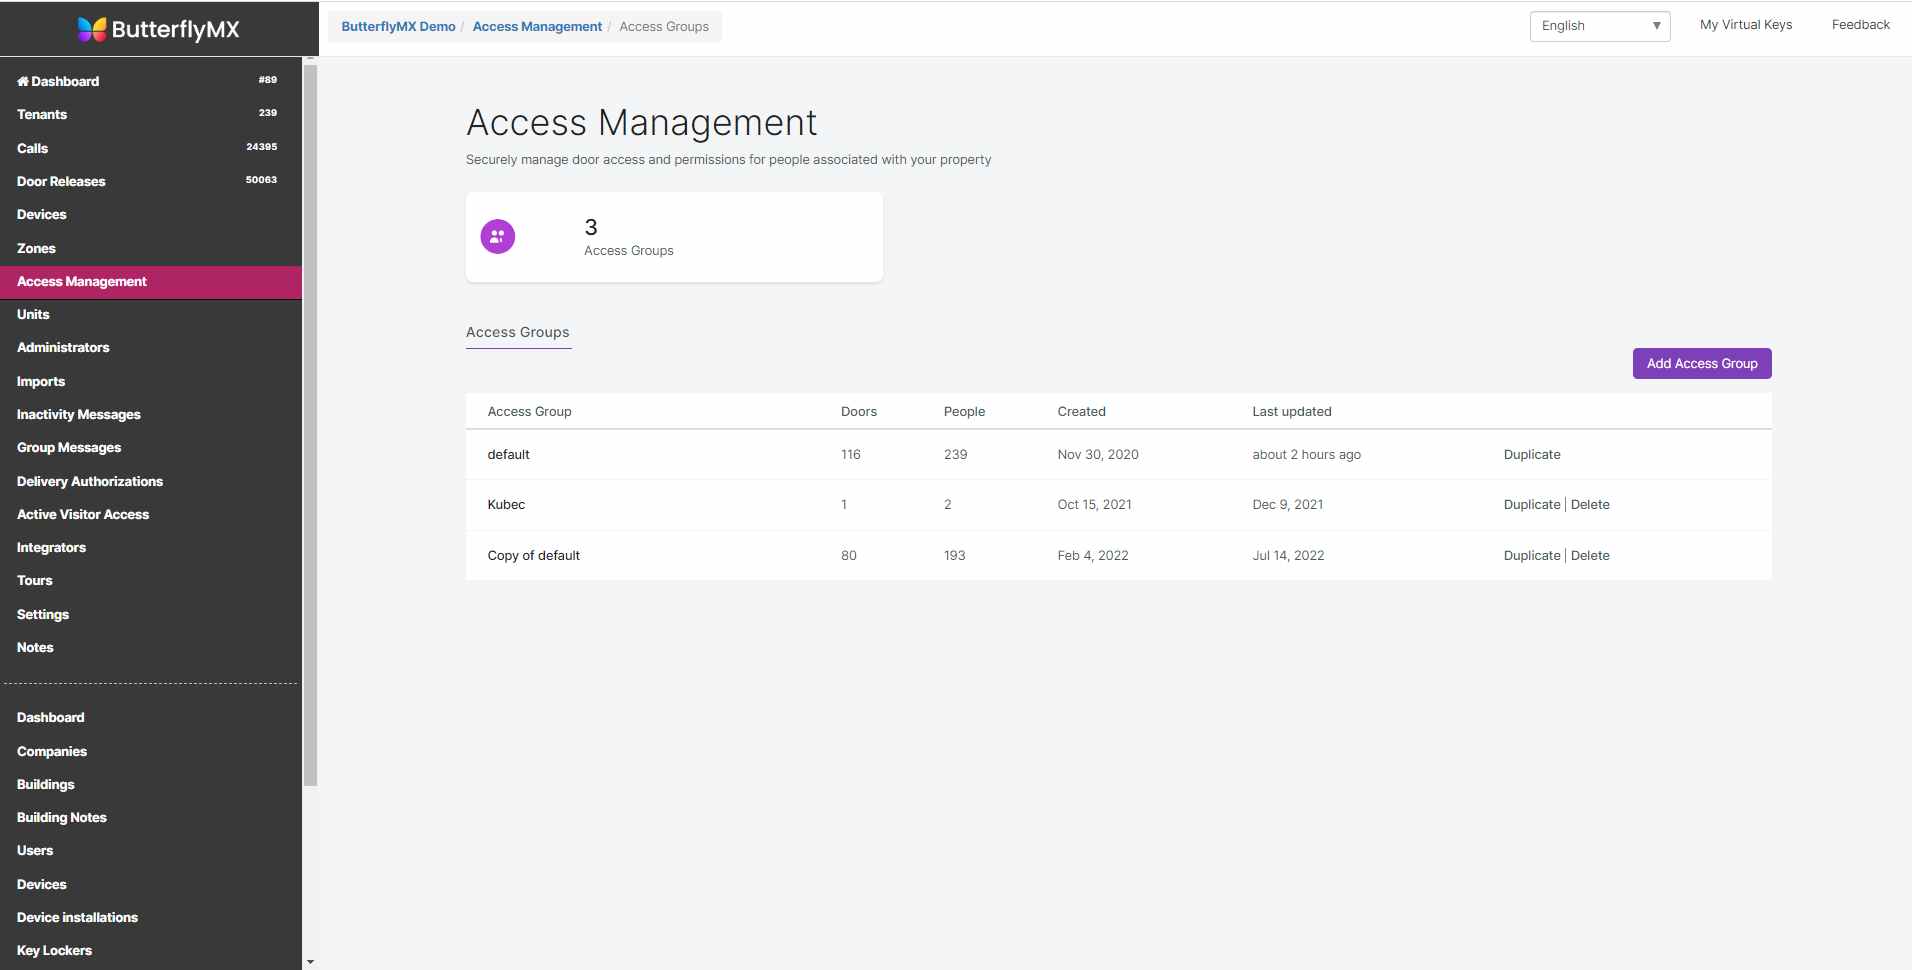
As a property admin, you have access to ButterflyMX Access Groups, which allows you to create access groups within the property management dashboard. These access groups let you grant certain tenants and building staff access to different parts of your property at different times.
Learn how access management works »
Units
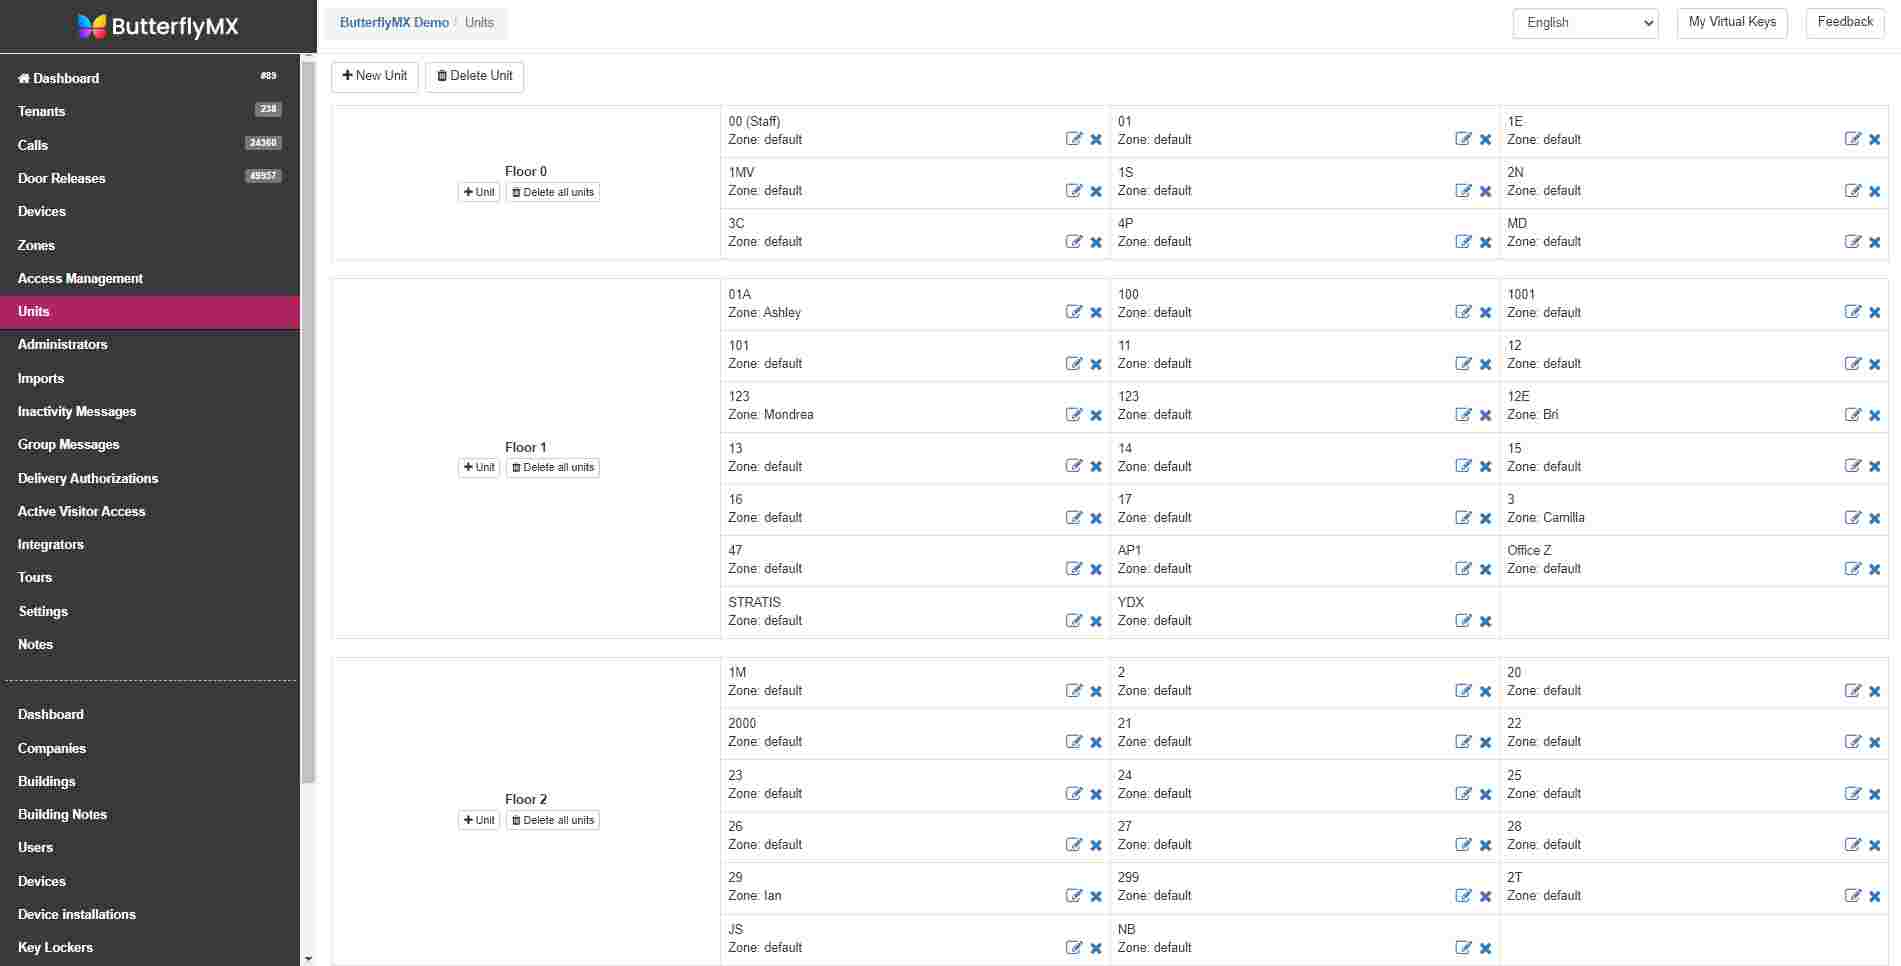
The ‘Units’ section is where you find a layout of your building – how many floors your building has and the units associated with those floors.
How to add units or floors to the ButterflyMX system »
Administrators
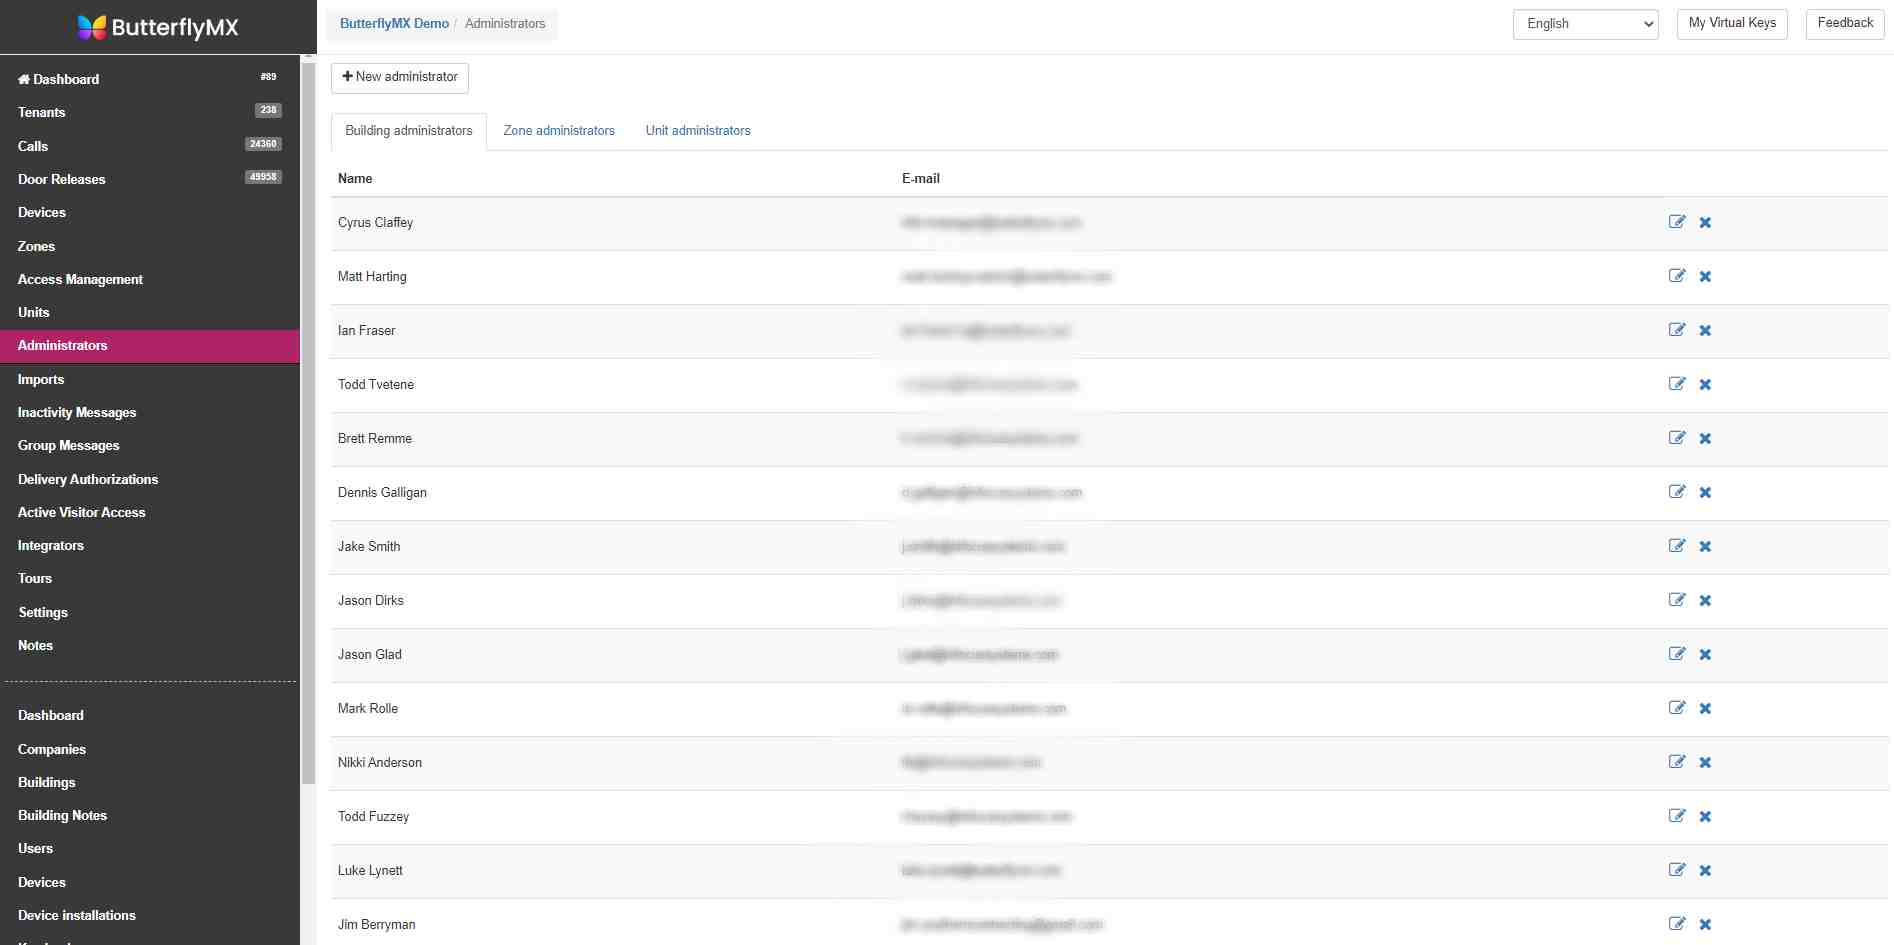
The ‘Administrators’ section is where you find a list of all account admins.
Inactivity messages
‘Inactivity Messages’ is where you can write a message for a visitor or a delivery person. This message will be posted on the video intercom, so if there’s anything you’d like them to know before entering your property, you can tell them here.
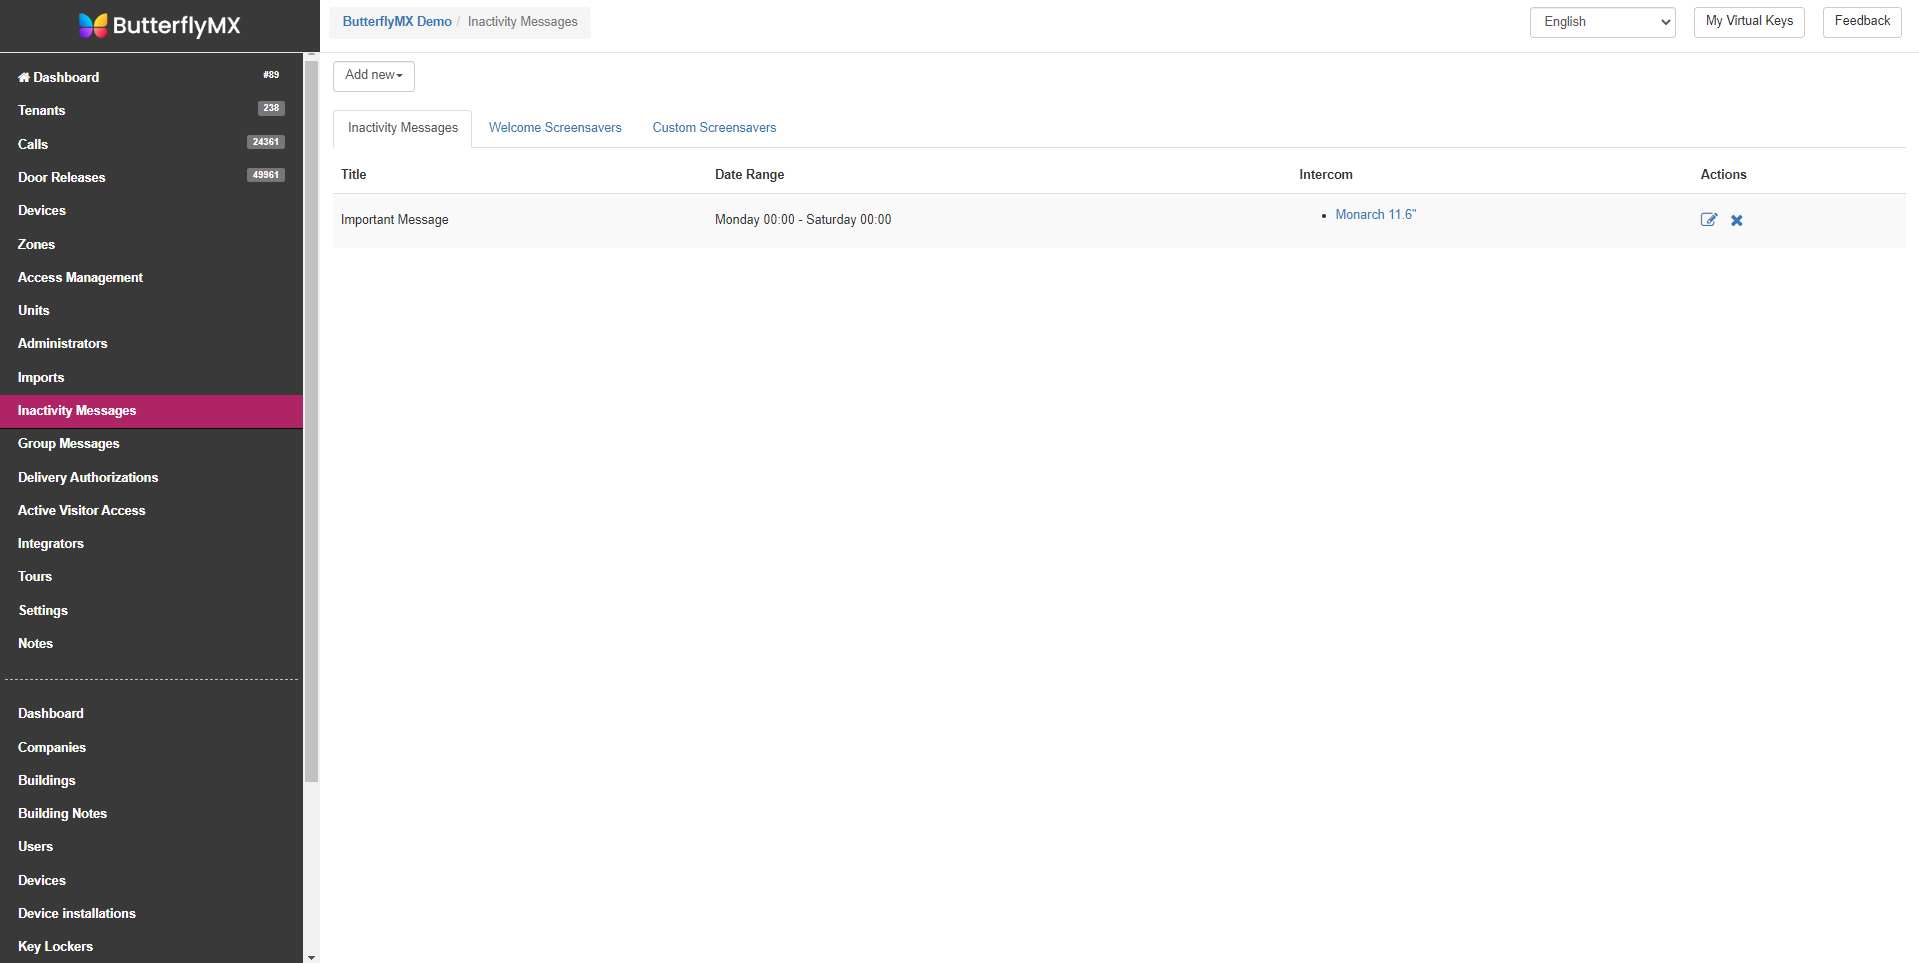
How to add an inactivity message to your video intercom »
Group Messages
‘Group messages’ is a messaging platform for admins to send a message to tenants. Tenants receive the messages via text and/ or email, or, they can view them on the ButterflyMX app web account.
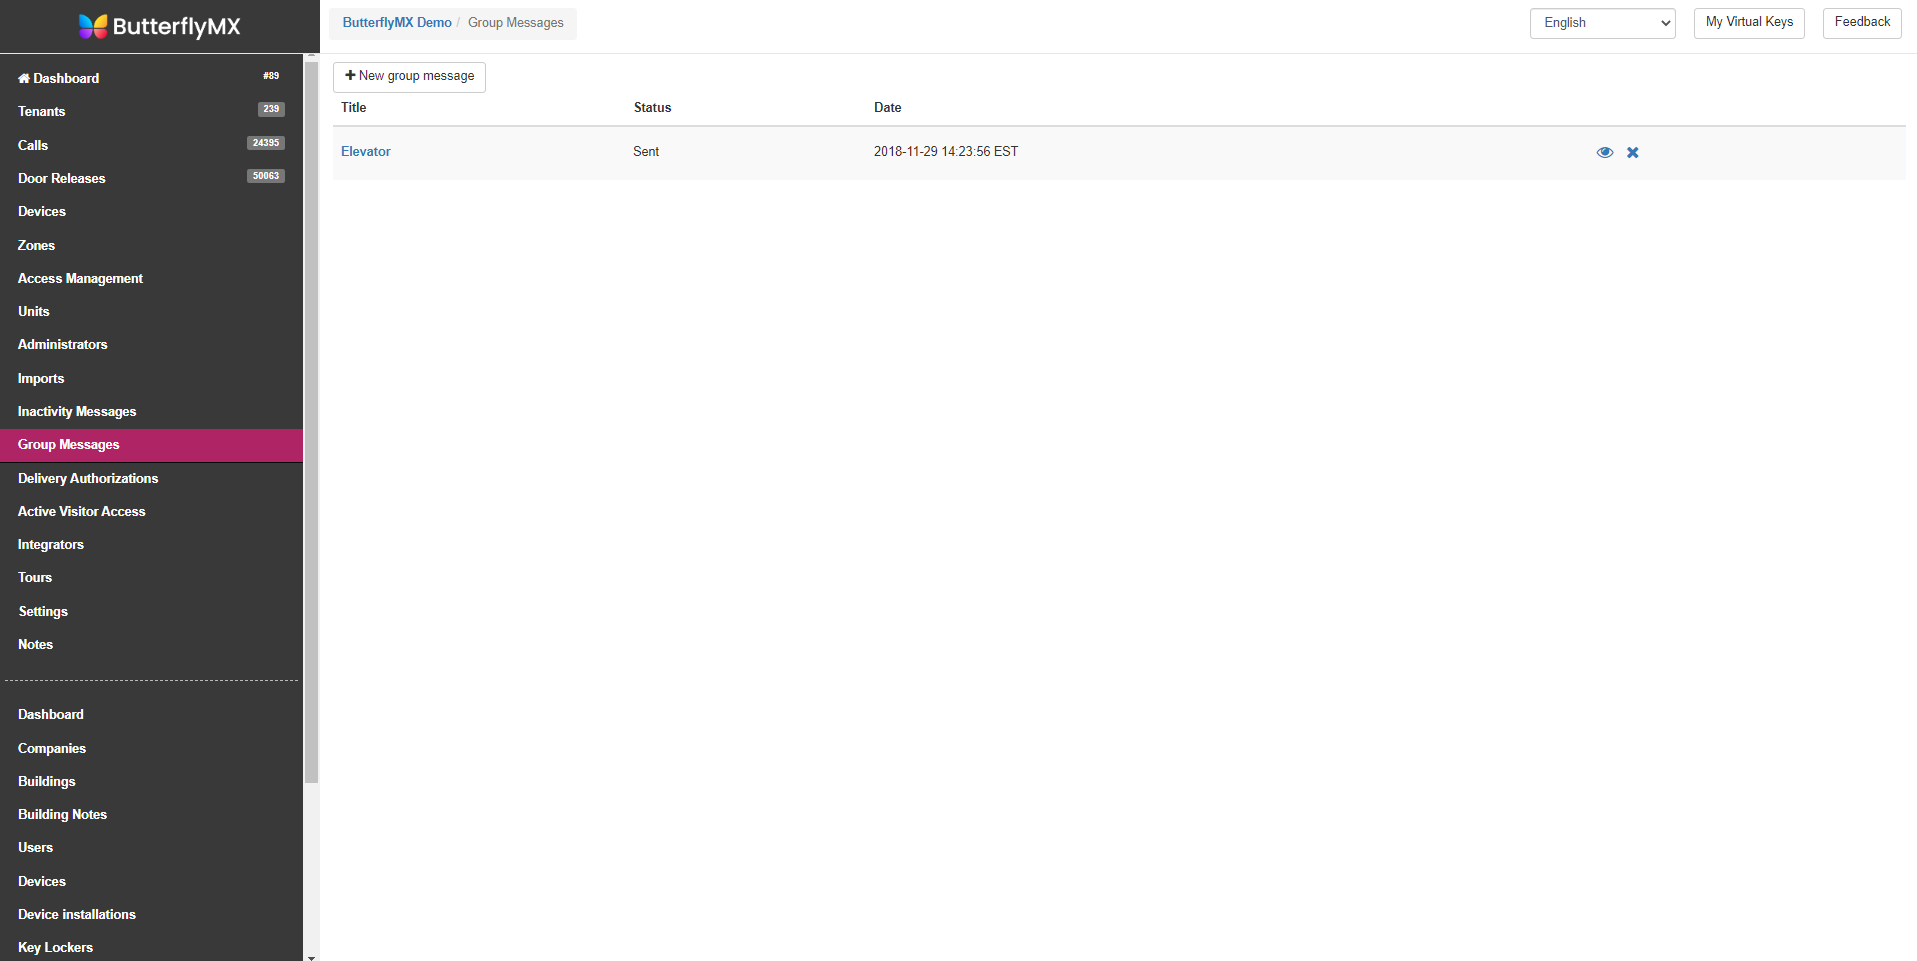
How to send group messages to residents »
Delivery Authorization
‘Delivery Authorization’ is where admins create five-digit delivery PINs for package carriers and vendors.
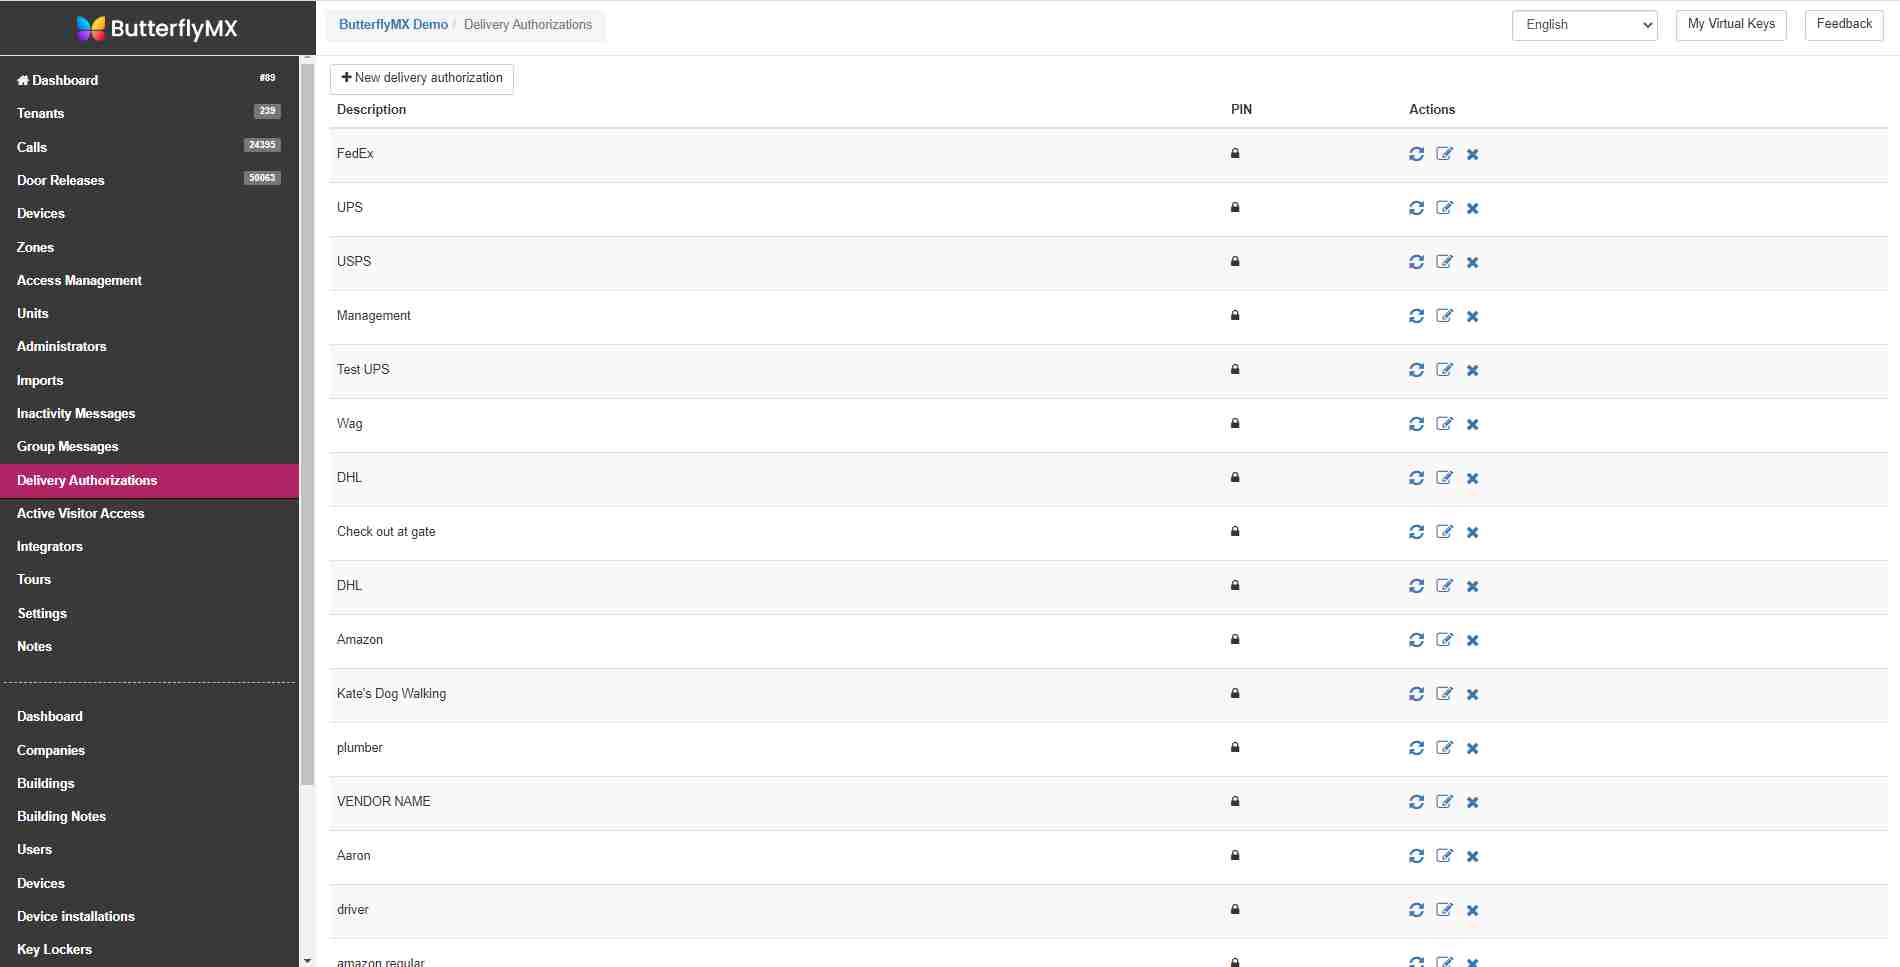
Active Visitor Access
‘Active Visitor Access’ is where you view and manage Visitor Passes out by tenants and admins.
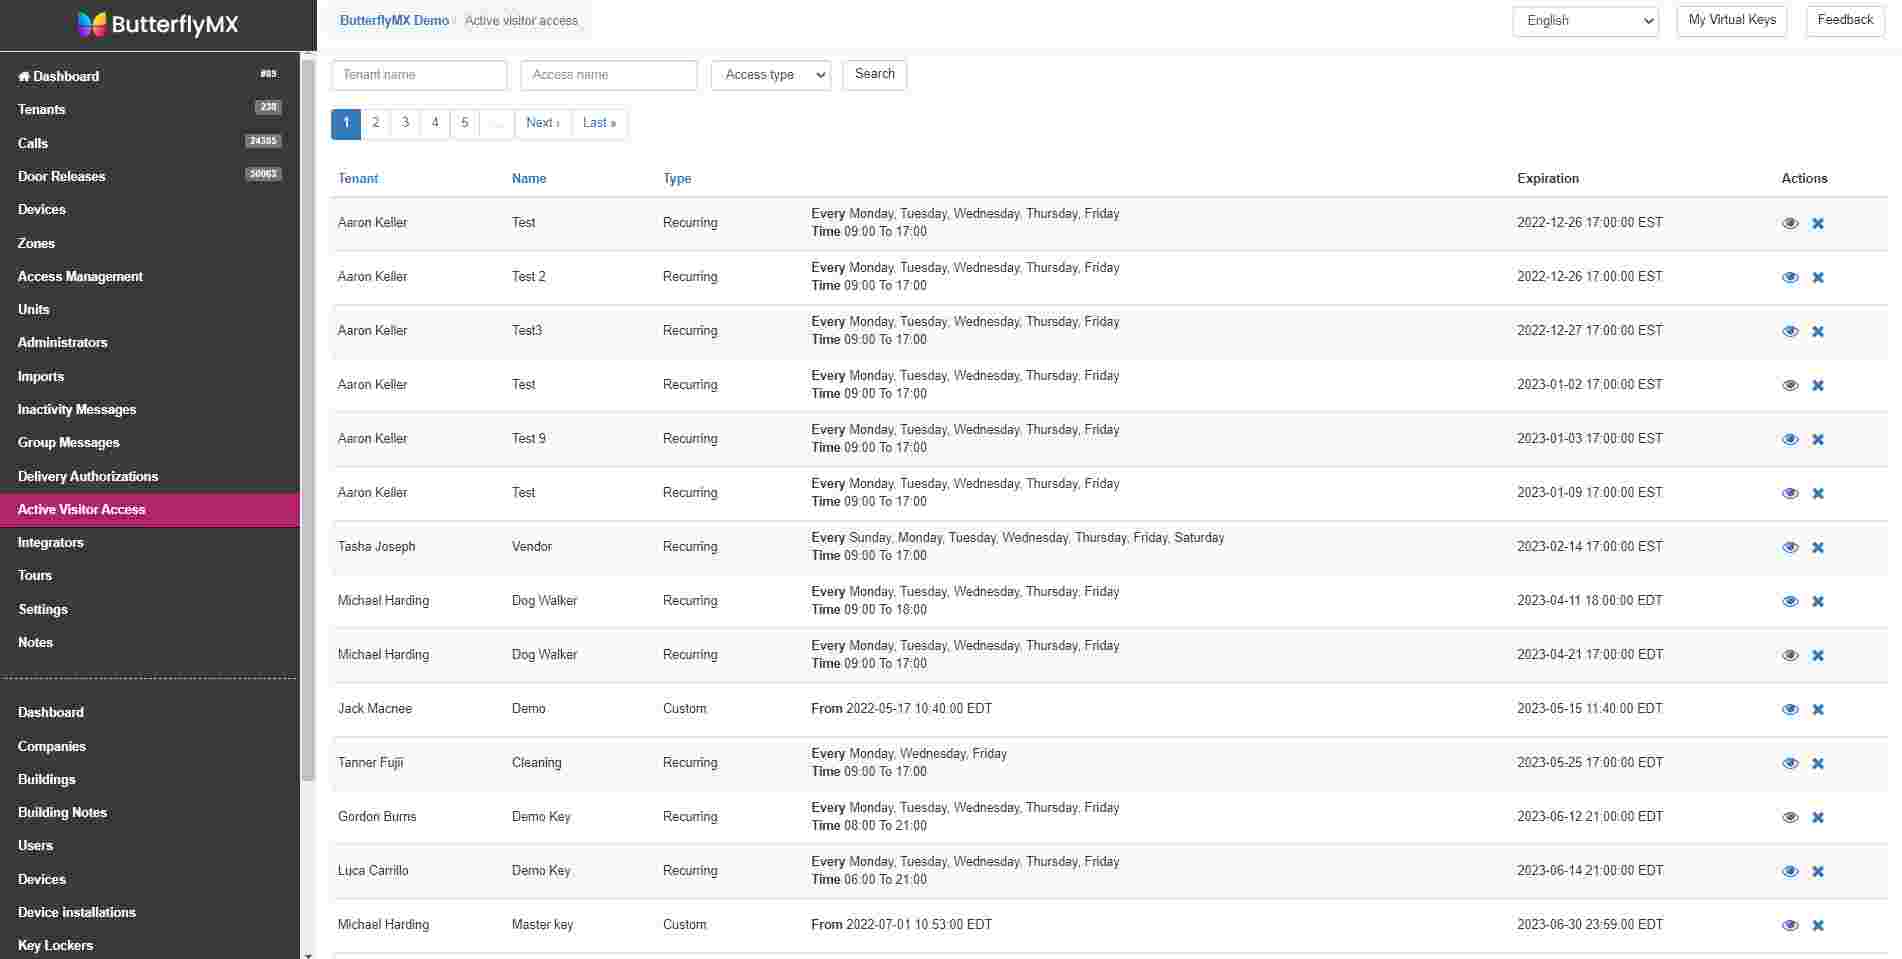
How to manage Visitor Passes »
Integrations
Integrations show you any integrations with property management systems that you have set up. If you’d like to connect a PMS, you can do it in this section.
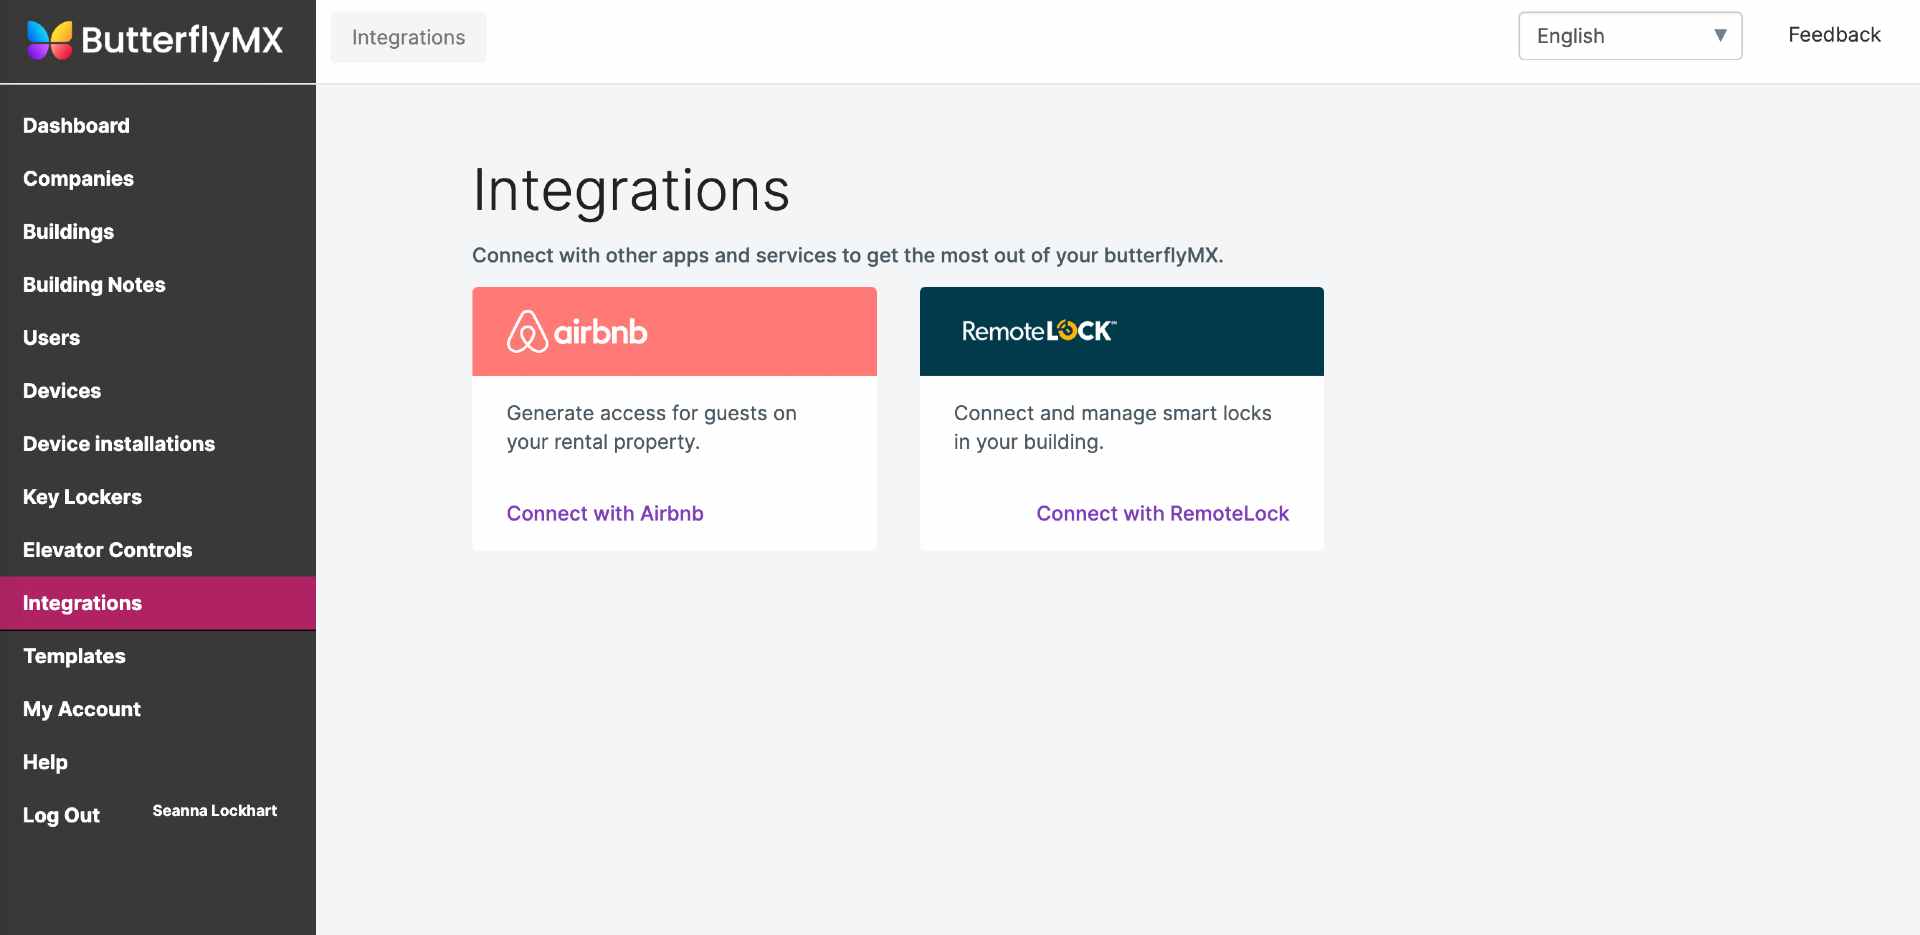
See all available integrations »
Tours
If you have self-guided tours enabled at your property, you will see the ‘Tours’ section in your ButterflyMX OS.
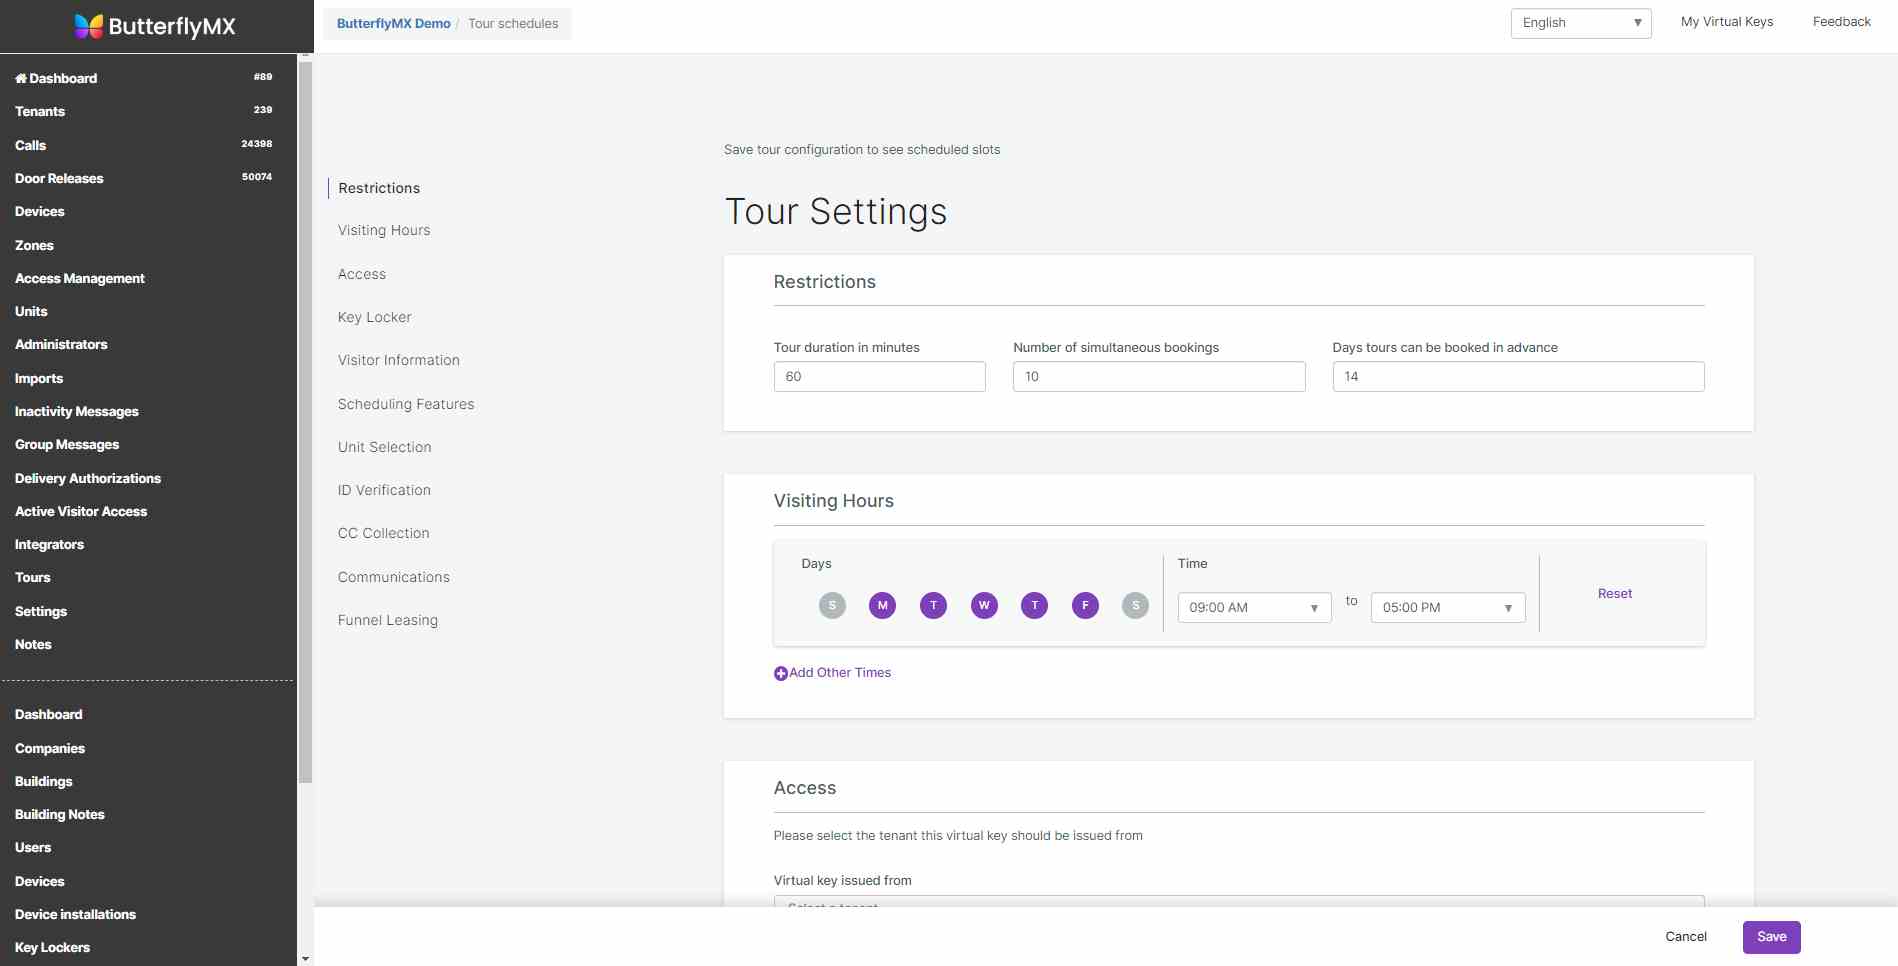
How self-guided touring works »
Settings
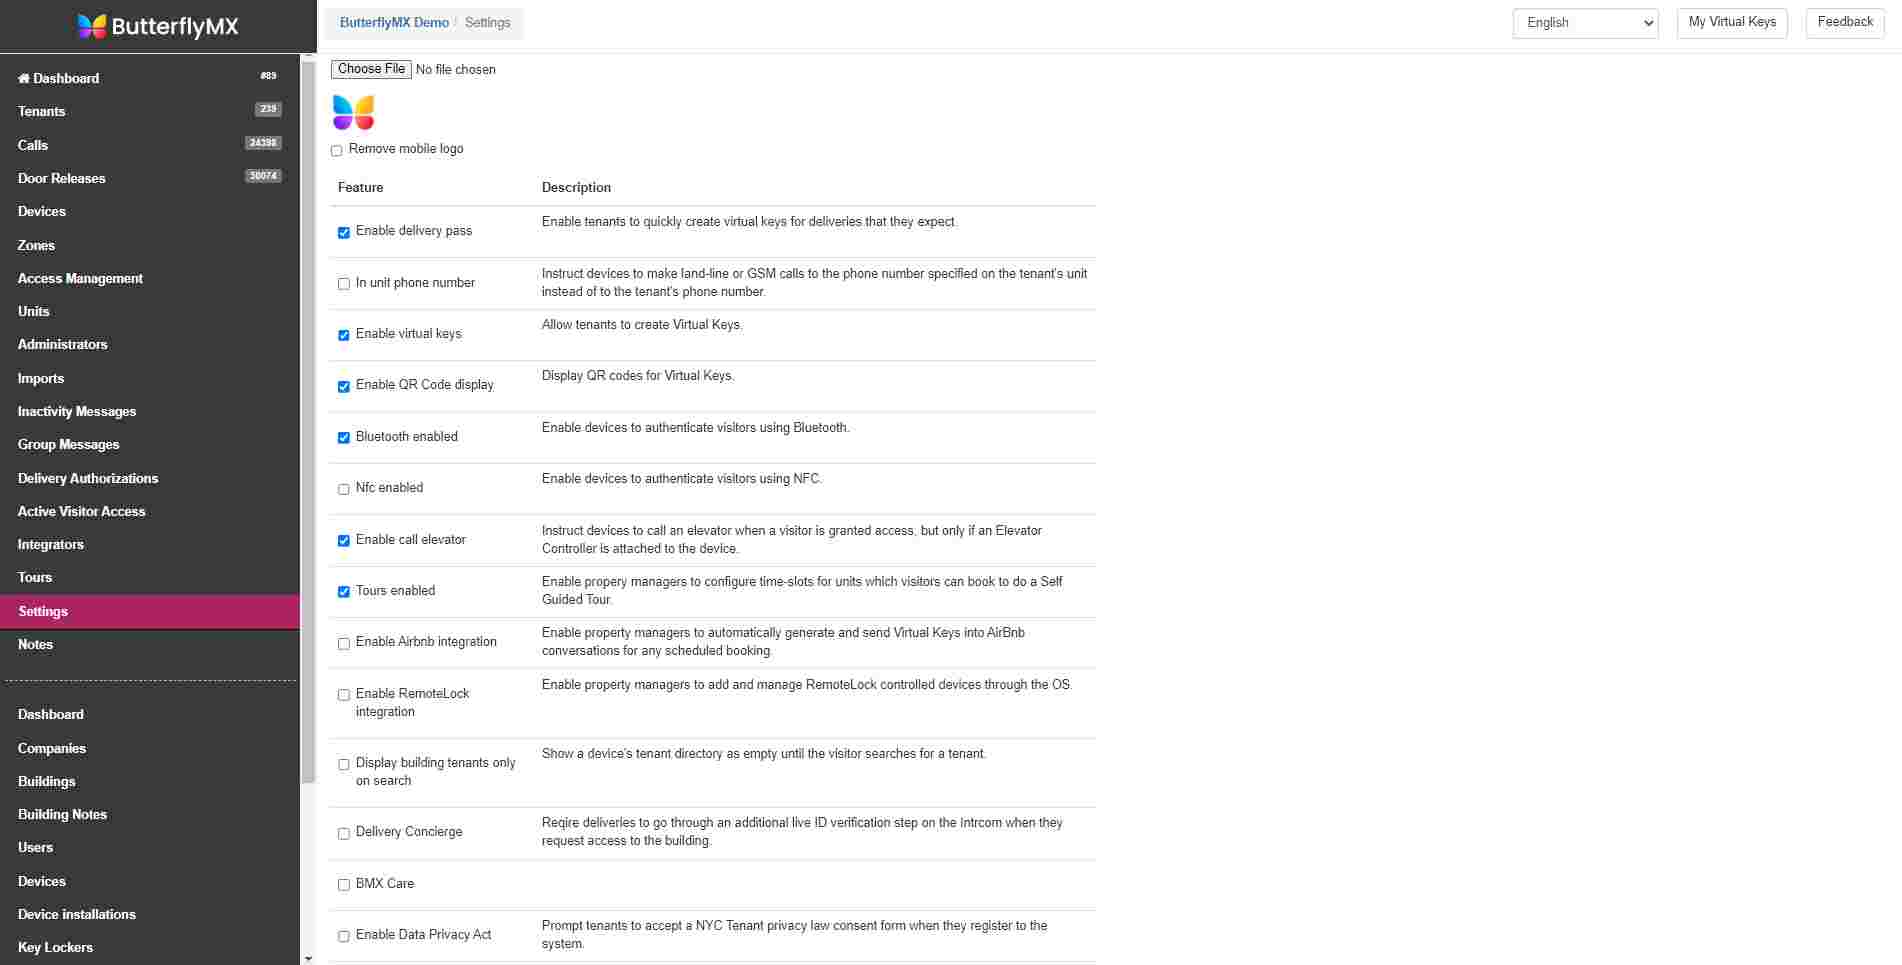
The ‘Settings’ section is where you edit your building name, address, and display name.
Notes
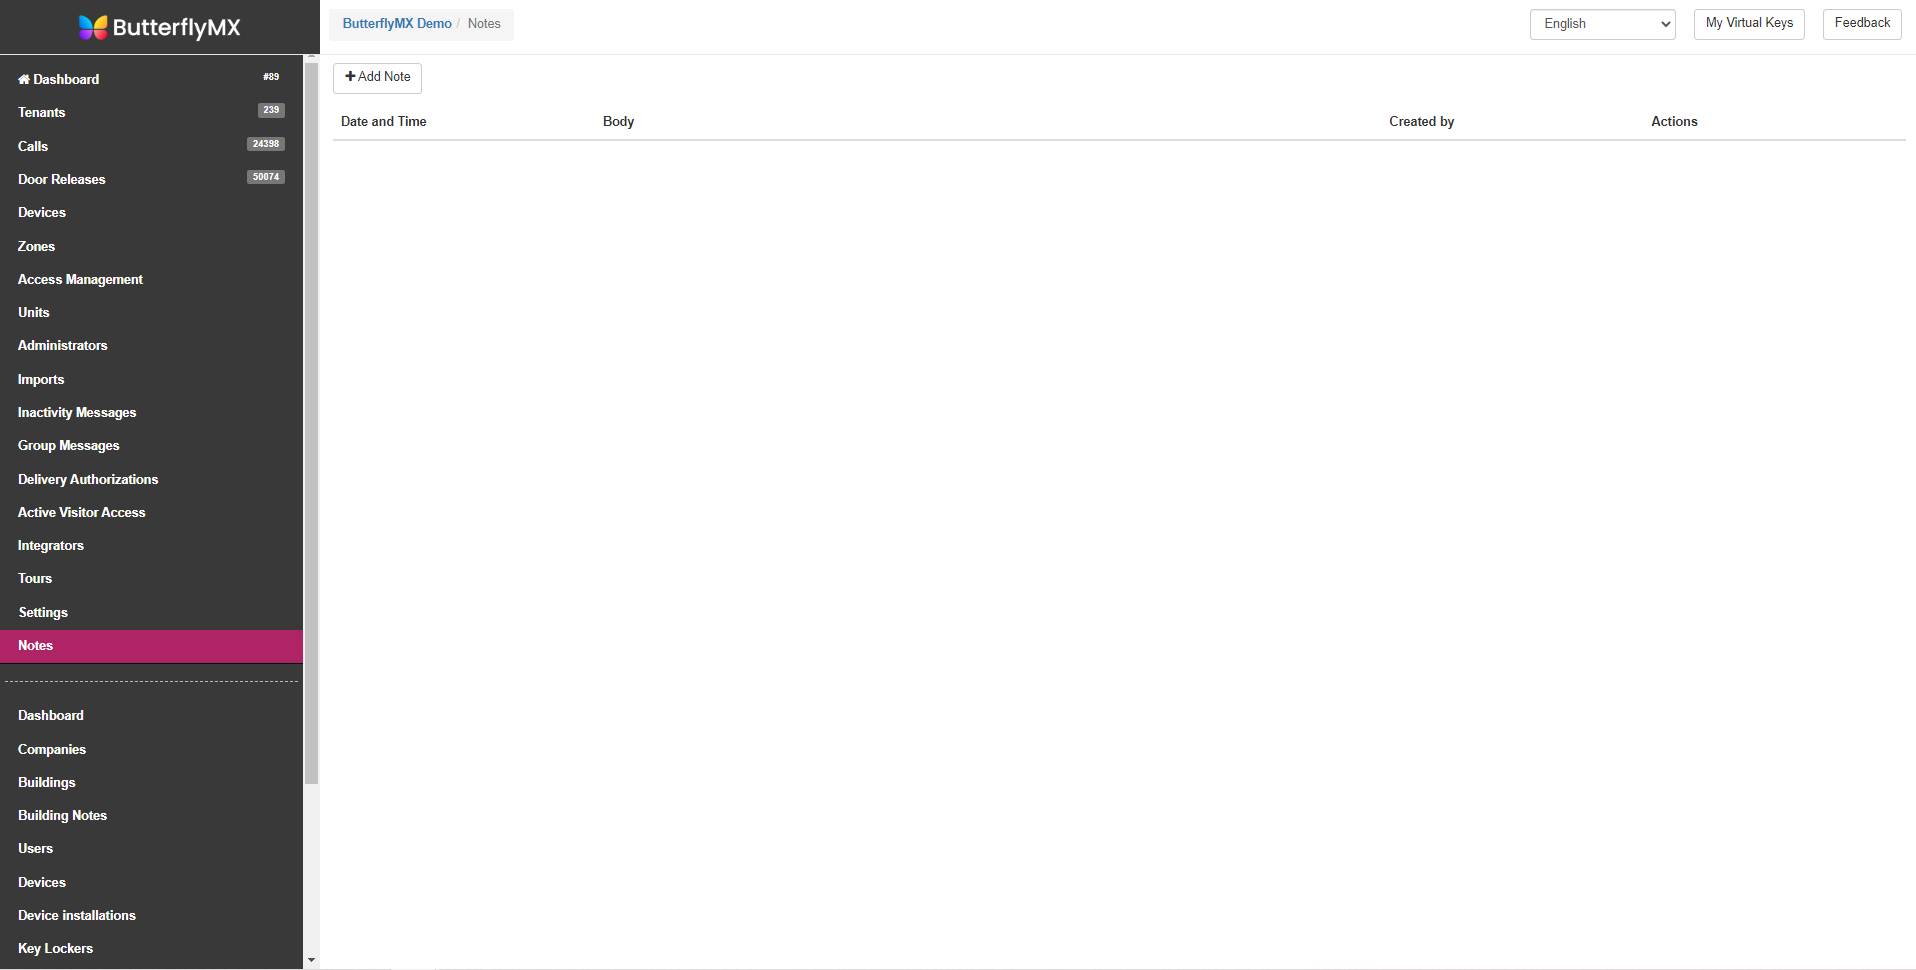
The ‘Notes’ section is where you leave any notes for other admins in your account or reminders for yourself.
To learn more, view our property management resources for training guides and videos that show you how to manage key ButterflyMX features.
